Product demo videos are a powerful way to showcase your product or service to potential customers. They can help you explain how your product works, highlight its benefits, and persuade viewers to take action. But not all product demo videos are the same. Depending on your goals, audience, and budget, you may want to choose a different type of product demo video for your marketing strategy. Here are some of the most common types of product demo videos and how they compare:
| Type of Demo Video | Cost Range | Effectiveness for Product Types | Production Complexity | Viewer Engagement Level |
| Animated Demo Videos | Low to Mid-Range | High for abstract concepts, software, and services | Moderate; requires animation skills | High; animations are visually engaging |
| Live-Action Demo Videos | Mid-Range to High | High for tangible products and real-world applications | High; involves filming, actors, locations | High; offers realism and relatability |
| Screencast Videos | Low to Mid-Range | High for digital products, software, and apps | Low; primarily screen recording and voiceover | Moderate; highly informative but less dynamic |
| Interactive Demo Videos | High | High for premium products and immersive experiences | Very High; involves advanced programming and design | Very High; interactive and personalized experience |
| Mixed Media Demo Videos | Mid-Range to High | Versatile; suitable for a wide range of products | Moderate to High; combines various media forms | High; diverse content keeps viewers engaged |
As you can see, each type of product demo video has its own advantages and disadvantages. The best type of product demo video for your product depends on your specific goals, audience, and budget. You may also want to combine different types of product demo videos to create a more comprehensive and engaging product story. For example, you can use a screen recording to show the details of your product, an animation to explain the concept or value proposition, and a live-action to show the testimonials or social proof. The key is to make sure your product demo video is clear, relevant, and compelling for your target audience.
Now that you have understood about the types of demo videos. Let us talk about the ways in which you can write an effective product demo video script.

Here are some guidelines to help you craft a script that combines storytelling with a clear showcase of your product’s capabilities:
- Start with a Strong Opening: Capture your audience’s attention right from the start. Begin with a compelling statement, question, or problem that your product can solve. This sets the tone and creates interest.
- Identify the Audience’s Pain Points: Understand the challenges or needs of your target audience. Your script should address these pain points directly, showing empathy and understanding.
- Introduce the Product: Bring in your product as the solution to the identified problems. This should feel like a natural progression from the problem to the solution.
- Highlight Key Features: Focus on the most significant features of your product. However, instead of just listing them, demonstrate how these features resolve the specific pain points of your audience.
- Use Storytelling: Weave a narrative around your product. Use real-life scenarios or hypothetical situations where your product plays a key role. Storytelling makes your demo more relatable and memorable.
- Show Benefits, Not Just Features: While features are important, benefits resonate more with the audience. Explain how the features translate into real-world advantages for the user.
- Keep it Simple and Clear: Avoid jargon and complex language. Your script should be easy to understand for a wide range of audiences, regardless of their technical knowledge.
- Include a Call-to-Action (CTA): Conclude with a strong CTA. This could be an invitation to learn more, a special offer, or a prompt to sign up or purchase.
- Use a Conversational Tone: The script should sound natural and conversational, as if you’re speaking directly to the viewer. This helps in building a connection with your audience.
- Incorporate Testimonials or Endorsements: If possible, include customer testimonials or expert endorsements. This adds credibility and trust to your product demo.
- End on a High Note: Conclude your script positively and memorably. Reinforce the main benefits of your product, leaving the audience with a lasting impression.

Now that you’ve understood what all has to be included in the script, let us.give you an example of how the script should sound. Let us provide a simple example for each of the scriptwriting tips for a hypothetical product demo. Let’s assume the product is a smart garden sensor that helps users monitor and manage their garden’s health.
Strong Opening:
- “Ever wondered if your garden could talk to you? Well, now it can with GreenThumb, the smart garden sensor!”
Identify the Audience’s Pain Points:
- “Tired of guessing when to water your plants or how much sunlight they need?”
Introduce the Product:
- “Meet GreenThumb – your personal garden assistant, designed to take the guesswork out of gardening.”
Highlight Key Features:
- “GreenThumb comes with moisture detection, sunlight tracking, and a handy app that notifies you when your plants need attention.”
Use Storytelling:
- “Imagine, you’re on vacation, and you get an alert from GreenThumb. Your favorite rose needs watering. With just a click, you activate the smart watering system. Crisis averted!”
Show Benefits, Not Just Features:
- “Not only does GreenThumb monitor soil moisture, but it also ensures your plants are perfectly watered, leading to healthier, more vibrant gardens.”
Keep it Simple and Clear:
- “Simply place GreenThumb in your garden, and let it do the work. No complicated setups, no hassle.”
Include a Call-to-Action (CTA):
- “Ready for a thriving garden? Visit our website to get your GreenThumb sensor today!”
Use a Conversational Tone:
- “We know gardening can be tricky, but don’t worry. GreenThumb is like having a friend who’s always there to help.”
Incorporate Testimonials or Endorsements:
- “Here’s what our customer, Amit, says: ‘GreenThumb saved my garden during the heatwave. It’s a game-changer for plant lovers!'”
End on a High Note:
- “With GreenThumb, you’re not just growing plants, you’re growing a greener, healthier world. Let’s make gardening effortless for everyone!”

Now that you’re familiar with the script, let’s talk about filming and editing.
Creating a product demo video that captivates and informs your audience requires a blend of skillful filming and meticulous editing. Here’s a guide with actionable tips and examples to help you excel in both these aspects.
Filming Best Practices
- Pre-Production Planning: Before filming, detailed planning is crucial. This includes scriptwriting, storyboarding, and deciding on the locations and shots. For instance, if you’re demonstrating a kitchen appliance, plan shots that highlight its ease of use in a kitchen setting.
- Lighting Considerations: Good lighting can dramatically improve the quality of your footage. Natural light is often the best choice, but if you’re shooting indoors, use soft lights to eliminate harsh shadows. A ring light can be a good investment for close-up shots of smaller products.
- Stable and Clear Shots: Use a tripod or stabilizing equipment to avoid shaky footage. Clear, steady shots are essential, especially when showcasing the product’s details. For example, if you’re showcasing a smartphone, close-up shots displaying its sleekness are vital.
- Sound Quality: Clear audio is as important as the visual quality. If you’re including a voiceover, record it in a quiet room with a good-quality microphone. Ambient sounds should complement and not overpower the visuals.
- Engaging Perspectives: Vary your camera angles and perspectives to keep the video dynamic. For a coffee machine demo, start with a wide shot showing the entire setup, then move to close-ups of the machine in operation.
Editing Best Practices
- Keep it Concise: Edit your video to be as concise as possible without skipping important details. A 2-3 minute video is often ideal. Trim any redundant footage or lengthy explanations.
- Maintain a Logical Flow: The video should logically progress from one point to the next. Start by introducing the product, demonstrate its use, and end with its benefits and a call to action.
- Add Engaging Elements: Use text overlays, graphics, and transitions judiciously. For example, when showing a feature of a tech gadget, a text overlay can briefly explain its function.
- Consistent Branding: Ensure your video reflects your brand’s style and ethos. Use consistent colors, fonts, and logos. If your brand is about simplicity, avoid overly flashy transitions.
- Use Music and Sound Effects Wisely: Background music can enhance the video, but it should not distract from the product demonstration. Choose a track that complements the mood of the video.
- Color Correction and Grading: Post-production color correction can significantly enhance the visual appeal. Adjust brightness, contrast, and saturation for a professional look.
- Incorporate Feedback: Before finalizing, get feedback from a small audience. They might point out aspects you might have missed, like a feature that needs more explanation.
- Optimize for Different Platforms: Edit different versions of your video for various platforms. For instance, a shorter version for social media and a longer, detailed one for your website.
If you’re creating a 2D or 3D animated video, what tips would you follow?
Understanding the suitability of different types of videos for various products and services is crucial for effective marketing. Below are key points and examples, followed by a table that summarizes these insights.
Products and Services Suited for Animated Videos:
- Complex Concepts or Services: Animation simplifies complex ideas. For example, a cloud computing service can use animation to visually explain its infrastructure and benefits.
- Intangible Services: Services that are not physical can be effectively represented through animation. A cybersecurity firm, for example, can use animated videos to depict online threats and their prevention.
- Software Demonstrations: Animation can showcase software interfaces and functionalities in a simplified manner. A project management tool can be animated to show its dashboard and features in action.
- Abstract Ideas and Concepts: Ideas that are abstract or involve storytelling are well-suited for animation. An environmental NGO could use animation to depict the impact of climate change and their work.
- Educational Content: Animated videos are excellent for educational purposes, making learning more engaging. An e-learning platform can use animations to explain difficult subjects like mathematics or science.
Products and Services Suited for Shooting (Live-Action) Videos:
- Physical Products: Tangible products are best showcased through live-action videos. For instance, a new smartphone’s design and functionality can be effectively demonstrated in a live-action video.
- Real-World Applications: Products used in everyday life or in specific environments, like kitchen appliances or garden tools, benefit from live-action demonstrations.
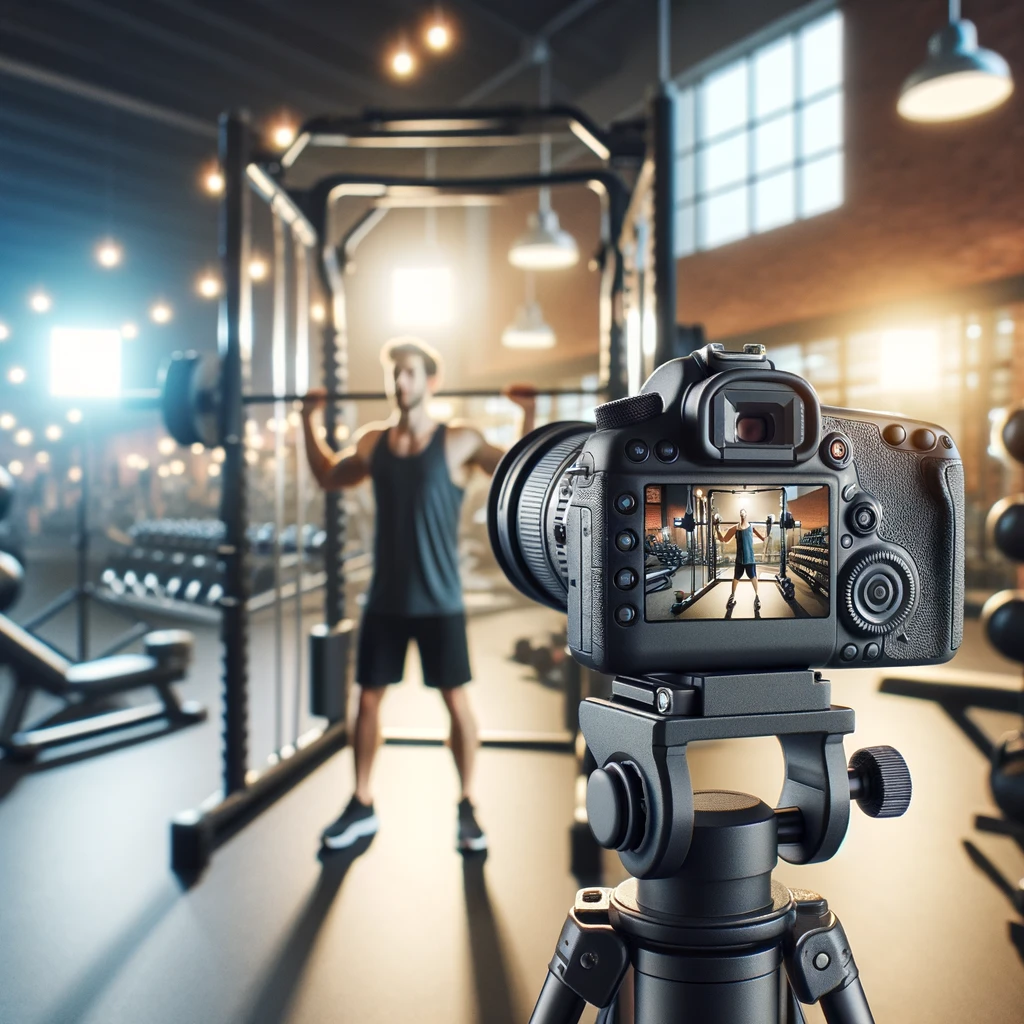
- Personal Services: Services involving personal interaction, like fitness training or beauty services, are best conveyed through live-action to show the human element.
- Location-Based Services: Businesses like restaurants or hotels, where location and ambiance are key, should use live-action videos to give viewers a real-world tour.
Emotional Connection: Products or services aiming to create an emotional impact, like charitable organizations or personal stories, are more relatable in live-action format.
Comparison Table:
| Type of Video | Suitable for Products/Services | Examples |
| Animated Videos | Complex concepts, Intangible services, Software, Abstract ideas, Educational content | Cloud computing service, Cybersecurity firm, Project management tool, Environmental NGO, E-learning platform |
| Shooting (Live-Action) Videos | Physical products, Real-world applications, Personal services, Location-based services, Emotional connection | New smartphone, Kitchen appliances, Fitness training, Restaurants, Charitable organizations |
Now let us understand how the various factors affect the cost of the product demo video.
Creating a detailed budget breakdown for video production is essential for understanding and managing costs effectively. Below are two tables, one for live-action shoot videos and another for animated videos, highlighting key budget items and their estimated impact on the total cost. Additionally, I’ll provide some cost-saving tips for each.

Budget Breakdown for Live-Action Shoot Videos:
| Budget Item | Impact on Total Budget (%) | Description |
| Equipment Rental | 20% | Cameras, lighting, microphones, etc. |
| Location and Set Design | 15% | Renting spaces, set construction, and design. |
| Talent Fees | 15% | Actors, presenters, voice-over artists. |
| Crew Fees | 20% | Director, cameraperson, sound engineer, etc. |
| Post-Production | 20% | Editing, color grading, sound mixing. |
| Miscellaneous (Transport, Catering, etc.) | 10% | Transport costs, catering for the crew, and other incidentals. |
Cost-Saving Tips for Live-Action Videos:
- Use In-House Talent: Instead of hiring professional actors, consider using employees or people you know.
- Opt for Less Expensive Locations: Shoot in free or low-cost locations, or use your own premises.
- Limit Shoot Days: Plan meticulously to reduce the number of shooting days.
Budget Breakdown for Animated Videos:
| Budget Item | Impact on Total Budget (%) | Description |
| Scriptwriting and Storyboarding | 10% | Concept development, scriptwriting, and storyboard creation. |
| Design and Illustration | 25% | Creating characters, backgrounds, and assets. |
| Animation | 40% | The actual animation process. |
| Voice-Over | 10% | Professional voice-over recording. |
| Music and Sound Effects | 10% | Royalty-free music and sound effects. |
| Post-Production Editing | 5% | Editing, syncing voice and music, adding effects. |
Cost-Saving Tips for Animated Videos:
- Use Stock Assets: Utilize stock characters and backgrounds where possible.
- Keep Animations Simple: Complex animations are more expensive, so opt for simpler styles.
- Limit Length: A shorter video will naturally be less costly.
Each item in these tables contributes to the overall cost of producing a video, whether live-action or animated. By understanding these elements and their impact on the budget, creators can make informed decisions and find ways to reduce costs without significantly compromising the quality of the final product. Remember, effective planning and creative thinking are key to managing video production costs.

PRO V/s DIY in Product Demo Videos
Now that you have read various aspects of product demo videos, let’s end by telling you the pros and cons of getting a professional video made or doing it yourself.
| Aspect | DIY Demo Videos | Professionally Produced Demo Videos |
| Cost | Pros: Typically much lower in cost due to minimal equipment and no hiring fees. | Cons: Can be expensive due to professional fees, equipment, and production costs. |
| Cons: Limited by the quality of available resources and skills. | Pros: High-quality production with access to top-notch equipment and resources. | |
| Quality | Pros: Can be sufficient for basic needs, especially with good planning and execution. | Cons: Overly professional videos might seem less personal or authentic to some audiences. |
| Cons: Often lacks the polish and expertise of professional videos, potentially affecting the brand image. | Pros: High-quality, polished videos that align with professional brand image. | |
| Control | Pros: Complete creative control over the content, style, and execution. | Cons: Less direct control over production, dependent on the vision and schedule of professionals. |
| Cons: Limited by one’s own technical expertise and creative skills. | Pros: Benefit from the expertise and creativity of professionals who bring new ideas and perspectives. | |
| Time Investment | Pros: Can be quicker for simple projects if resources are readily available. | Cons: Longer turnaround times due to more complex production processes. |
| Cons: Can be time-consuming, especially for those without prior video production experience. | Pros: Efficient handling by professionals who can manage the project from start to finish. | |
| Customization | Pros: Easily adaptable and flexible to change as per immediate requirements. | Cons: Might incur additional costs and time for changes once production is underway. |
| Cons: May lack diversity in creative ideas and execution without external input. | Pros: Offers a wide range of creative options and customizations due to professional expertise. |
When to Choose DIY:
- Budget constraints are significant.
- The project is simple or has a personal, authentic feel.
- You have some skills in video production.
- The project requires quick turnaround and flexibility.
When to Choose Professional Production:
- High-quality, polished video is essential for brand image.
- The project is complex, requiring skilled expertise (e.g., animation, special effects).
- Budget allows for professional production costs.
- The aim is to reach a wide and diverse audience with top-notch content.