
In the world of e-commerce and online marketing, product packshots have become an essential tool for businesses to showcase their products effectively. They are high-quality images of a product, usually taken against a solid background, that highlight the product’s features and benefits. This article will delve into the importance of product packshots, how to create them, and how they can enhance your online presence.
What is Packshot Photography?
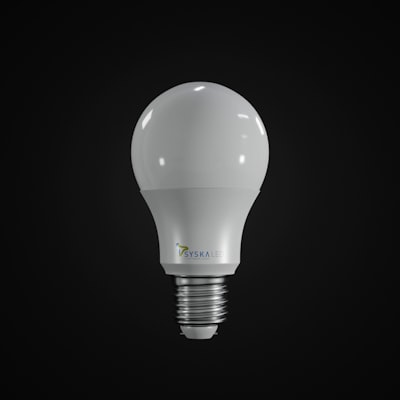
Packshot photography is a type of product photography that involves capturing high-quality images of a product against a simple, usually white, background. The term “packshot” often refers to shots where the product’s packaging and labeling are clearly visible. However, it can also include any image where the product is the main focus.
Packshot photography is all about showcasing the product in its best light, highlighting its features, design, and quality. The goal is to provide a clear and detailed view of the product, helping customers understand what they are buying.
Product packshots are more than just simple product photographs. They are designed to showcase a product in its best light, highlighting its features, design, and quality. They are often used on e-commerce websites, in marketing materials, and in advertising campaigns to help potential customers understand the product better.

Importance of Product Packshots
In the digital age, consumers rely heavily on visuals to make purchasing decisions. A well-executed product packshot can make a product more appealing, leading to increased sales. It provides a clear and detailed view of the product, helping customers to understand what they are buying. It also helps to build trust, as it shows that the business is confident in its products.
How to Create Effective Product Packshots
Creating effective product packshots requires a combination of the right equipment, good lighting, and careful staging. Here are some steps to guide you:
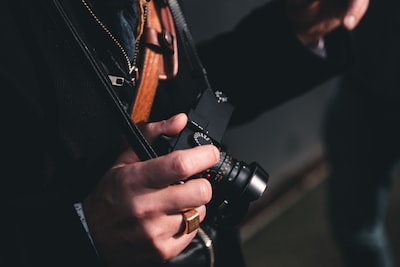
- Choose the Right Equipment: A good quality camera is essential. It doesn’t have to be the most expensive model, but it should be able to capture high-resolution images.
- Lighting is Key: Good lighting can make or break a product packshot. Natural light is often the best choice, but if that’s not possible, use a lightbox or professional lighting setup.
- Stage the Product: The product should be the star of the show. Make sure it’s clean and well-presented, and consider using props or backgrounds to help it stand out.
- Post-Production: After taking the photo, use photo editing software to enhance the image, correct any flaws, and ensure the product is presented in the best possible way.


Some creative Packshot Ideas
1) Use Props: Props can add context and depth to your product packshots. For example, if you’re selling a coffee mug, you might stage it with a book, a cozy blanket, or a plate of cookies. Just make sure the props don’t distract from the product itself.

2) Play with Lighting: Lighting can dramatically change the mood and feel of a packshot. Experiment with different lighting setups to create unique effects. For example, you could use backlighting to create a silhouette effect or use colored lights for a dramatic look.

3) Show the Product in Use: Instead of just showing the product, show it in use. This can help potential customers visualize how they might use the product themselves. For example, if you’re selling a kitchen gadget, you might show it being used to prepare a meal.

4) Use Interesting Backgrounds: The background of your packshot can add interest and context. You could use a textured background, a colorful backdrop, or even an outdoor setting. Just make sure the background complements the product and doesn’t distract from it.

5) Experiment with Angles: Instead of taking a straight-on shot, try shooting from different angles. This can create a more dynamic and interesting packshot. For example, you could shoot from above for a bird’s eye view or from below for a unique perspective.

6) Show the Product in Different Stages: If your product changes over time or has multiple stages of use, show this in your packshot. For example, if you’re selling a skincare product, you could show before and after shots.

7) Use Reflections: Reflections can add a professional and polished look to your packshots. You could use a reflective surface like a mirror or a shiny table, or even use water for a unique effect.

8) Create a Series: Instead of just one packshot, create a series that tells a story. This can be especially effective for social media, where you can post a series of images over time.

9) Include People: Including people in your packshots can add a personal touch and help potential customers relate to your product. Just make sure the person doesn’t distract from the product itself.
10) Play with Scale: Playing with scale can create interesting and unexpected packshots. For example, you could place a small product next to a much larger one to create a sense of contrast.
Remember, the most important thing is that your packshot accurately represents your product and appeals to your target audience. Don’t be afraid to experiment and try new things to create unique and creative packshots.
Now that we have inspired you, let’s take care of things that we should avoid.
The Top 10 Mistakes in Product Photography and How to Avoid Them
Product photography is a crucial aspect of online marketing. However, many photographers, especially beginners, often make mistakes that can affect the quality of their images and, consequently, the effectiveness of their marketing efforts. Here are the top 10 mistakes in product photography and how to avoid them.
1. Poor Lighting
Poor lighting can make your product look unappealing and unprofessional. It’s crucial to use the right amount of light and to position it correctly to highlight the best features of your product. Consider using a lightbox or investing in professional lighting equipment.
2. Incorrect White Balance
Incorrect white balance can distort the colors in your photos, making your product look different from its real-life appearance. Always adjust your camera’s white balance settings according to the lighting conditions.
3. Cluttered Background
A cluttered background can distract viewers from the product. Use a simple, neutral background to make your product stand out.
4. Not Using a Tripod
Not using a tripod can lead to blurry images. A tripod stabilizes your camera, ensuring sharp, clear photos.
5. Blurry Images
Blurry images can be caused by camera shake, incorrect focus, or slow shutter speed. Always use a tripod, set your focus correctly, and use a shutter speed that’s appropriate for your lighting conditions.
6. Not Using Reflectors
Reflectors can help you control shadows and highlight the details of your product. If you’re not using them, you might be missing out on these benefits.
7. Not Using Props
Props can add context and make your product more relatable. If you’re not using them, your photos might lack depth and context.
8. Not Using the Right Lens
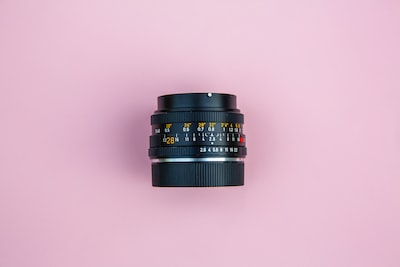
The lens you use can greatly affect the outcome of your photos. Make sure to use the right lens for the type of product you’re photographing.
9. Not Editing Photos Properly
Proper photo editing can enhance your images and make your product look its best. However, over-editing can make your photos look unnatural.
10. Not Focusing on the Product

The product should be the main focus of your photos. If it’s not, viewers might get distracted and miss the point of the photo.
By avoiding these common mistakes, you can improve the quality of your product photos and make them more effective in attracting and persuading potential customers.
For more tips and tricks on product photography, check out these resources: