When it comes to product photography, some factors like lighting, equipment, quality of picture becomes essential to achieve success in your business. It is completely different from taking normal photographs of whatever you like. The product should be photographed in such a way that it should capture an eye of the customer; the customer should feel the product without touching it.Here we will talk about how to go step by step with the setup, camera and the editing part.
- Be ready with the products you need
First things first. You have to be ready with whatever you require-the primary products. Make a list of what all products you have to shoot. Mention the angles you require for those products. Primary products should include clamps, safety pins, tape, pocket scissors, iron, hangers etc. The main product should be well polished and cleaned so that it looks fantastic before you photograph them. Take one helper with you while photo shoot.
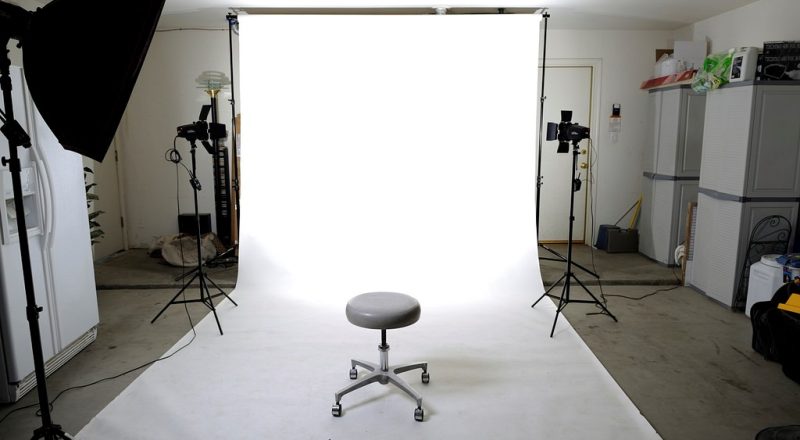
- Prepare and setup a white backdrop
We will need a sweep to capture great photos. If you are on a budget you can buy a long and wide roll of plain white paper. This will work for small products. If you want to shoot bit products you can use a white bed sheet. If budget doesn’t matter, you can buy a professional sweep from the photography shop.
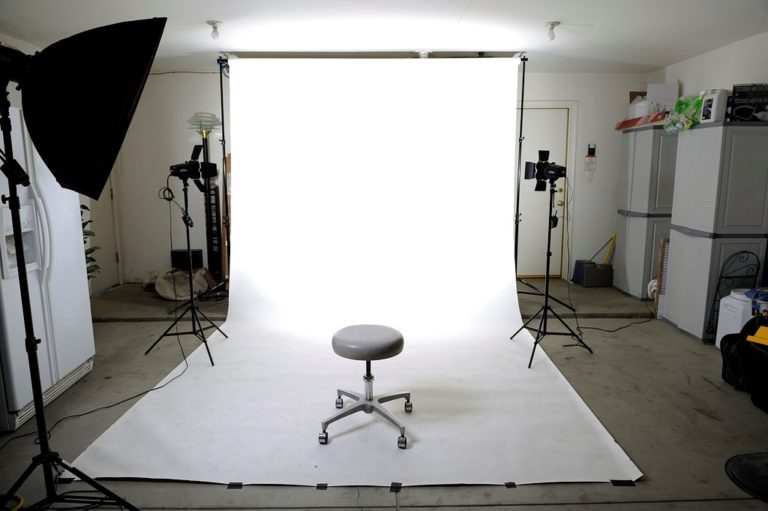
Shooting on white background reduces the efforts of editing the photo. It also grabs the attention of the customer towards the product only.
- Choose the right camera and adjust the camera settings
Choose the camera with high-resolution to obtain good quality of products. Stabilize your camera with the help of tripod. Study about the ISO, shutter speed and aperture to determine how light or dark your image is.
Aperture- Aperture is calibrated in f/stops with the numbers written on it. Basically, it is the opening of the lens diaphragm through which light passes. Check the manual for sure to set the aperture of your camera.
Shutter speed- Shutter speed is the total time when the camera is exposed to light. The light reaches the film or image sensor when exposed to light. Match the aperture with the shutter speed for a great product shot.
ISO- ISO is directly related to the sensitivity of your camera to light. Try to keep ISO as low as possible.
- Select the lighting source
There are two sources viz. natural and artificial lighting.
Natural lighting is simple and affordable. We can set everything near the window to use the sunlight for the photo shoot. You will need to balance the light with your product.
Artificial lighting basically consist of three lights , two on the opposite sides of the product and the third either below and slightly in front, or above and slightly behind the product. The position of light totally depends on the product.
- Ready to shoot
All set! Make sure that your product is placed at the center of the frame. Do not use the digital zoom if you want to bring your product closer, instead move your tripod or use optical zoom to get a good quality picture. Take multiple photos to provide the detailed product.
- Last step- Remove the background
Now if you are done with your shoot, remove the background with the help of Adobe Photoshop. Change the background contents to transparent and save the image in PNG or JPEG format.
We are from Modelling Agencies Mumbai. If you want to develop your career in modelling then do register here.