Arranging a product photoshoot can seem complicated when you are doing it for the very first time. Nevertheless, things will get easier when you keep practising, and soon enough, you will start to achieve professional outcomes.
Choosing lighting setup, backgrounds and locations are essential for professional photographers. You need to know the perfect camera angles, lights and shadows complementing the product. Let’s get you through a guide to ecommerce photography.
Basic Needs in Ecommerce Photography
- Camera
You do not have to buy an expensive camera for product photography. If you do have one, it is beneficial for you. However, it is easier to take pictures with smartphones and yet capture good quality pictures of a product. Since there are many high-quality camera smartphones in the market, you do not have to worry about purchasing a professional camera.
- Backgrounds
Choosing good backgrounds for photography is essential for highlighting a product. A basic white wall could be a good option, but you could also use a minimal background for your shoot. Avoid using sharp edges as light bounces back from them. If you have a small budget, you can also purchase whiteboards or craft papers and place them on a table. As long as your background is bright or white, you can get good shots of the product.
- Consistency and focus
You have to get a tripod to get the perfect kind of picture. If your lens is set on a small aperture, you can get more depth to the picture with the perfect focus on the product. This will highlight your product and give it a standard look. However, if you do not have a tripod, you are likely to get blurry pictures.
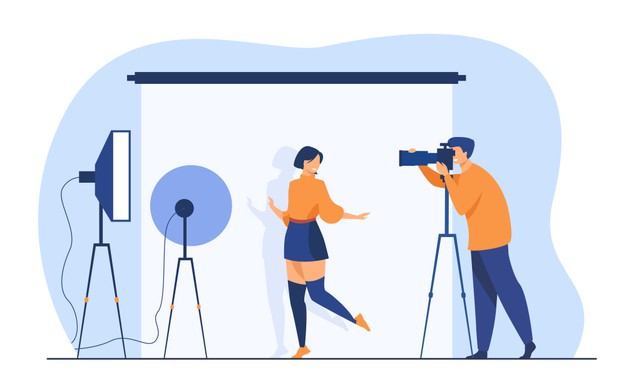
- Lights
Lighting is very vital for high definition images. You can either use natural light or get light stands if necessary. Make sure that the shadows or not too sharp. Try to avoid direct sunlight. Direct sunlight gives dark shadows, which are not good for the product and neither for the background.
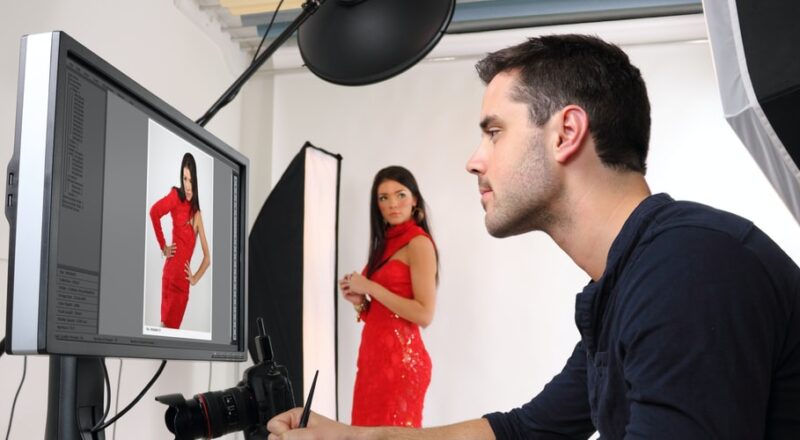
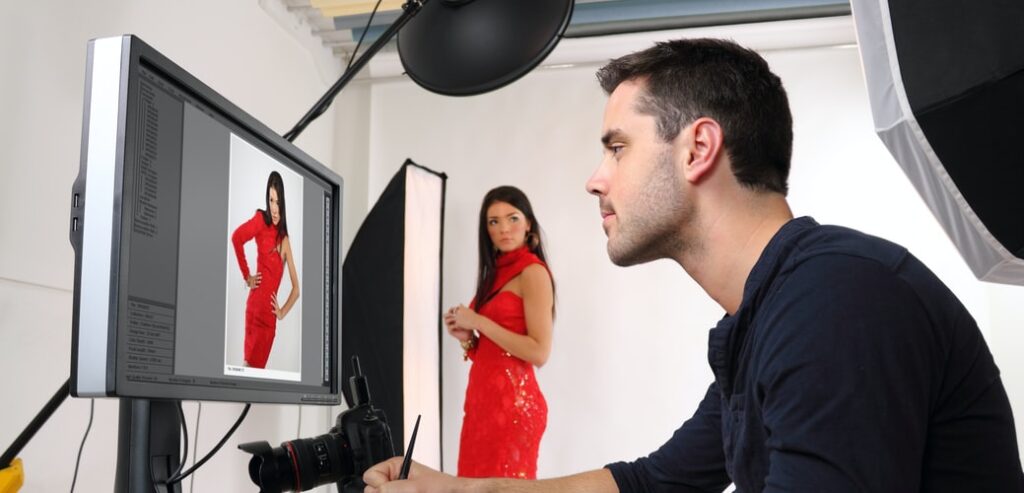
Studio Setup
Backdrop
The backdrop is an essential part of photography. For big products like furniture and clothes on models or mannequins, you will need a long-clambered sweep. For small products like electronic appliances, smartphones or footwear, you can use shooting stands. Try to use a backdrop of a white background as it is likely to reflect some of the light and balance out the pictures. During post-processing, this method is helpful while removing the background.
Lighting
The most critical and difficult to master part of a setup is lighting. For example, when you are using the natural light mixture to set the product next to a window, you can cover the window with white sheets to soften the light. You can also keep reflectors such as a white display or plasterboard.
In the case of artificial light, you need to have three softboxes. In the setup, they will work as your backlight, fill light, and key light. The main aim is to distribute and defuse the lights by using different angles to soften the shadows or keep no shadows. The backlight is considered to give more dimensions to the object, and the fill light is presumed to alleviate the shadows.
Proficiency in Camera Angles
- Bird’s eye.
This angle displays the product from its top view. This can be beneficial for adding graphic effects and highlighting a certain feature of the product.
- Eye-level.
This angle is supposed to capture the product’s most expected shots that people would want to see in real life. Thus, it is the most casual view in photography.
- Low angle.
This angle portrays the picture from its downward view. It is used to make the product look empowering and dominant.
- Slanted.
This angle portrays the product when it is placed at an opposite angle. Similar to the bird’s eye, it helps in creating graphic effects and a sense of motion.
- High angle.
The camera lens is angled down towards the object and display from above.
Things to consider
1 .The number of pictures required.
The quantity of pictures matters a lot. Customers would want to see all the sides of the products, including their features, quality and physic.
2 .Capturing every angle.
Pictures to be used in the website should have an eye-level front display. Get loads of pictures while the setting is present, especially in natural light. Displaying all the angles captures every part of a product which is important for an e-commerce website.
3 .Capture quality through photos.
The customer tends to be doubtful of the quality of the product while shopping from an E-commerce website. For example, if you’re selling some shoe use for clothing, zoom into the material of the particular product. Take detailed pictures of your product so that customers are satisfied with its appearance.
4 .Highlight the features.
Capture all the essential characteristics of the product to let the customer be known about its benefits. For example, you are selling running shoes. Take pictures of the shoes on a model running by a rocky surface. This will portray that these shoes are reliable to wear on any pathways.
This was your guide not getting started with e-commerce photography.