
As a seller on the internet, converting your window shoppers into buyers must be your prime objective. Your website should do the job of bringing in conversions. So the bigger picture you have about the product, the more powerful impact it’ll have on the customers.
Product photography provides a different perspective and better image quality that’ll surely improve your conversion. If you’re new to product photography, there are various details you have to take care of to improve the outputs. So how can you improve your skills at product photography? Well in this post, you’re going to learn about a few but top-notch hacks you can implement and better your skills.
1) Shooting On A White Background –
A plain white background works best for shooting products. To create a seamless background, you can use an infinity cove. The infinity cove is an all white curved space the provides a complete white space background which keeps on going. Photoshop can also be used to provide a standard plain background by using the image editing tool to get rid of the background image.
2) Avoid Using Filters —
Photographers tend to use filters to give a different or a better look to their. Filters are accessories that are used to alter an image. While you wish for your products to appear in the best light, your photographs should also give out an accurate display of the product’s looks. You can work it out on Photoshop after the production.
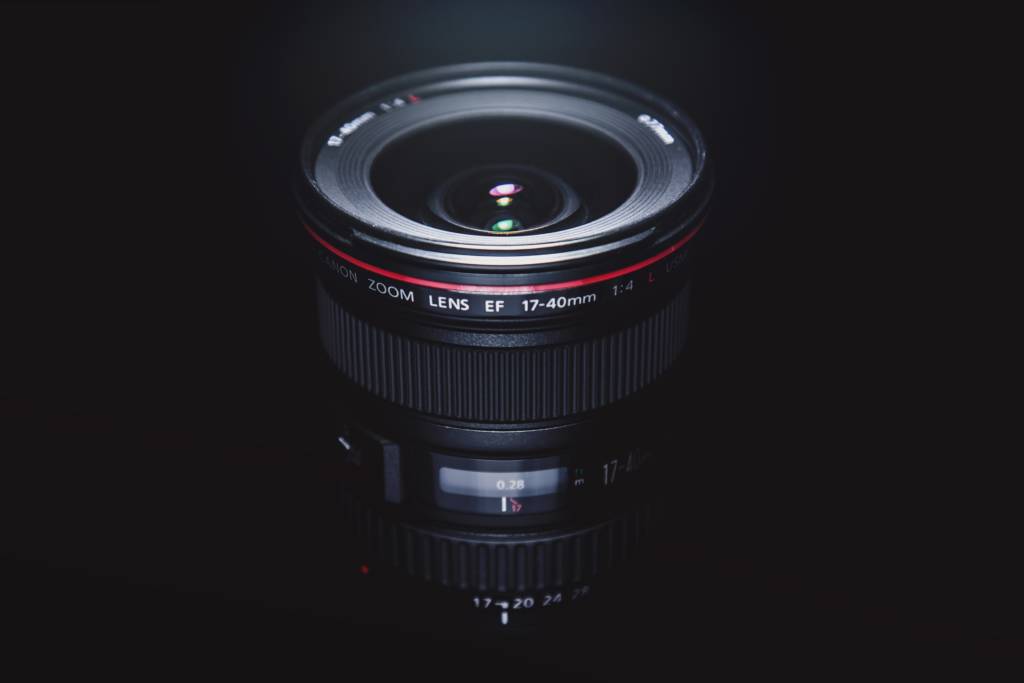
3) Using a Bokeh Background –
Bokeh is one of the most popular background styles which is quite easy to create. This a really cool background which can be used for products. It is a blurry effect that can be obtained by a specific lens. There are many ways to obtain the bokeh effect using different tricks available on the internet. You can use the bokeh background for your image on social media or on your website.
4) Use Of Color Psychology –
Using color psychology will help you capture the right emotions of your product, specially if it comes under the lifestyle category. You may have come across images of many electronic products like desktops, phones, and tablets are shot with a sleek black background. The color black symbolizes security and sophistication. It will be easy for the customers to make a purchase if you use different colors.
5) Using Macro Setting –
If you want to show the tiny details on your products, you should try using the macro setting on your camera. The macro setting on your camera will help capture fine details especially if you’re trying to shoot jewelry and want to show the little details.
This setting provides zoom on the details of the product that can be seen by the customers. This helps boost the confidence of the customers because of the better representation of the product and it appears up-close. Using a macro lens will help you capture even finer details compared to the setting on your camera.
6) Lighting In Your Photos –
You can choose to shoot your products in soft light or hard light when it comes to product photography lighting. If you have more light covering the product it is termed as soft light and hard light is where the light surface is smaller. Getting the lighting proper can be a challenge with many factors to take care of, like distance of the light which can give a soft light look or a hard light look. It all depends on how you want your product to look.
7) Using a Flash Diffuser –
You can use the flash diffuser to illuminate the light to avoid hard product photography lighting. A flash diffuser is a good accessory that helps to ensure that your product photography is properly lightened up. The diffuser helps to give out a more natural look. Generally, the diffuser makes your pictures look better. If you’re using the camera’s built-in flash and a flash diffuser, opt for a diffuser.
8) Different Photos Styles –
You can place and stylize a product in many ways for a unique perspective of your products. You can hang your products or you can position the product in the background. You can either shoot your product on its own or may show people with the product. You are also free to experiment with the light settings. If it’s a product related to the outdoors, you can place the product in different positions and you can also offer a 360 view perspective of the product.
9) Choosing The Right Background –
You can boost the appearance of the product with a suitable background for your product photography. You may have a plain background or a white background to get a standard look. Cardboards, wood, marble countertops, streamers, fabric, wallpapers etc can be used you’re trying to obtain lifestyle shots. For example, you can use wood panels as a background if you’re selling a rustic product or a marble background for shooting makeup accessories, sunglasses or watches.
10) Edit and Research –
There’s lot more than clicking pictures when it comes to product photography. You need to edit the pictures using editing softwares like Photoshop to enhance the image. You can add filters, effects or enhance the color but you’ll need to do some form of editing after you’re done shooting. The work you do post shoot is just as important as clicking the image. If you want your product to sell, portray them in the best light with a few image edits.
Well that’s a wrap to our list of amazing hacks for product photography. Implement these tips and enhance your skills and shoot better product photos. Like what you read? Don’t forget to share this post and spread the word. Thanks for reading.