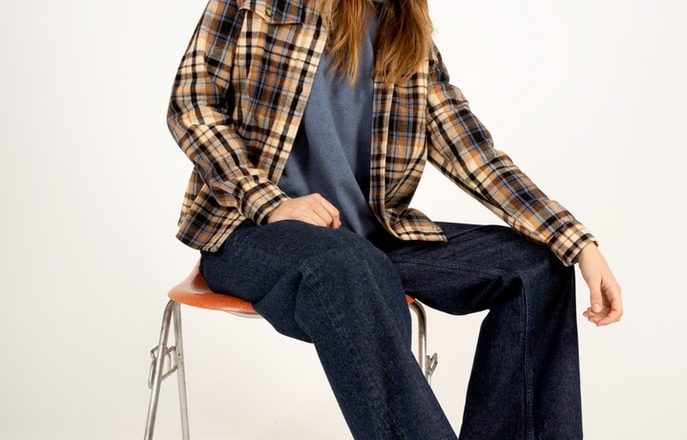
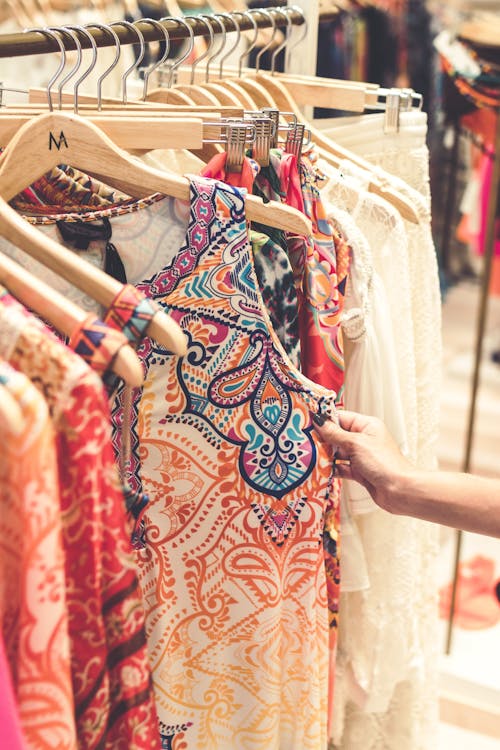
Product photography is one of the important aspects of ecommerce nowadays. Clothing photography deserves a special mention here. Image quality is equally important for providing a seamless experience to the online shoppers. A product can be described entirely by just by using product description. Photographs of clothing samples play an important deterministic role in deciding whether its going to be bought or not. A professional photographer can only be identified by the way he/she works for they have much more experience and it really matters in this scenario.
In this write up, we are going to introduce you to some apparel photography tips which will help you in gaining success like never before. We will show you how to capture clothing photos and what happens inside a clothing photography shoot or studio while capturing them with a step by step guide.
In this editorial, we will look at how to move forward with apparel photography as well as some things to keep in mind as we keep improving.
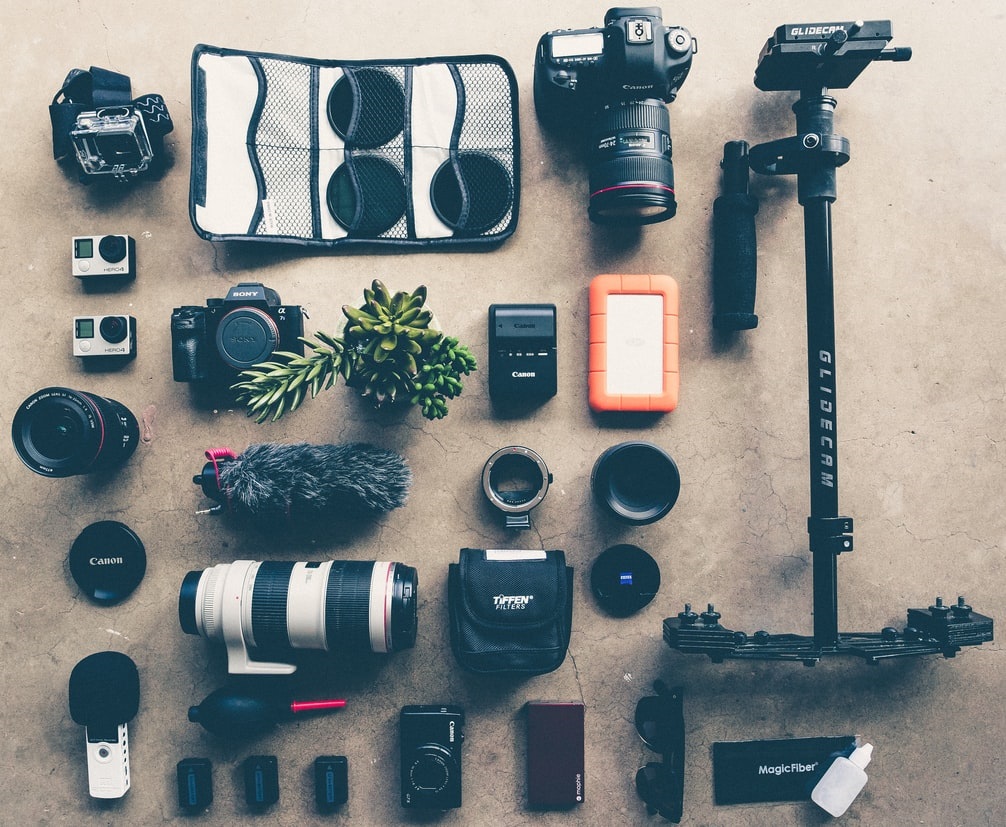
Tools, Camera and Camera settings
For setting up a photography studio you will require you a set of tools for capturing some good, working shots. But, buying cameras and other tools might cost a lot of rupees. If you want to keep your expense under limit, then you can consider buying some low-cost items which will indeed get the job done. There is no need to buy the most costly DSLR camera to photograph clothes. All you need is some adequate tools and a pinch of willingness to try.
In case you need some good artificial light head and lighting equipment for product photography, then I would like to mention that artificial lighting can be achieved using some cheap tools available in the market and on online stores. Later, if needed you can buy some expensive displays and lighting kit as well for better output as per requirement. But for beginner it is not required.
And, if you are new to photographing a clothing line, then you can even use your smartphone. There is no hard and fast rule to use a particular type of camera in order to pursue product photography. You can use any camera you have be it a digital camera, a smartphone or a point-and-shoot camera. But, if you can afford it and you have the required funds for the photography studio, then you can use more professional equipment.
Modern mirrorless cameras are ideal for clothes photography because of its current technology, stage lighting connectivity, and substantially decreased weight when compared to standard DSLR cameras.
A tripod eliminates the camera shake and shaking, which happens whenever your camera is accidently moved during a session. Place the camera on a tripod, frame the merchandise, and photograph it. Tripods aren’t one-size-fits-all, so make sure you choose the proper one just for your camera.
Lighting for Garments Photography

Lightning is very important while taking apparel photos. Potential customers always want to see all the details of the item while viewing the pictures of clothes. Its is important to ensure that there is enough light to handle photo session.
One can also photograph clothing in natural light, like the available natural sunlight during the day.
If there is not natural light available then you should try to head towards other light sources. You can also take the help of artificial lighting kit.
One can use the three point lighting, reflect light setup or single light setup in photograph clothing.
Lights & Reflections
Maintain a simple setup, and as your skill behind the camera grows, you may incorporate additional elements into your sessions. Whether you use natural or artificial lighting, the end result always has a shadow side. It is usually too dark to take a nice image. To lighten the shadow, use a very white foam board or sheeting to reflect the light into it. If you want to shoot on a table, tape or clips will hold the foam boards and photography paper rolls in place.
The Backdrop for Clothing Photography

Products can be viewed better when photographed against a solid white background too. In order to meet a website’s image specifications it is better to photograph clothing against a white background.
You can consider buying a paperwhite paper rolls in case you are planning to shoot a large number of products all at once for obtaining some high-quality clothing shots. You can use the huge rolls of white paper which are generally used in paper rolls in order to make the white drops for the apparel photography.
If the paper rolls becomes stained, you can cut it and replace it with a new, clean one. Instead of white paper rolls, a poster board might be utilized. They are inexpensive and may be purchased at the online store.
Photo studio set up and settings
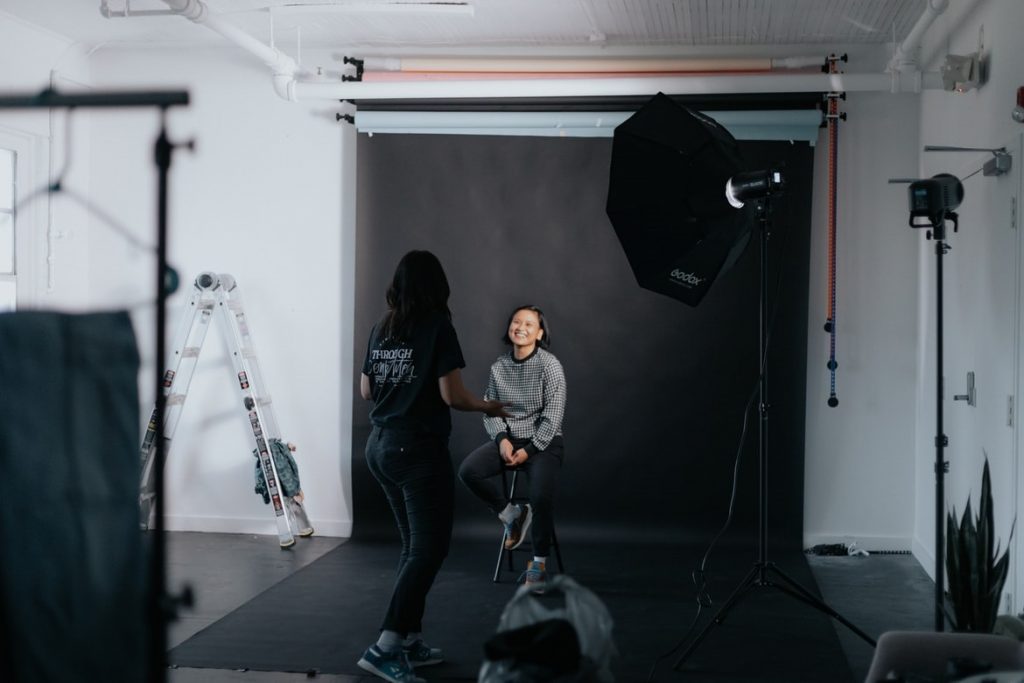
Any simple room can be transformed into a photographic studio for photograph clothing in just few steps. All you need is a camera, while wall, masking tape, C-stand, a tripod and some natural light. In case you do not the have the privilege of having natural light, you can opt for artificial light sources.
Believe that it is totally worth in investing money to get some extra pieces of photographing professional equipment. It will help you in having greater control over what, where and when you shoot.
It is important to ensure that the space where you are photographing garments is decluttered. A clean space will help you to stay organized and get the best output.
You can consider placing the paper roll on to the floor and bend it and tape it in place. It will aid in avoiding creases and distracting shadows.
If the paper rolls becomes stained, you can cut it and replace it with a new, clean one. Instead of white paper rolls, a poster board might be utilized. They are inexpensive and may be purchased at your local pharmacist or online.
So to initiate, at first point one light near the camera at the dummy. It will be the primary light. The secondary light which will serve as the fill light, will be placed at a 45 ° angle from the dummy and even further away from the camera decide the first main light. If the product is set too near to the backdrop, you may get some shadows. To have a clean, white background, move the object away from the backdrop.
You can also cut the strength of your source of light in half. In order to correctly expose your photo, it is better to use your camera’s light meter, which you may access by peeking through the viewfinder and altering settings. A f/stop, between f/8 and f/11, is ideal for garment photography. This will enable you to take better pictures of your clothing goods. Shutter speed basically means the time for which the shutter remains open.
When photographing garments, the shutter speed must be around 1/125. ISO settings for clothing photography should range from 400 to 800. This is influenced by the type of lighting you choose. Most appropriate range of ISO is 600 to 800.
Some Clothing Photography Tips
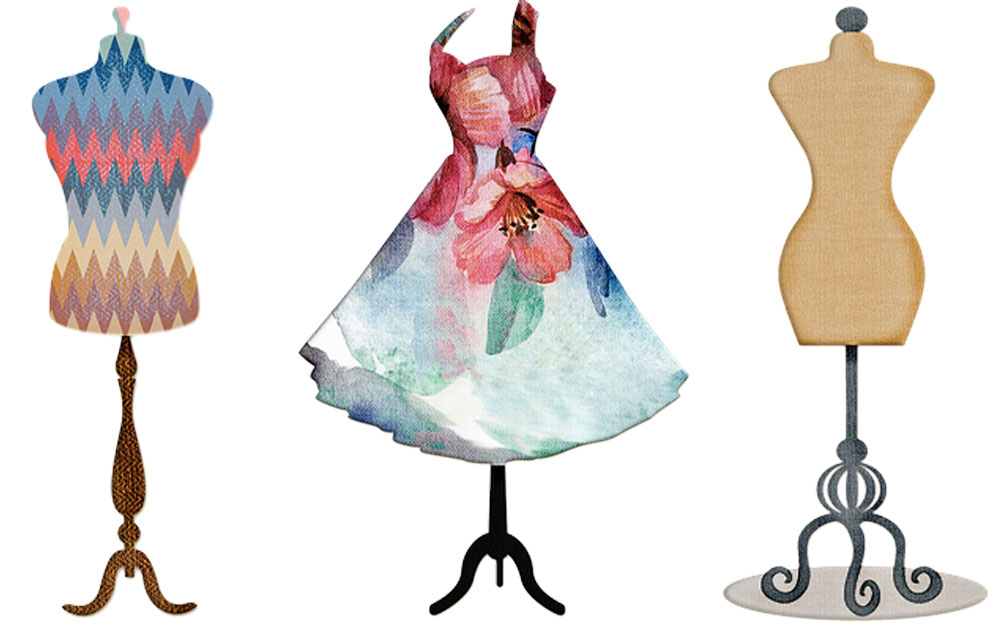
Mannequin
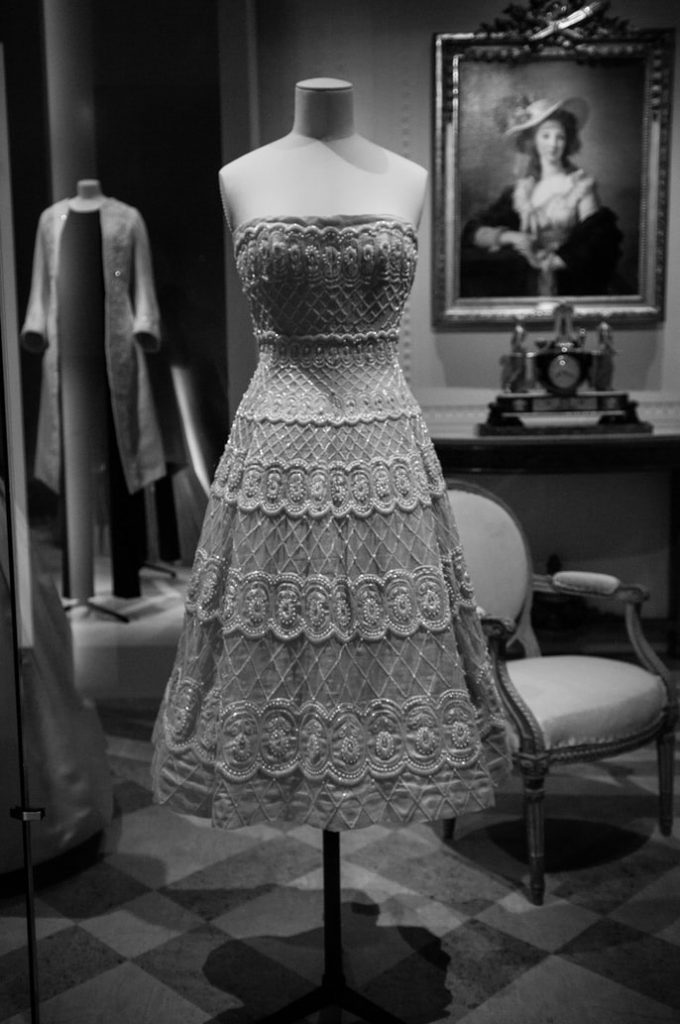
Mannequins are used in apparel photography. Depending on the type, they may be more or less expensive. You may even have a relative or acquaintance model your attire. Another alternative for collecting photos is to use a flat surface, such as with a table. It’s quite popular among garment makers wanting to shoot.
Flat lay
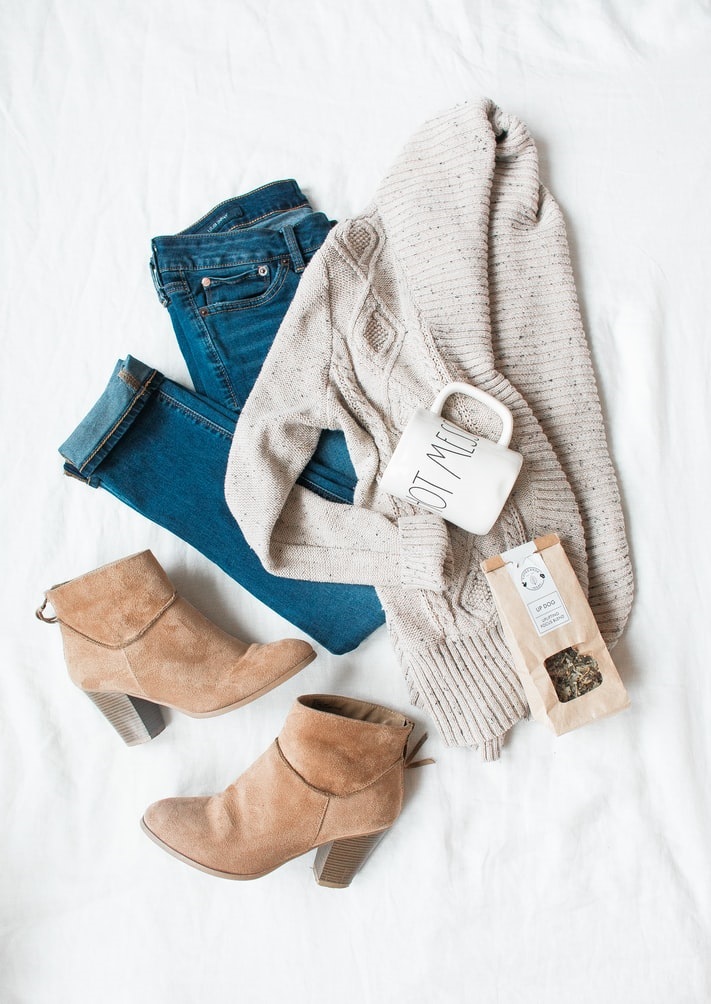
“Flat lay” refers to the technique of displaying or arranging things on a level surface or capturing them from above and the photography based on this is called flat lay photography.
Professional models for clothing product photography make fashion come alive, but they maybe expensive. The ghost mannequin method can be used in post-production. By shooting a few more images of each product, you may eliminate the mannequins from the product photographs and create a 3D representation that illustrates shape and fit.
Flat lay photography is an excellent choice for common apparel that people can see themselves in, such as T-shirts, sweaters, blue jeans, or shorts. To show the fit of more complex attire, including such sports or outdoor gear, a mannequin or dummy may be necessary. Check it out to see how flat lay works with your purchases.
Flat lay photographs can be featured in online stores, and it can help in providing a seamless online shopping experience.
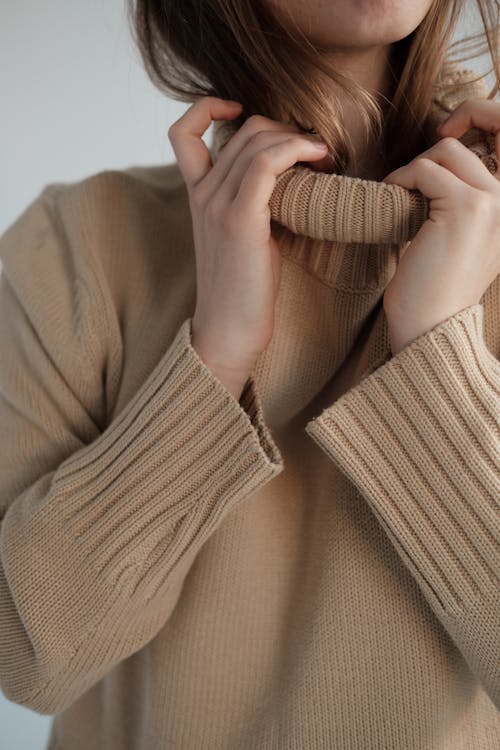
Show off the details by hanging.
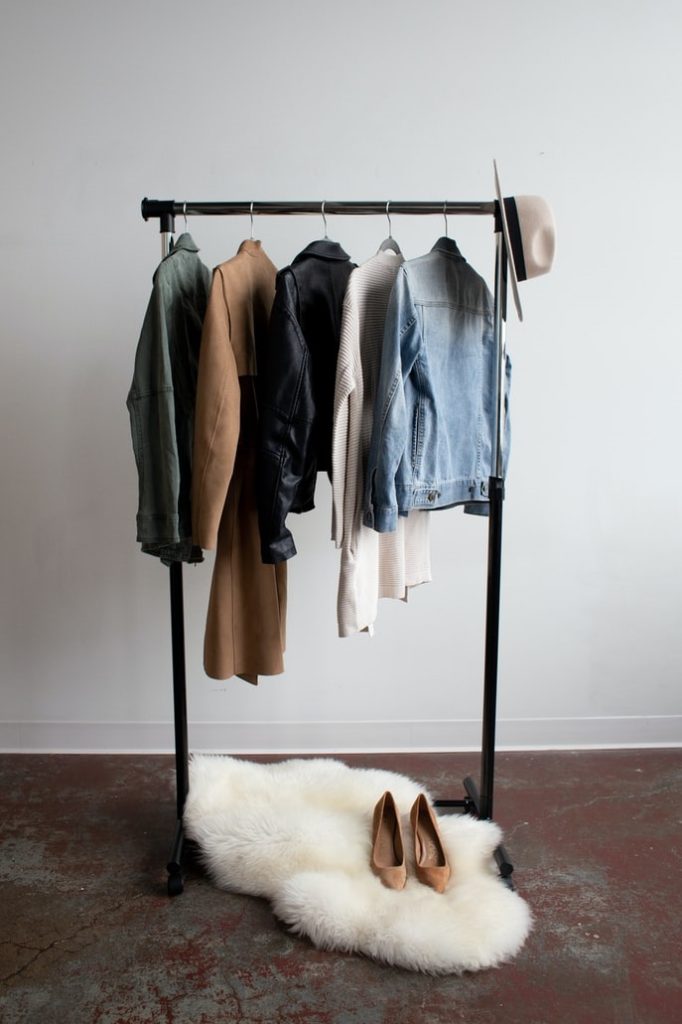
Details in clothing photography can also be demonstrated by hanging apparel at eye level. This method is relatively cheaper and faster. Here, clothes are hanged on a hanger either against a wall or a white background. Then the clothes are photographed.
Materials like silk work quite well for hanging garment photography. Once the clothes are prepped properly, they will not wrinkle.
While using artificial lighting equipment, if the ISO is high, it can cause distractions like noise or grain. Sometimes, grayish or colorful speckles appear which gives the images and excellent touch and quality.
Details get softer when the camera’s ability to capture sharpness decreases at higher ISOs. So, particularly in this situation, use a tripod to keep the ISO at 100 or 200 for said maximum clarity and sharpness.
Hire a Model
You can hire a model as well in order to photograph your garments.

Hiring a model allows you to snap images of the apparel in any posture that best matches and complements the piece of clothing. This will assist you in getting ideal photos of the clothes you are attempting to offer on an ecommerce site or portal. You may also utilize it to promote to the masses on Instagram or Facebook utilizing their algorithms.
Just remember one thing when shooting: the position should not obscure too much of object you’re attempting to sell.
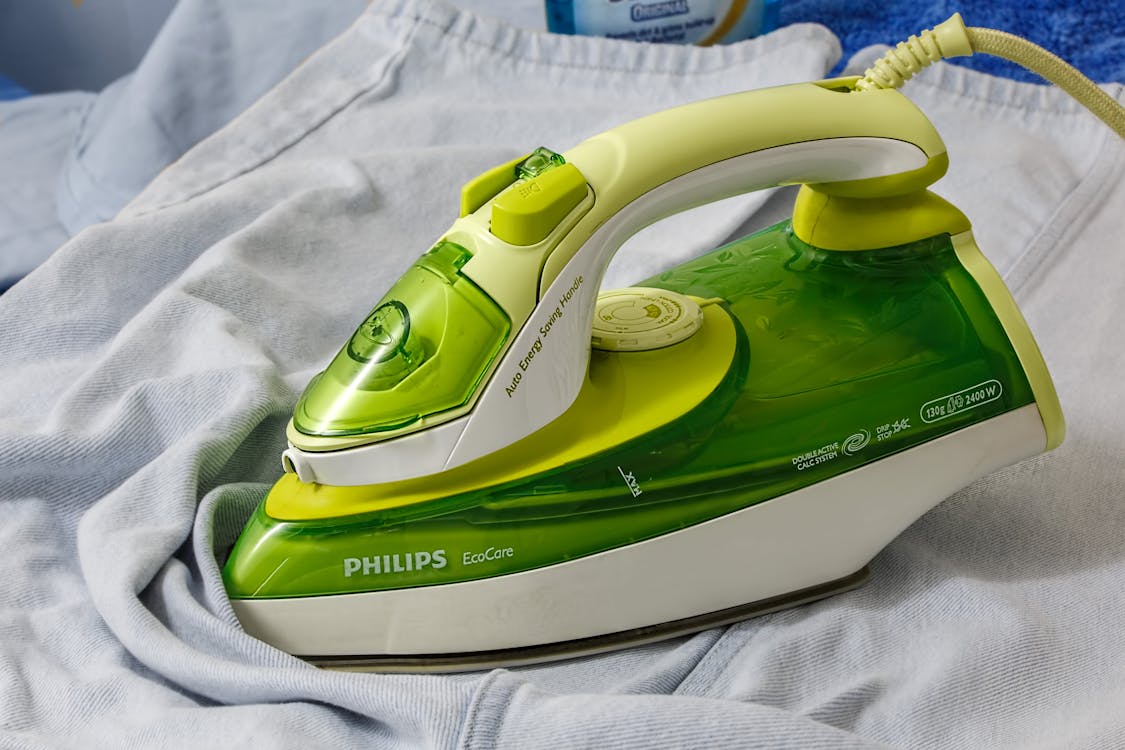
Garment Preparation
Garment preparation is one thing that is very important and you need to take care of it before beginning taking pictures. If you want to save both your money and precious time, then it is very very important to do this step with utmost care. Both the photography and post photo-processing would be more smoother and efficient. Price tags should be removed from the garment if it present including other labels as well.
Moreover, when garments look smooth and wrinkle free, it looks good in complete picture and also increases it’s attractiveness. Customers are more inclined to buy such garments. Because at the end, it is the pictures of clothes which the customers are looking forward to while buying one for them. So, this preparing the garments forms a very important and necessary step in clothing photography.
It is good to keep an Iron for preparing garments handy in a studio.
Camera and lighting
If you’re a beginner, start with natural illumination. You may opt to invest in extra equipment such as external lighting kits as well as other elevated items as your photography abilities improve. Then there’s the camera angle. This element receives far too little attention. You must pay close attention to where the camera is in respect to the position lighting the mannequin.
Detailing
Many individuals ignore little details. Taking away the backdrop and employing a consistent color has become fashionable in clothing and garment photography. An endless curve, sometimes referred as an infinity curve, is used to create a stage with a simple, single-color background. It is indeed popular amongst product photographers because it removes the impression of any background, enabling them to focus on the subject of an image.
sRGB Model
There are three different models from which to choose: RGB, CMYK, and sRGB. Most digital cameras will now use RGB as the new standard, allowing you to see a larger spectrum of colours. RBG may well be the way to go for print, but sRGB is the approach to go for your e-commerce site.
Buttons
It is very important to ensure that each and every button of garment or clothing is visible in the captured image. Making your garment as simple as possible is good but don’t overlook the buttons when it comes to fashion. You might even want someone go through the details of the shooting before it starts.
Its all about Tie
You should check if the tie is properly styled before beginning the photography session. There are several fantastic instructions on YouTube on how to tie the ideal knot. Plan ahead of time to ensure that the photo shoot runs smoothly and that you really do not waste time.

Presenting Collars
Always iron the collar well before body of your outfit. The collars would suit all facial shapes and are the most obvious feature of the clothing. Begin ironing the collar’s underside by pushing it up. You’ll gently and lightly transfer the iron from one side of the neck collar to the other. Then, flip the garment over and iron the outside surface. You want the collar to appear level and straight since this will maximize the productivity of the photo and make it sell more. With crumpled collars, the outfit will seem unpolished and unattractive.
Rule of Sleeves
To make the sleeves appear neater, fold them identically in almost all of the photographs. Place the sleeves in such a way that the consumer cannot see down them. You also might want to create the sleeves seem more consistent so that your consumers feel confident that it will fit when they try it on.

No to Wrinkles
It is important that you bring up imagination as much as you can. It will have more fun and your clothing will look nicer. If you want to showcase the best qualities of the outfit in the shot, it ought to be wrinkle-free. Because of the unique embroidery on some clothing pieces, ironing them completely may be difficult.
360 Degree Photography
360 photography, a technique that enables the client to see a 360-degree panorama of the image as if they were in the centre of the frame, is one way to give your customers a great look at your products and captivate them. This gives customers a better impression of the merchandise from various angles and increases their interest in your shop.
Cost for Clothing photography
The cost of Apparel/Clothing photography is determined by a variety of factors. In this post, we will provide a general sense of the cost of such photos.
For formal or shiny footwear, the cost of shooting for up to three shots for 70+ approximate goods might range between Rs. 350 and Rs. 450.
The cost of shooting for up to three photographs for 70+ approximate goods for Garments with Mannequins or flat lay and table top might be approximately Rs.350 to Rs.450.
With models, for 50+ goods, it might cost up to Rs. 500 to get new clothing retailers Rs. 600 to photograph the clothing with or without make-up.
For a saree picture shoot with a model, including make-up and draping, might cost roughly Rs. 750, if we have about 35 sarees.
The cost of a photo session of clothing, comprising ethnic and western wear, with an international model for up to three photographs might range between Rs. 1000 and Rs. 1700.
So, this is an estimate of how much clothes photography can cost.
The cost of a garment shoot in Mumbai, ranges quite a lot according to the kind of photography required, requirement of models, location, number of SKUs and so on for a more detailed discussion on the cost please call us on the above mentioned numbers or WhatsApp us.
Post Production of the garment photos
The goal of post-production processing is to make the images seem as professional as possible while maintaining their functionality. Because digital assets are transferable and the cost savings are enormous, this is the simplest and most effective step to outsource. As a result, make sure that the majority of the things are the same size so that all of your photographs are centered. You may desire that all corners, curves, and sides be parallel.
Cropping photographs consistently and specifying standards in design templates is the easiest technique to assure precise synchronization. Cropping product photos equally, as with orientation, ensures that clients have a consistent online purchase experience.
You may go one step further and eliminate any possible distractions by eliminating the backdrop. By eliminating the backdrop, you will also have greater creative freedom while also decreasing file size. Customers may become irritated and unsatisfied if color representation are inaccurate, so taking a few minutes longer to double-check that the colors of your items are correct is a smart practice.
Image editing and color correction also play an important part in clothing product photography. It is very important to highlight all the details of the clothing in clothing photography. So if one can master advanced editing techniques, it will be really very beneficial. While capturing clothing images, taking care of camera settings, camera’s light meter, digital zoom, shutter speed is very important. Photos can be taken from as many angles as possible as sometimes a particular photo captured at a particular angle looks much better.
Photo editing is also a key aspect in this regard. A few extra minutes can be spent on color correction and white balance specifically. You should also crop product images identically.
One thing to keep in mind, for starters it will not be easy to do clothing photography all alone. It might feel somehow messy at first. You have to give it some time. Ensure your complete focus towards your job. With time, you will see good results and better product photos.