Beauty and skincare products are a susceptible domain for women. However, nowadays, both men and women are also conscious about skincare. Beauty and skincare product photography is the driving force behind these massive sales campaigns, with e-commerce photos acting as a visible bait and a purchase trigger.
Cosmetics are everywhere today, which seeks the demand for cosmetic product photography.
Suppose you want to excel in cosmetics photography. In that case, you should try not to skip any part of this article because we have composed this article with eye-catchy beauty product photography ideas and tips. If the product photographs are taken in the right way, it can make anyone utter “Wow” just by looking at the images.
So, let’s start!
Know the purpose to catch the attention of the customer
Before you start capturing the product photos, you must put yourself in the customers’ shoes and think for some time. You must know that makeup photography is about catching the viewers’ attention. If you know the purpose of the product, then it will give you an added advantage to plan your shoot.
Ask your client the purpose of this shoot, where they would use these pictures- in banners, for magazines, newspapers, or their websites and social media handles. Knowing the purpose of the shoot would help you determine the audience and would broaden up your creative ideas for better cosmetic product photography.
Understand the USP of the brand
All brands have a specific aim or USP (Unique Selling Proposition). For beauty & skincare products, the USP of the brand must be displayed in front of the customer.
For example, if a brand sells natural skincare products, some natural ingredients must be highlighted in the skincare product photography. This would add an advantage to you to convey your brand’s message.
Sometimes brands launch a new series of products, say the Lakme 9to5; in this series, they have tried to convey that the products under this series would give coverage up to 8 hours and are apt for office women.
It is the responsibility of the beauty & skincare product photographer to communicate with the brand about their purpose and USP so that you can plan and shoot accordingly.
Placement is vital
The factor that distinguishes a good and a wrong frame is placement. Composition and product placement together can make or break.
- Cosmetic swatches
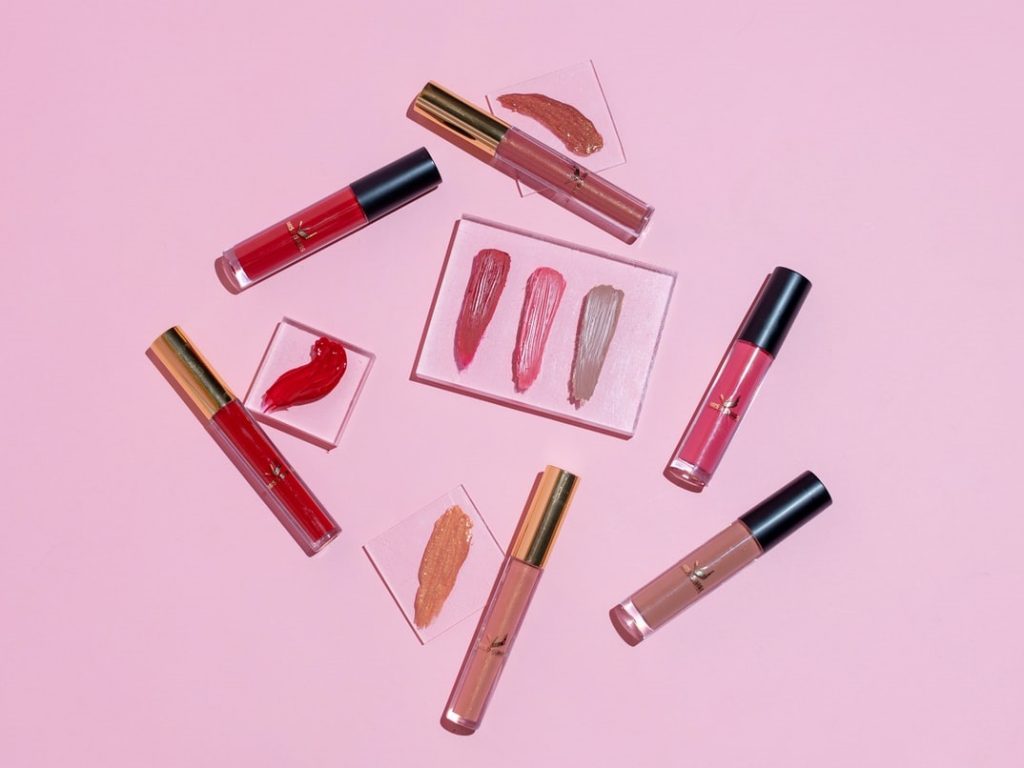
cosmetic swatches are very common in beauty product photography. They are eye-catchy, and the best thing is that it does not require much equipment to shoot. You need any lighting and a matched background, and you are all set to rock.
There are two ways to create swatches: directly taking the pigmented cosmetic and using your fingers or brush to swatch it. The other way is to make it done in post-production.
- Keep the cosmetic on a block or cube.
Taking images from the same height may not be feasible every time. Try to place the product a little above and take a shot at an angle from slightly below. This can be done by simply lowering your camera if you cannot elevate the product itself.
- Monochromatic cosmetic product photography
Monochromatic means focussing on a single colour. For example, if you are shooting for red lipstick, you can keep the background red, and any accessories you keep alongside must be red. This is how you make a monochromatic frame.
This kind of photography would test your lighting skills because this is not set well with every type of light. The rim lighting is best suited for monochrome images.
You can also try to experiment with the hardness or softness of the lights and the exposure, shadows, and so on.
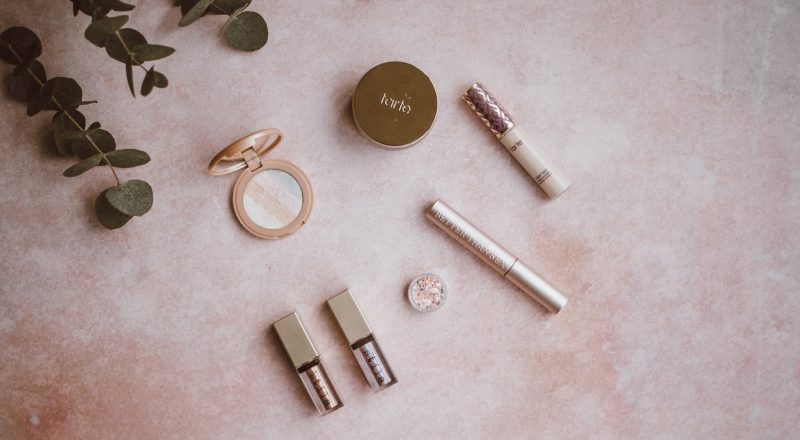
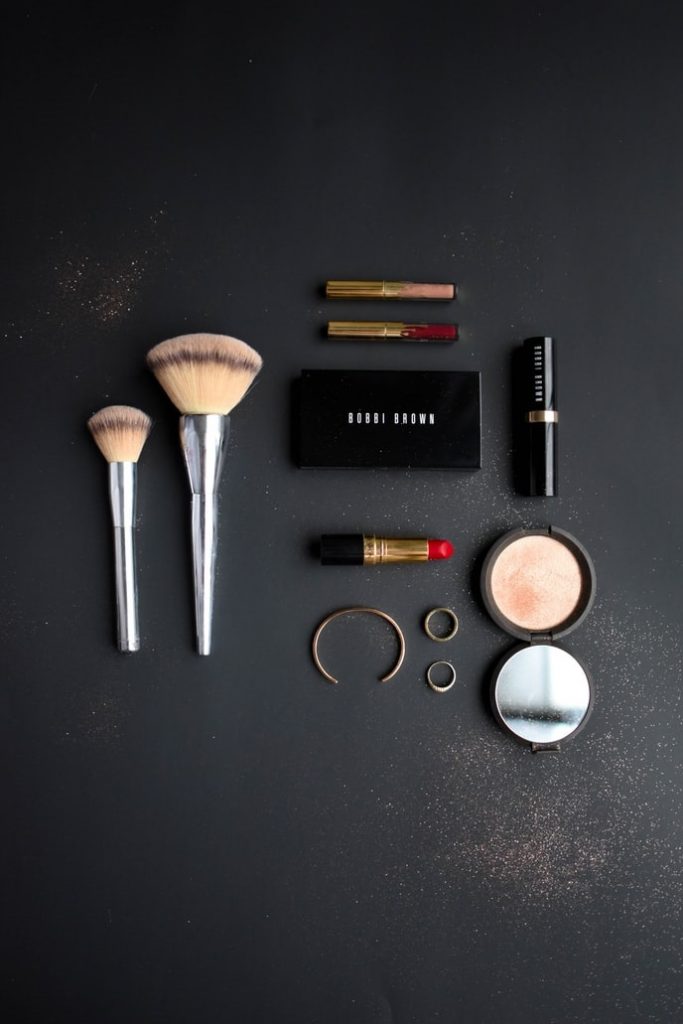
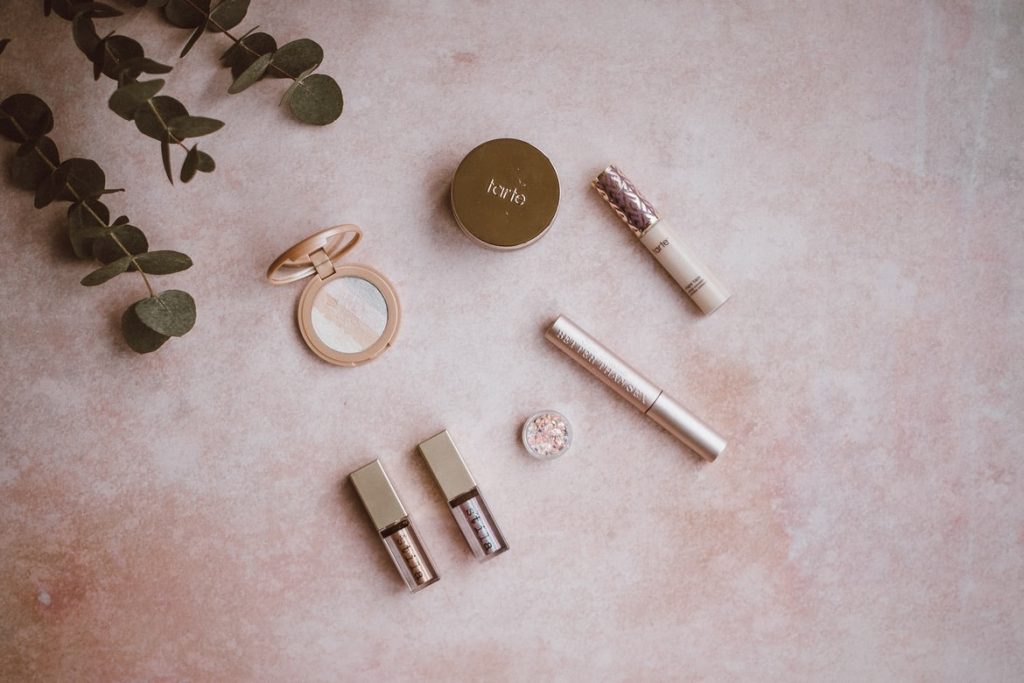
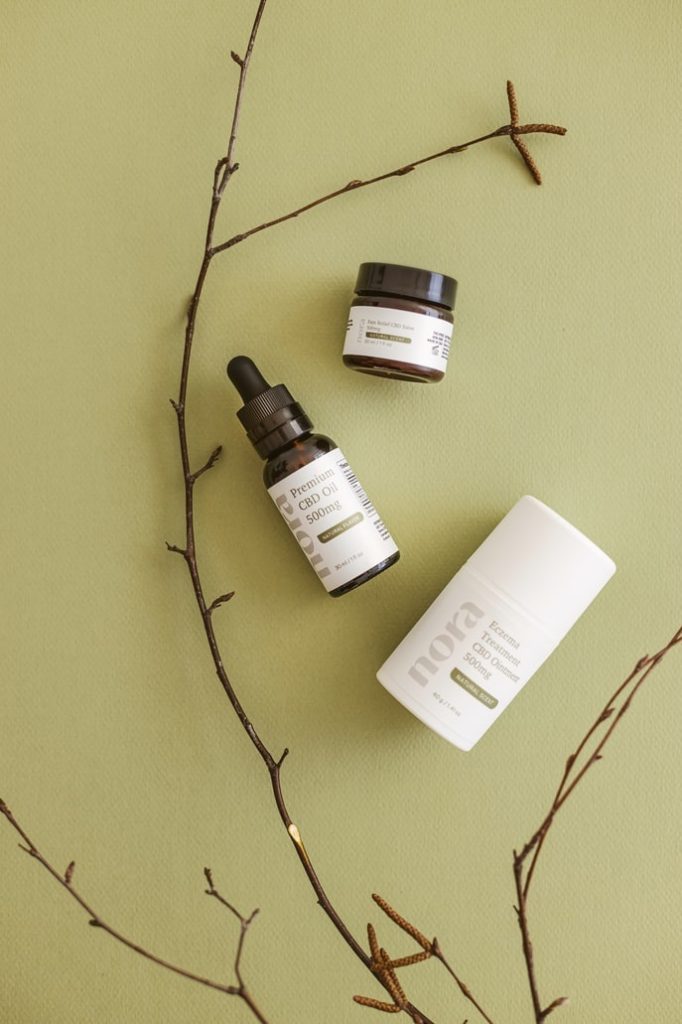
- Flay Lay Arrangements
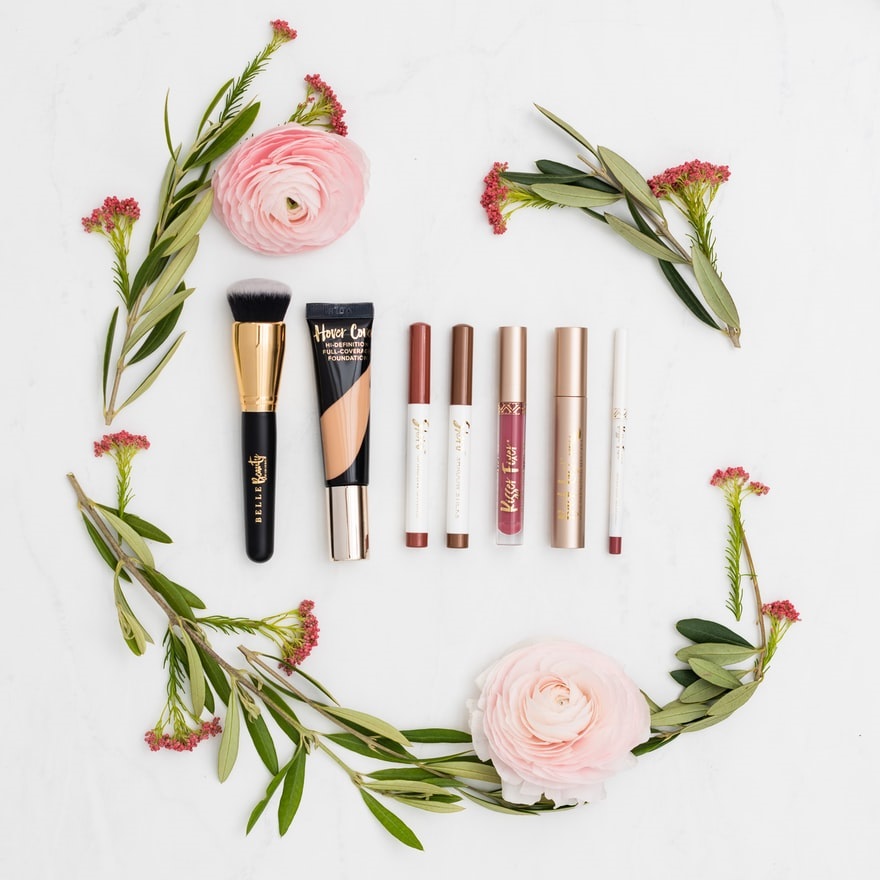
Flat lay photography is also very famous among brands, especially for their makeup photos, and it is a simple technique to try at home. You do not need much space or equipment, but you can have a lot of fun experimenting with different colour and texture backgrounds and compositions.
- Model’s touch
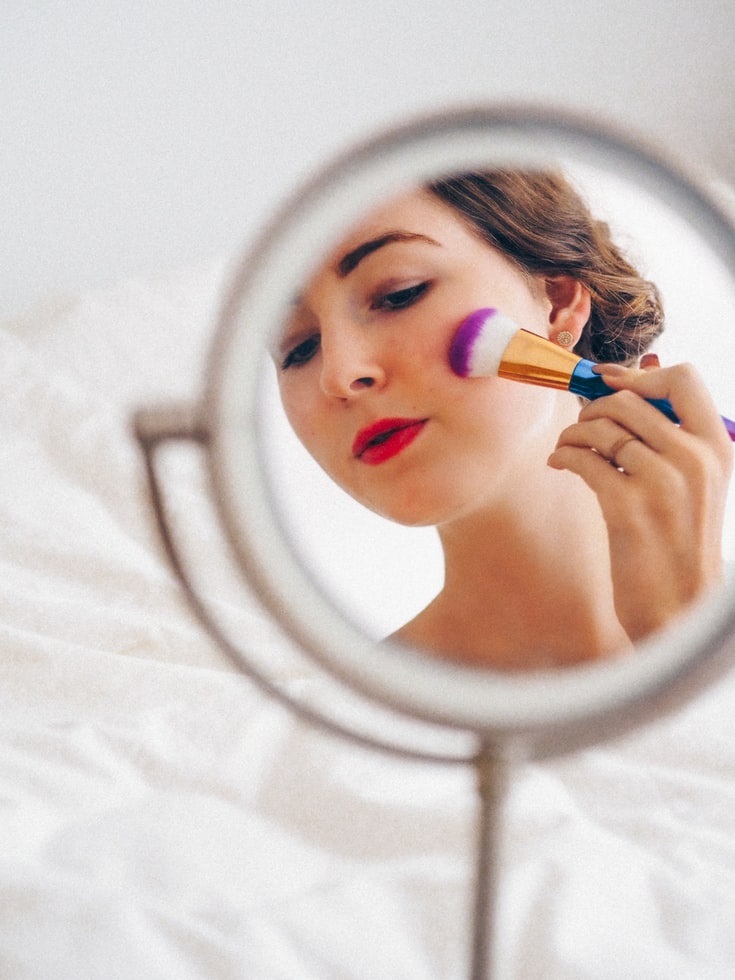
Models can always do justice to product photography. If the model’s makeup can be done using the products featured in the photograph, it would create authenticity to your image.
Close-Ups
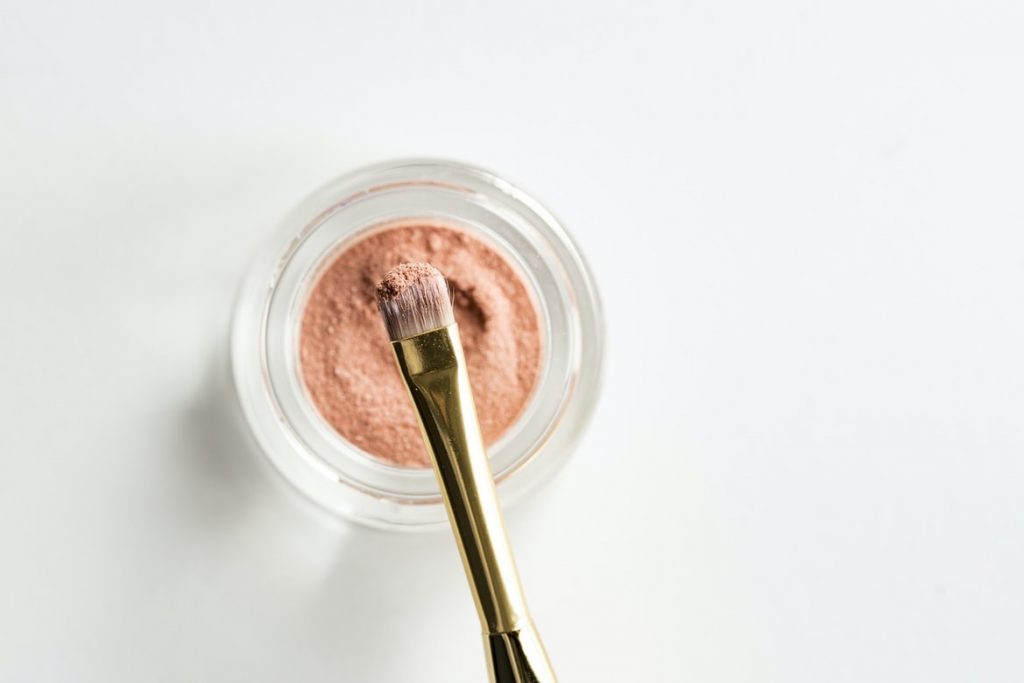
For cosmetic product photography, the products are not more significant. Thus, you must show the details while shooting cosmetic products. Before finalizing a product, the customers would like to view the cosmetics images, and they wish to see how the product looks.
As already said, people are very much cautious while buying two things- one is jewellery, and the other is beauty products. While viewing a product, a customer might fear missing out on something.
You never want the customers to get confused looking at your product photos, so detailing is the key.
Therefore, it is recommended to take close-up shots and capture the details well.
Capture an action
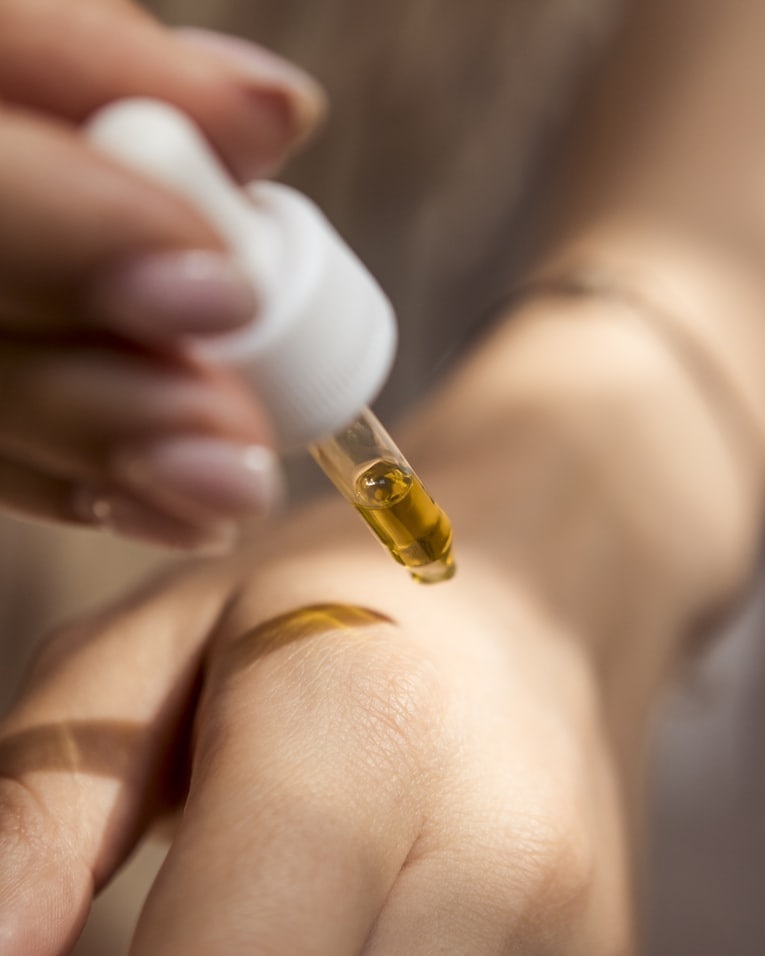
Generally, beauty products are not featured alone. When we see the beauty and skincare
product photography in magazines, banners, or advertisements, they are shown in action and not alone. This helps catch the viewers’ attention and brings life to your photography.
For example, opening a compact can be an action, squeezing out serum from the dropper can be an action.
If you are a photographer, then you must go creative. Bring in anything you think is apt for your shoot, and go ahead.
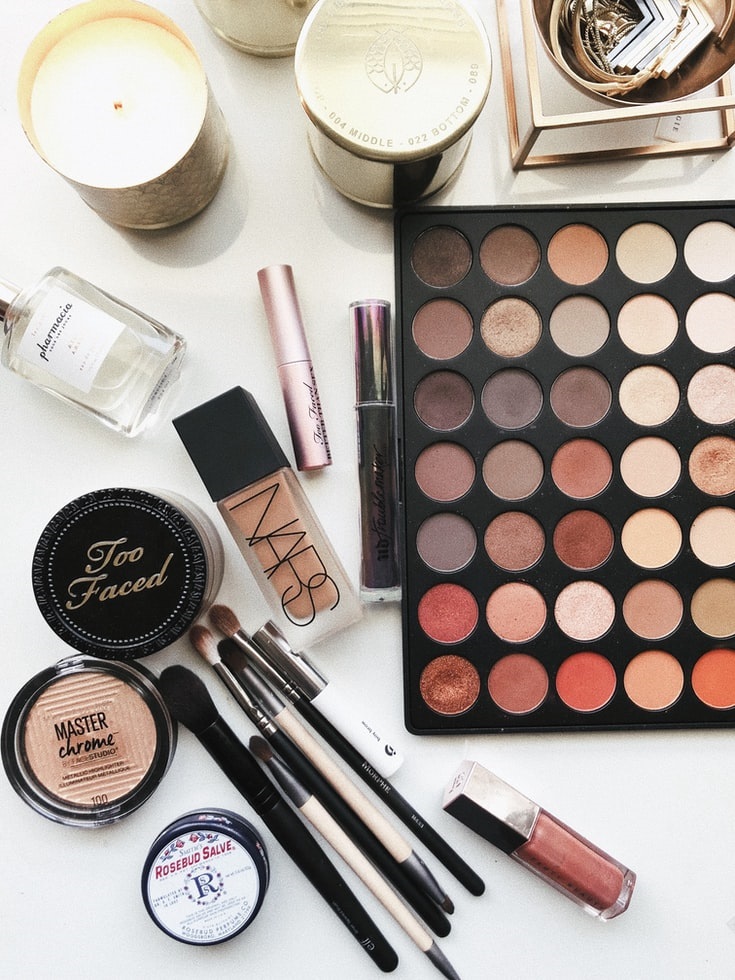
Use props
As we know, props play an important role in beauty and skincare photography for any product photography.
Make sure while using any prop, it must not withdraw the viewer’s attention from the main product.
Also, keep in mind that the props match your cosmetic product photography’s color, tone, and theme.
To create a messy look, you can use multiple props, but even in such a desire, you must remember to place the items properly, so they do not appear messier than required.
Show the supplements if you are shooting for some natural product.
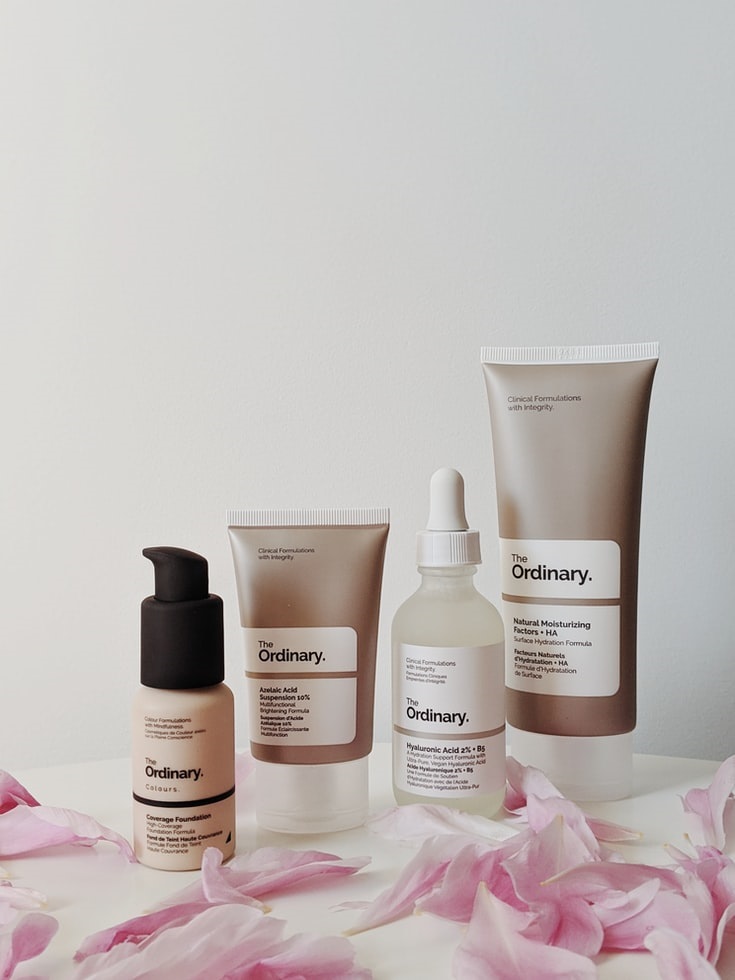
Set a tone
Setting the right tone for a beauty product is essential for cosmetic photography. There are numerous colours and tones involved in cosmetic product photography. Starting from the shade of the lipstick to the eyeshadow, blushes, highlighter, eyeliner, compact, foundation, or be it serums, shampoos, or lotions, every beauty product comes with various shades. You need to understand the product you are shooting for and decide the tone accordingly.
Sometimes the brand you are shooting for has specific requirements regarding the tone. Maybe they are launching some series of products, and they have set a tone for it. So, make sure you have good communication with the brand before planning your beauty product photoshoot.
Set a theme
The traditional methods of shooting beauty products do not hit the market nowadays. The market looks for every detail of your brand whenever you showcase a product to them. Hence, working with a particular theme has become a trend, and you must know every detail.
Avoid using flash
Keep the product clean and do not touch with bare hands
It is essential to clean the product before you start shooting. This is the essential pre-shooting step for any product photography. Once you hold the product and observe it from near, you will see many dirt particles and fingerprints.
Soft silk clothes, cotton buds, or a light blower can remove dirt. Damped cloth or a small amount of methylated spirit can also remove any stains or fingerprints.
Also, you might need to adjust the position of the cosmetics while you are shooting them; avoid touching them with bare hands as it can again leave prints. Wearing a set of gloves would remove any such possibilities.
Cosmetic product photography is done from a close distance; hence the stains, fingerprints, or dirt are likely to be visible in the final images and cause disappointment. Therefore, clean the products before shooting and avoid touching their bare hands.
You do not need extraordinary lenses to excel in beauty product photography. The lights, backgrounds, aperture, and right angles all make them.
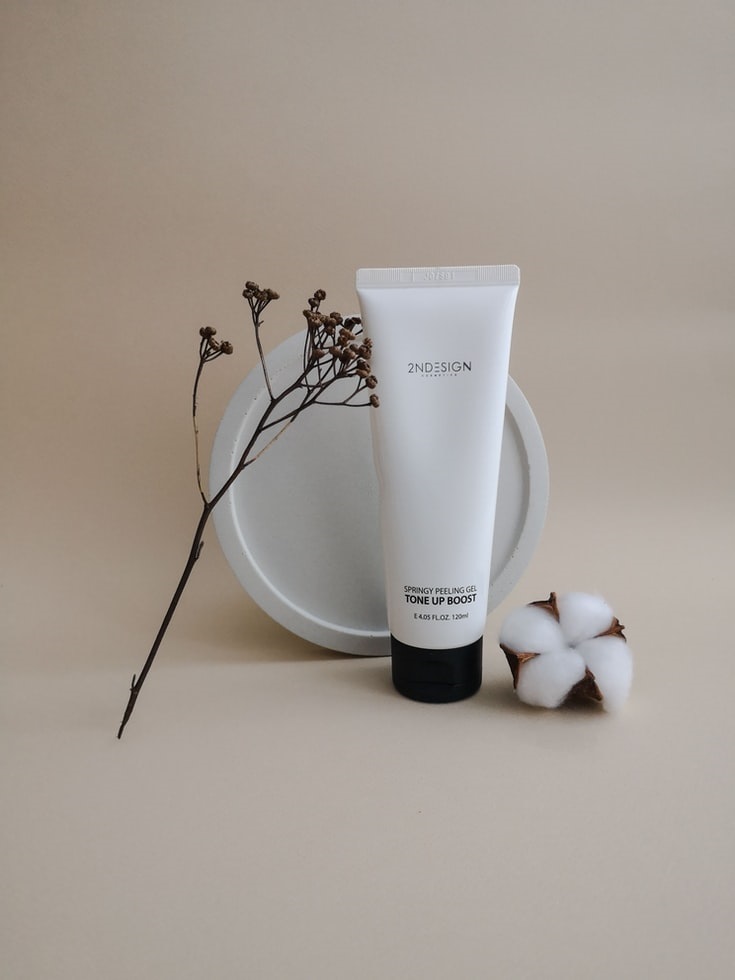
Background
Choosing the right background for every product photography is crucial. Ideally, your background should be something that compliments the product; in our case, the product is cosmetics, but at the same time, it should not distract the viewers from the product.
If you are shooting for a particular brand, the art director often pre-determines the background for the set of products. But if you are shooting for yourself, you must check on a few factors like the color and texture of the background.
White or soft coloured backgrounds are preferred. You can use acrylic sheets or MFD boards for smooth and plain backgrounds.
Lighting for Beauty product photography
Gradient lighting is the best way to shoot beauty and skincare products. Whether you are shooting under natural light or using studio flashes, gradient lighting will help you the best because the cosmetics or makeup products are often reflective, and the gradient lighting would recover them.
Please avoid using the softboxes because they often cause reflections.
Diffusers can be used for checking on the reflections. Take a refusing material in from of your source of light that is causing reflection, and this will soften the reflections making the photographs of the product look more appealing.
The depth of field
Although a shallow depth of field produces artistic results, it is preferable to have the entire product in focus when it comes to product photography. When shooting a product, f16 is good to get the most depth of field while avoiding the possibility of optical phenomenon.
Even if you use the largest aperture, it will be difficult to keep the entire subject sharp when shooting small things up close, as is often the case with cosmetics and makeup products. In these cases, you will need to use a technique known as focus stacking, which allows you to shoot a series of images with entirely different focus points and then merge them in post-production.
We cannot get over it so soon when it is about beauty and skincare product photography. This photography is open to any creativity and experiments. All you need is a creative mind, a camera, and some lighting arrangements. Beauty product photography is also done in natural lights, and they look beautiful. So, if you are starting with cosmetic product photography and do not have much to invest in it, try to set up the subject with the props available at your home.
There is no hardcore rule that you must follow; else your photograph would not be accepted. But the only thing that you need to follow is that you do not deviate from the main product. Your main product should be fame, and any props or accessories must compliment it. Extra elements should be minimal and should not distract the viewers.
I hope this article on Beauty and skincare product photography tips will help you polish your cosmetic product photography skills. For more such blogs on beauty and skincare product photography or lifestyle product photography, please feel free to drop an email. If you have any questions or feedback, please do contact us.