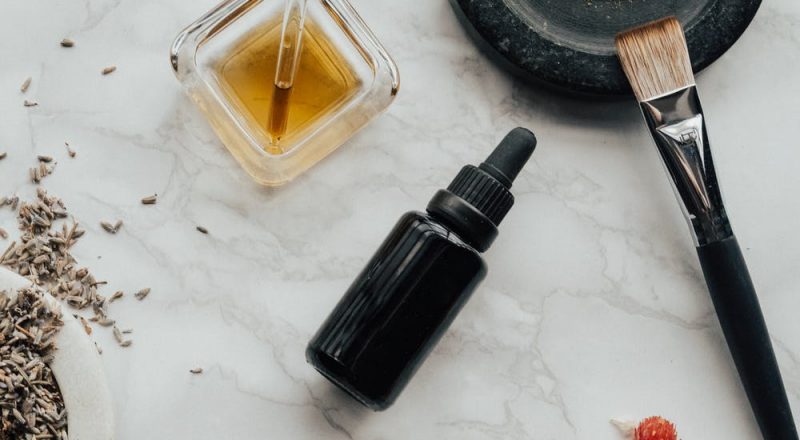
More than ever, professional, scroll-stopping photographs of beauty and skincare items are in demand. When it comes to product photography, the setup and styling vary a lot based on the products you’re shooting.
In this article, we’ll discuss how to photograph skincare products. If you’re photographing cosmetic or skincare products for your blog, social media platforms, or a client, you’ll need to know some beauty and cosmetics product photography tips.
We’ve got the secret information on how to make your skincare content and products stand out correctly.
Placement & Composition
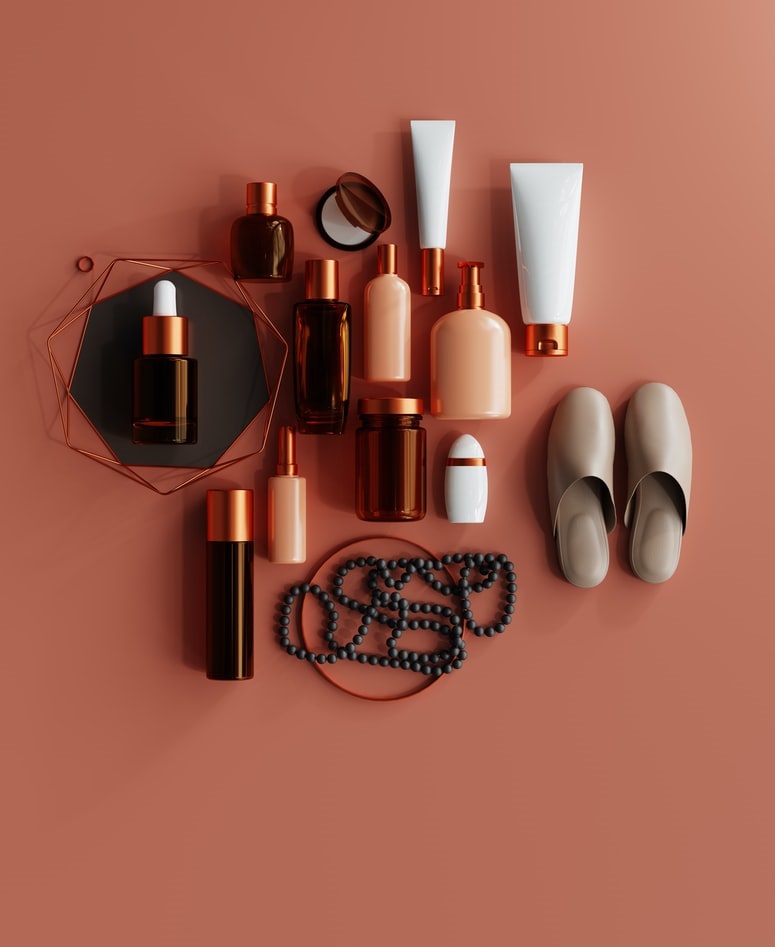
Composition and product endorsements are two key variables in determining whether a photograph is good or not. The product should be at or near the center of each image because it is the hero. A ‘rule of thirds’ grid can also be placed over the screen of most phone cameras and DSLR cameras. This divides your display into thirds, with the concept that objects placed on one of the lines or at the intersection of two lines will attract attention with an excellent composition.
Consider utilizing acrylic styling props to elevate things up or place them at an angle to give visual interest to a flat lay or product photo for skincare photography ideas, which will break up the one-dimensional effect. Including the components in the shot adds to the visual appeal of the image and communicates that the skincare product is organic.
Use the plan in action
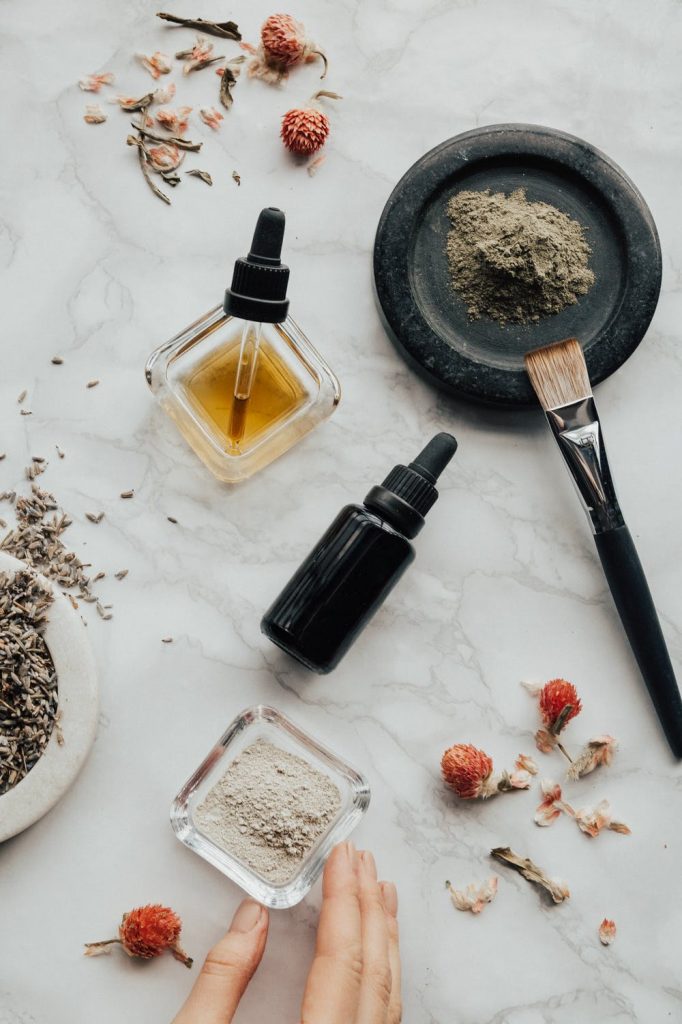
To achieve the optimal layout, you can use either the 8cm square acrylic prop or any 8cm triangular type props. You can also use them to showcase product samples to show how a beauty or skincare product looks when removed from its package.
You can also add more color and shape with a new 10cm square type green Foam Styling Prop. Use multiples of the same product to create a recurring pattern effect if you highlight the product from every perspective. Aloe vera and a green apple can also be used as props in your pictures.
It is suggested that you utilize anything as props yourself and observe if the similarity between your products and the accessories you are utilizing is captured. Aloe vera is an excellent theme for photography since it adds a splash of color to any image. Aloe vera is beneficial in various forms, including whole leaves, small fragments, and gel.
Light
Lighting is one of the essential aspects of cosmetics photography; therefore, knowing how to use it properly is crucial. Natural light is wonderful, but it isn’t always consistent, so having studio lighting on hand is a good idea.
Ring lights, such as the 18-inch size diamond lightings, are ideal for beauty and skincare photos because they create a soft, even light that helps to reduce imperfections and sharp shadows on the model’s face and in the background. Flat lay product photography can also benefit from huge ring lights.
The allure lighting kit or arrangement, or something with two LED light wands on a single stand, is another adaptable lighting system. Diamond lighting systems and various soft lighting are effective and appropriate for photographing skincare goods. Adjustable settings are required for rapid and easy transitions from editorial to flat lays.
Features and types in lighting you can use.
Both light fixtures are multifunctional, allowing you to experiment with different light temperatures to determine what works best. Warmer and daytime light temperatures, in general, look better with models or whatever themes you’re attempting to use; however, cooler temperatures are preferable for skincare product photography.
When there are too many props, the focus can shift away from the product and the props surrounding it. However, this is highly subjective and dependent on the type of skincare goods you’re photographing. It’s worth watching a few online lesson videos to learn about various lighting approaches and how to use artificial and natural lighting.
Artificial lights for best effects
Softbox lighting kits, such as the ‘Illuminate Mate,’ enable you to employ numerous lights for greater control over your shot. These are also perfect for your skin product pictures and as a background. When space is at a premium, a light tent, such as the studio lights, is an excellent option for shooting products.
The skincare products take center stage and receive all attention in minimal images. Light is the most important factor to consider. What you’re looking for is entirely dependent on your needs. Don’t use a reflector if you want your images to have the harsh shadows that natural brightness produces. Sometimes harsh shadows give your photographs an excellent graphic effect.
Eye-Catching Colors
When using both figure and product photos, vibrant backdrops draw the audience’s attention. Learn about color theory to figure out which colors go well together, and stay away from backgrounds that are too close in color to the product or the model’s skin tone.
Consider applying vividly colored accents on models, such as bright orange eyeliner or exciting, flashy jewelry. You can use half-width paper backgrounds in various solid colors as well as full-width paper backdrops for your skincare images.
These backgrounds are also available in multiple colors and custom sizes to suit your specific needs. It is recommended to utilize textured or plain colored flat lay backdrops for flat lays, as well as an exceptionally curated four-pack of flat lay backdrops for cosmetics, product, and skincare photography, which comes in bespoke sizes and vivid colors.
Create Shadows
You can also use various types of artificial leaves, such as monstera leaves, which can be found in many internet retailers and can produce intriguing shadows when light passes through them. This kind of shadows can be used in the background to fill up the goods’ empty area. It’s a modest approach to inject some originality into the shot of your skincare product. The larger the shadow produced on the arrangement by your leaf, the further it is from the setup.
Interesting Textures
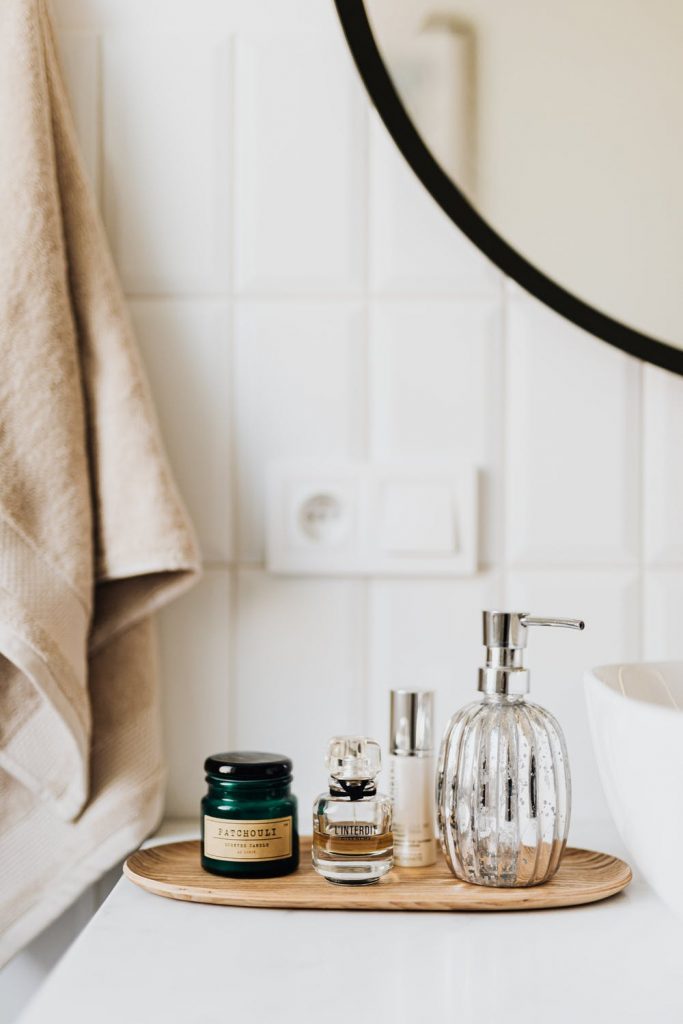
Textures are excellent, but they can overshadow a scene if utilized incorrectly. Please choose only one or two textures that complement each other and stay with them. Textured backgrounds and fabrics look wonderful when matched with high-end skincare and makeup, but consider that textures might appear softer or more challenging depending on the lighting you use.
You can also choose from textured backdrops, which are all double-sided and have various designs both on sides with curves on both sides. They are also available in basic colors or convenient packs, which you can purchase according to your demands and sizes. Cotton Backdrops can also create ripples around the goods or fascinating textured flat lay designs.
Go green with simplicity.
Greenery Props like our Palm Leaf, Monstera Leaf, and Eucalyptus Leaf can be utilized as a shadow prop to create the sense of an exotic place in a model or product shoot. For example, to make the idea of a beach theme, sunscreen can be shot with a palm leaf shadow and sand.
Another rationale for using greenery as a prop is to convey that the skincare or cosmetic product is natural. If you’re only photographing one product, use a simple prop like the round mint green one. If you use a foam styling prop for height, it will stand out even more.
Take many photos and use heights.
Also, if you’re taking multiple products shots, then adding height makes it simple to create a beautiful display because it gives your photos a high-end feel and texture to the viewers. You can take a still photo or try a stop motion shot with bubbles flowing in and out of the frame. This can sometimes give a fresh theme to your photography. When it comes to product photos, sometimes less is more.
Balanced props or minimal
If you add too many props and objects in each photo, it will appear overcrowded and crowded. In each shot you take, look for numerous crucial design aspects that work well together, such as colors, forms, and textures. Make a list of the product’s design components that you want to photograph. Look at the colors, as well as the forms and lines. It’s also vital to assess what your skincare product’s branding represents or communicates.
It would help if you considered whether your products are feminine, macho, natural, or high-end. Please use colors, objects, and textures that complement the product and its branding. A suitable prop type is the maker of shadows. The photographic style prop of a faux Venetian blind is a great way to add depth and richness to photos without sacrificing simplicity for your beauty and skincare photography.
Angles & Swatches
Experiment with varied angles, not just the standard shot kinds, for both your skincare items and model shots. A 20 or 40cm mirror prop is a terrific method to show off many viewpoints in a single frame, and you can have models hold mirrors in shoots to create interesting abstract effects.
Audiences love to see how a skincare product or lipstick feels and looks, and swatches are an excellent method to display the contents or color of your items, and they should be used after every shot. In the case of cosmetics, swatches provide a clear idea of how the product will look on various skin tones and the level of coverage.
Use mirror effects with LEDs
Images of your models before and after are an excellent method to show how effective your product is for your beauty and skincare photography ideas. Use a ring light, such as one of the aurora LED light ring varieties, to ensure that your models are well illuminated and look their best in every shoot. Mirror reflections produce dynamic information, and you can experiment with putting subjects in and out for further visual appeal and perspective.
Models can help demonstrate a product’s scale and how it appears and behaves on skin. They also allow you to use the same makeup and skincare products on various faces and skin tones. Get creative with the transparent acrylic props in different customizable shapes, including an 8cm circle, an 8cm square, a scallop, and a triangle. They’re simple to clean, and layering them with swatches produces interesting aesthetic layers.
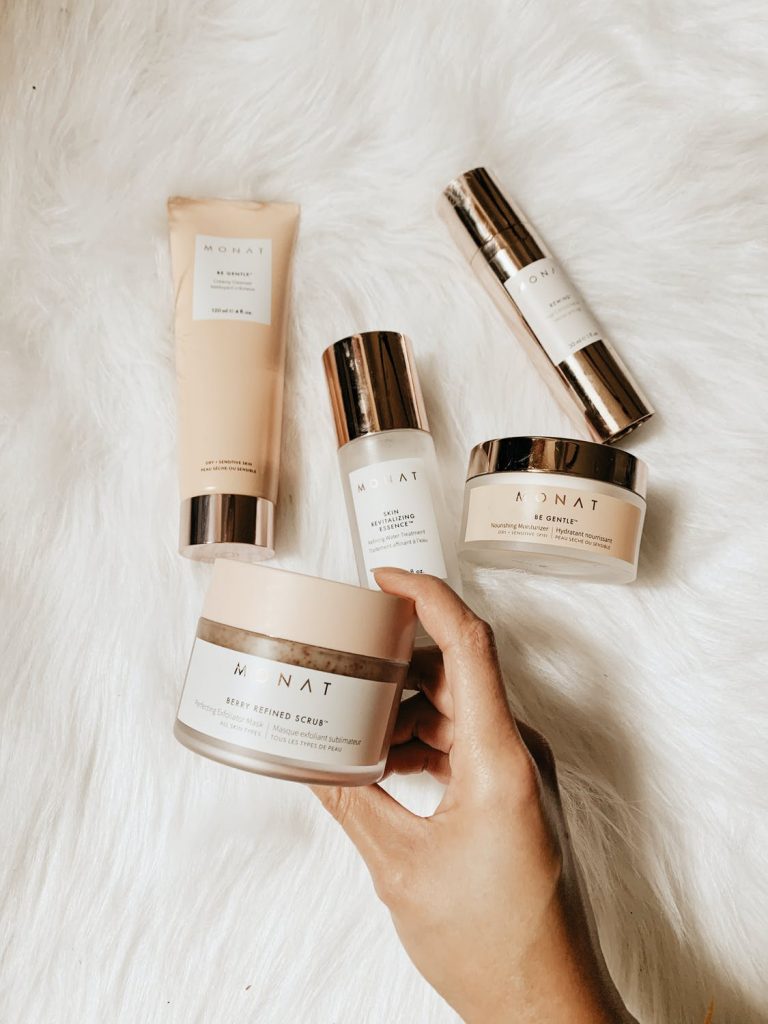
We hope the above beauty and skincare photography ideas will be helpful for your next skincare products photoshoot and that you may put them to good use with your next social media product shoot. Remember that organizing your shot ahead of time will help you get things done much faster, and client shoots need to ensure that you have everything you need.
Before the shoot, we recommend completing a lighting test to determine what kind of light you want to utilize and what camera settings you’ll need for bright, well-exposed photographs. After that, it’s time to get creative and create eye-catching beauty & skincare photographs for your company.
