If you work in the clothing fashion industry or deal with clothing, garment, accessories, and other similar items, you must be concerned about getting clothing and apparel photography right. After all, the main goal is to thrive in the company, thus you must understand that how items are presented is really important.
When it comes to clothes and apparel photography, there are a few things you can do to improve each shot. The eCommerce sector is always changing. Although fashion trends come or go with each season, there are a few aspects that must remain constant, particularly in the field of clothes photography.
In this article, we’ll look at the most common significant mistakes that product photographers make and how to prevent them so that you can create amazing inventory photographs.
Don’ts
Not Preparing
You want your products to be in the greatest possible condition so that you can show them off to potential consumers. However, as you may know, clothing can become crumpled and creased, and even start to seem worn, because of storage and transportation.
Clothing samples are occasionally sent in worn, damaged, or incomplete condition. The most important stage in photographing apparel is to prepare the items for photography.
However, many apparel photographers omit this step and instead rely on Photoshop to remedy wrinkles, stains, and other issues that occur during storage or transportation. You can also use photoshop or editing simply to add finishing touches and color grading to your shots, ensuring that you catch the item as perfectly as possible in-camera.
It’s critical to inspect your product thoroughly from start to finish, inside and out. Any tags, labels, or other identifying elements which need to be removed should be done so. Please do so. You must understand and see if your clothes have grown wrinkled or creased during storage. Steam or iron them.
Use the resources at your disposal to repair any further damages or distractions you may encounter. Lint rollers and tape, in particular, are excellent for removing dust and threads from fabrics.
Before submitting it to the final stage, inspect it for any loose threads, stickers, dust, or hair, and always carry a set of garment prep tools with you. Due to last-minute design modifications, such as fit, colors, and patterns, samples are often incorrect when they arrive.
Make sure you understand the design modifications for each garment so you can either alter the sample in the studio or decide to shoot the actual sample that will be sold after editing.

Not taking more Images
Contrary to popular thinking, one or two photographs of each product are insufficient to offer customers a clear sense of your inventory’s cost-effectiveness and quality. As a result, it’s not good to provide clients with as much information about each product as possible by posting at least three photographs per product—and preferably five to ten.
When it comes to clothing fashion photography, less is absolutely not more. When you believe you’ve got enough photos, throw in one more just to be safe. When shooting fashion images, your first objective should be to provide the perfect purchasing experience.
Many eCommerce websites allow you to post 9-12 photos for each product group, but many shops don’t make use of this additional marketing potential. Photograph your products from as many perspectives as possible whenever possible.
At the very least, photograph the typical front, side, and back views of each product, and then include close-ups of essential product flourishes, such as buttons, zippers, or embroidery, the features that set your shirt, dress, or other items apart from the rest of the online competition. Your super or finalized photo should be your hero image.
It’s the first image that online customers see before deciding whether or not they want to see more. The more photographs of the goods you post, the better the customer’s understanding of the product will be.
According to many retailers, this will give them a better shopping experience and illustrate the quality of your products, as well as assure that the consumer is delighted when the purchase arrives, reducing returns.
Not using Mannequin or any Model
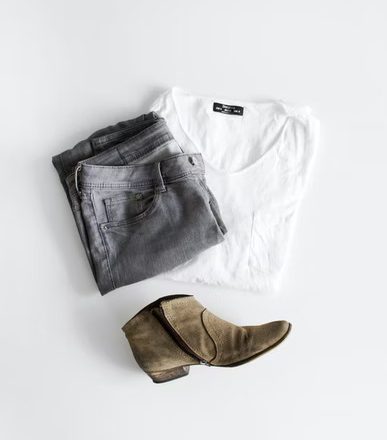
By not photographing items on mannequins or real models, many apparel photographers neglect the significance of communicating shape and fit customers which they will actually wear or buy. Instead, people just hang stuff on hooks or put it flatly.
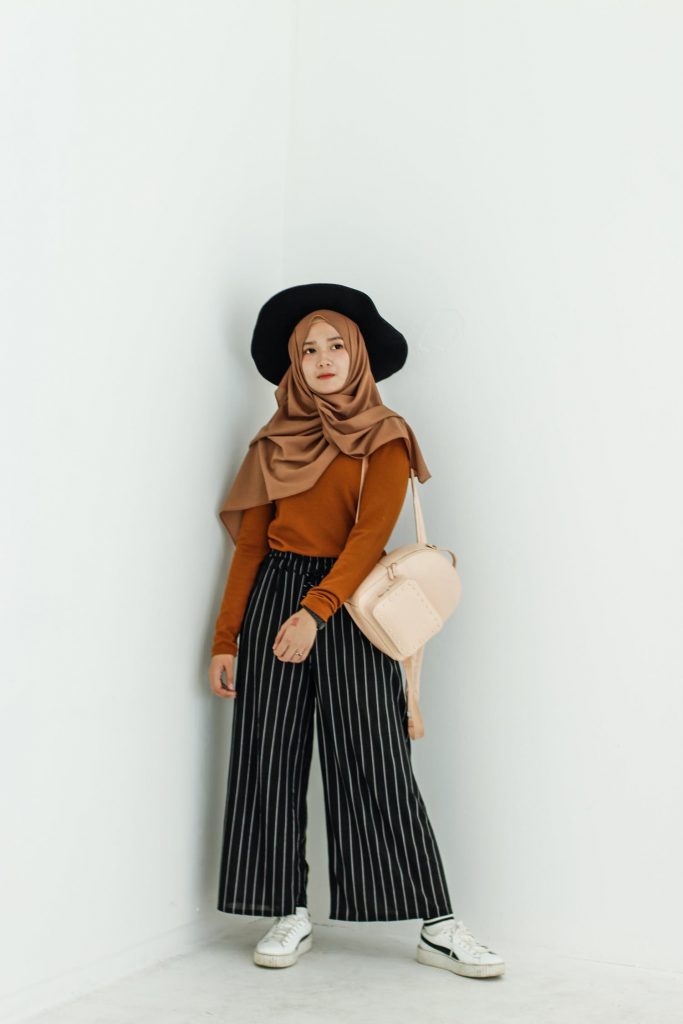
Almost often, photographing a garment on a mannequin or a live model is the ideal approach to show off its shape and urge shoppers to imagine themselves wearing it. Most online fashion sites use models to demonstrate their clothes.
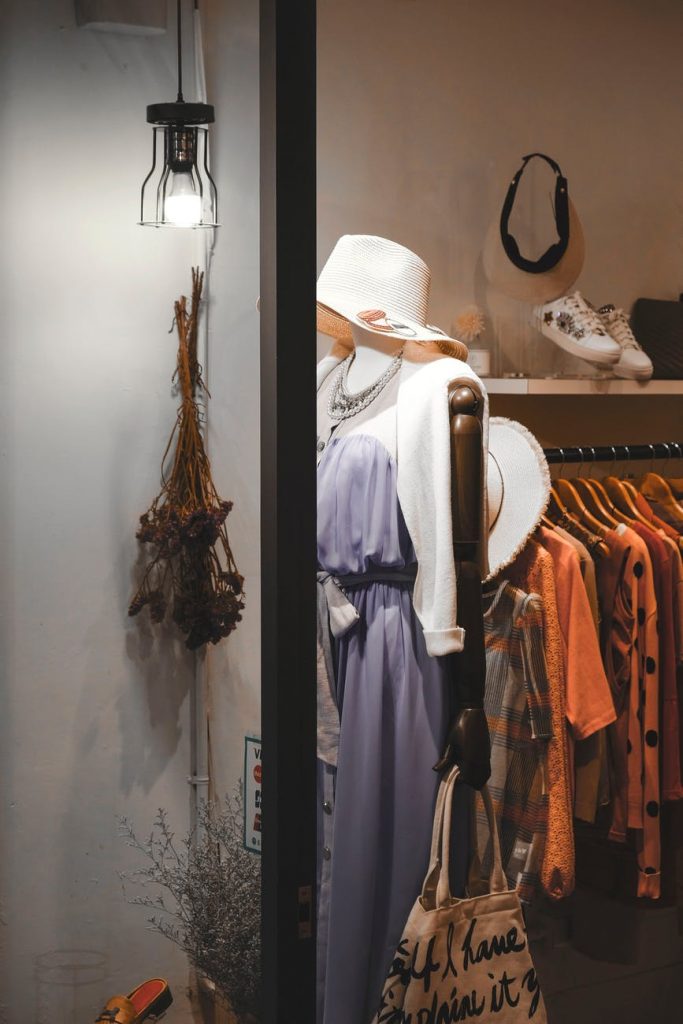
One of the major drawbacks of shopping online is not knowing how something will appear, fit, and suit you before you place your order. As on your business you must keep in mind that your website serves as a portal to your store. Enticing window displays, like shopping on the high street, have been shown again and time again to enhance sales.
Consider your product photos to be a virtual storefront. Models bring clothing to life, but if you don’t have the funds or time to hire one, a mannequin is the next best thing you can do on a shoestring budget.
Allowing customers to see the form and natural draping of each product gives them a better understanding of how the item will fit them, as well as a better shopping experience. A little bit of style can also go a long way. If your clothing appears to be too large for your mannequin, consider pinning and tucking it closer to the mannequin so that it is fashioned to fit appropriately.
When you photograph your products on mannequins, you can use a sophisticated post-production technique dubbed the ghost mannequin effect. Every online retailer must guarantee that their product photographs are appealing, interesting, and spark online shoppers’ creativity and imagination.
Consider who your target market is and whether they’re a specific age and size that’s ideal for your photographs.
Not giving enough Light to the photos
Lighting errors are far more common than you might believe. Everything is visible to the human eye, but when taking a photo without the proper illumination, it’s a different story. As an online clothing company or any business one of your main priorities should be bright lighting.
Simply to determine what kind of material an object is made of, whether it’s shiny or matte, and whether it’s black or charcoal grey. Before making a purchase, every online buyer needs to know information like this.
Ensuring that photographs are properly exposed will accurately exhibit product colors and other details, as well as make your stock appear clean and polished. A large amount of light also allows your camera to generate higher-quality photographs with less “noise” or “texture” and more clarity.
The poorer the image quality, the darker the lighting scenario, and bad image quality will not flatter your merchandise. When overexposure and underexposure rear their ugly heads, there are a plethora of filters and Photoshop solutions to help. Lighting is essential in a photographer’s world, and it’s non-negotiable when it comes to garment photography.
Renting artificial lighting equipment is the most flexible option to ensure that you have enough lighting, but if renting equipment isn’t in your budget, try using direct sunlight from a wide window and a foam board reflector panel. Ideally, the best time is just before sunset or just after sunrise, since this would result in a lovely warm, soft finish.
Always keep in mind the way the natural light is coming in, as this will have a significant impact on the final image.
Not Editing properly
Many eCommerce businesses make poor cropping, alignment, color, and background adjustments to their product photos. It’s preferable to keep all of your cropping, alignments, and backgrounds the same from one image to the next in your inventory.
Make sure to build a common set of standards for both shooting and editing to keep all photographs consistent in respect to one another and cut down on post-processing time. Make sure that all of your products are the same size and that they are centered within your image so that all of the angles, corners, and edges are aligned.
Cropping product photos equally, just like alignment, is critical for providing a consistent online shopping experience for customers. Choosing a single backdrop style and sticking with it might also help you save time in post-production. White or light grey backdrops are often thought to create the least amount of distraction from your garments or other products.
Do’s
Correct Camera Settings
Before photographing your merchandise, make sure you understand ISO, aperture, and white balance. Ensure that your ISO is between 600 and 640. Higher ISOs cause distracting noise or grain, which are grayish or colorful speckles that give photos original quality. The loudness will get worse as you get higher. Furthermore, at greater ISOs, the camera is unable to capture as much clarity, causing details to appear mushy. If you use a tripod, you can keep your ISO at 100 or 200 for the best clarity and sharpness.
Focus is controlled by aperture, which is indicated by the f-number of your camera settings for example f/16, f/2.8. The higher the aperture number, the more parts of the image will be in focus.
More of the clothing is sharper at f/22 than it is at f/3.5 in our case. As a result, set your aperture wider than f/11 to ensure that all features of your merchandise are in sharp focus. The color cast of an image is referred to as white balance. Warmer colors like orange and red are considered “warmer,” whereas cooler colors like purple and blue are considered “cooler.”
The color cast of an image is determined by the light source utilized and the white balance setting on the camera, which determines how the camera perceives the colors it captures.
Setting the Correct Color Space
Many clothing photographers overlook or are unaware of the critical process of transforming retouched photographs into an internet color space profile. A color space is a set of colors that can be displayed in a single image. Adobe RGB, CMYK, and SRGB are some color spaces to consider.
The colors of products will appear completely different when viewed on multiple computers displays, online browsers, and even websites if the color space is incorrect. The greatest color space profile for keeping your photos consistent and brilliant across devices, browsers, and websites is SRGB.
You can select to set your camera to SRGB, obviating the need to convert the file to SRGB after editing it. Because SRGB records a narrower spectrum of colors than your camera’s RGB default, many professionals wait until after they’ve mastered their photographs before converting to prevent limiting their editing capabilities.
You have the option to improve your process and get back on track to produce amazing product photographs for your consumers now that you are aware of the most common faults in garment photography. Getting rid of these negative habits will improve the consistency of your eCommerce website and the satisfaction levels of your visitors.