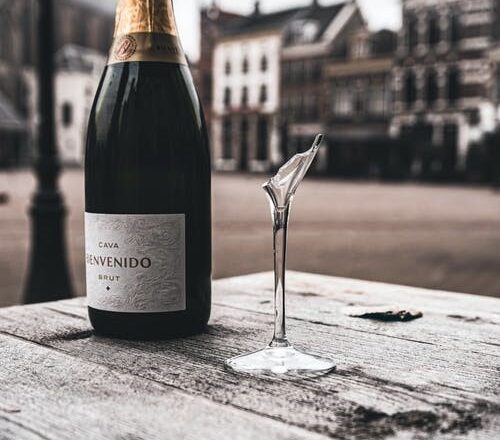
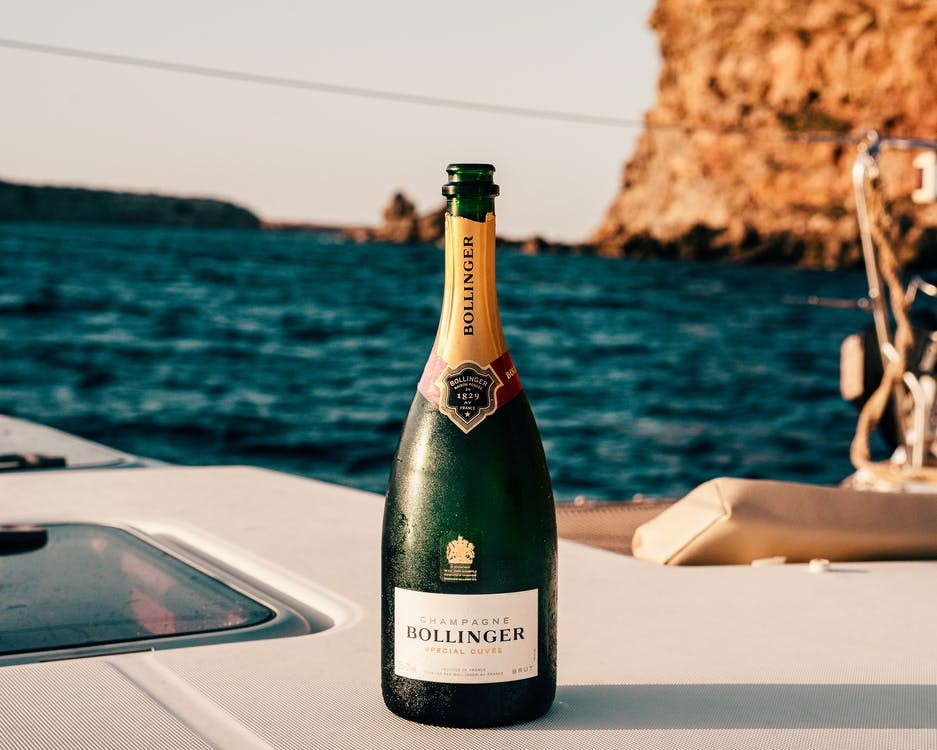
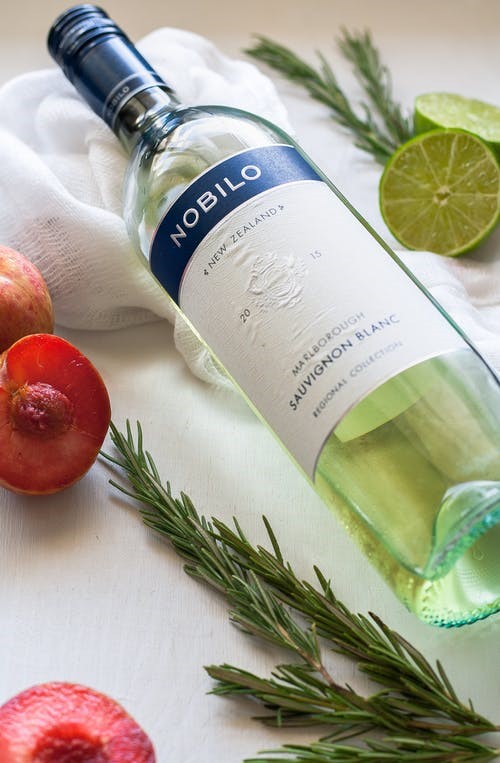
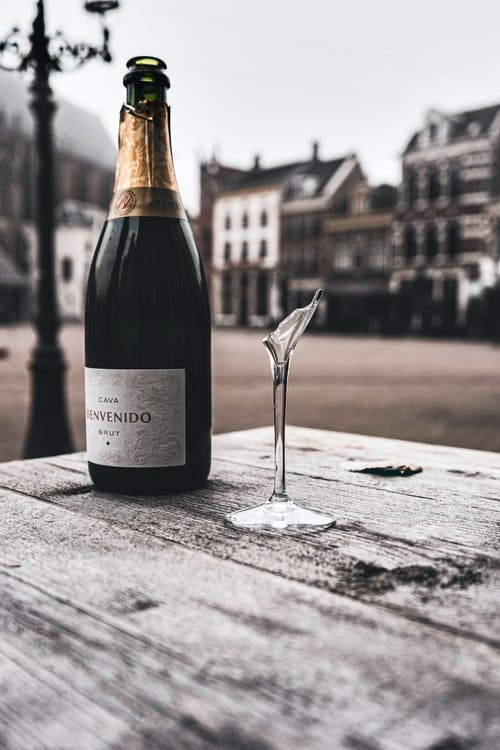
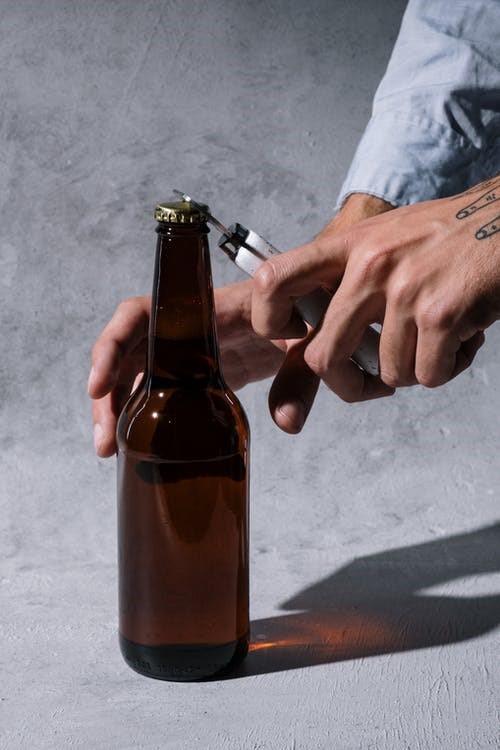
If you want to practise product photography, bottles are easy to get by to try something new or improve your skills.
Although the concept of shooting a product photo of a beverage bottle may appear simple, professional product photographers have a variety of techniques up their sleeves to take their photographs to the next level.
Quality bottle photography is more important than ever as eCommerce has become a must for selling wine, beer, and spirits. Bad product photographs are a problem in the internet world, where so much brand creation and selling occurs.
Upgraded bottle photography can significantly influence the bottom line, whether you are shooting for a new brand, a tiny merchant, or an experienced producer looking to improve their clients’ online purchasing experience.
Here’s how to step it up a notch for Perfect Bottle Shots. Let us dive into the step-by-step guide:
STEP 1: Plan the shot you want to take
Planning your shot, any shot, is a critical phase that is frequently overlooked. Consider the image’s layout, the items you will require, and the lighting you will employ before shooting. By considering all of this, you will recognize potential obstacles and devise strategies for overcoming them.
It would help if you told me what will and will not work, especially the layout and lighting. Having a plan does not mean you have to keep to it. The concepts often change throughout the shoot, but it can serve as a helpful guide and make the process go more smoothly.
Step 2: Prepare Your Bottle.
Generally, one would not picture a model without having them brush their hair or put on makeup, and you should do the same with the bottle before you start shooting.
Some of the examples of preparing a bottle could be:
- Cleaning the container to eliminate any dust or fingerprints
- Eliminating unneeded or distracting labels,
- Creating artificial condensation
Artificial condensation is far easier to work with than accurate condensation or water spray, saving you time and effort while also allowing you to achieve more professional results.
While shooting a conventional bottle has some limitations, these are a few things you can do to make it easier and improve your results. However, such things may technically be completed after the shot, during post-production but doing so before the shot will save you a lot of time and frustration.
STEP 3: Always Use Gloves
After you have cleaned the bottle, the last thing you want to do is undo or destroy all your hard work, so wearing gloves while positioning and adjusting the bottle during the shoot can prevent different fingerprints.
The best gloves are silk gloves because they do not leave any fibres or dust on the bottle. You can easily find these online or ask your local jewellery store if they have any old ones.
STEP 4: Position Things Well
It makes a big difference in the studio where you put your camera and bottle. Aligning the camera with the bottom edge of the bottle and raising the bottle off the table can elevate the shot from amateur to professional.
STEP 5: Use a Tripod
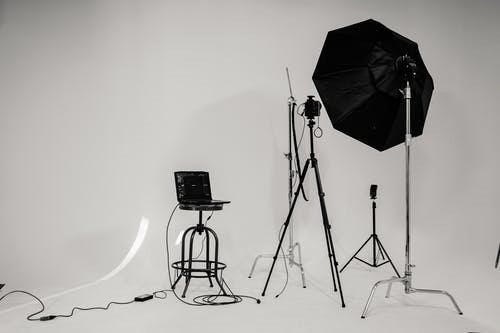
Tripod is essential for all types of product photography. Working with your camera fixed in a position means you can more easily focus on the composition (setup) and the frame of your photograph.
Most importantly, a tripod lowers the risk of camera shake. If you are using studio flash, this would not be an issue. Still, if you utilize natural or continuous light, you will likely be working with slower shutter rates, which means a camera shake is possible.
And while doing product photography, you cannot afford to get shaly or blurry photographs. This would leave your clients unsatisfied.
STEP 6: Backlighting the Bottle.
Backlighting your subject correctly is what gives the bottle its lovely inside shine. You will need to pay attention to both your modifiers and you are positioning.
STEP 7: Use reflectors or diffusers in the correct way
Using only a sandbox may always not get you the best results. In those cases, you would need to use the modifiers. The reflectors and diffusers can be termed as modifiers. It is essential to use the correct modifiers because bottles are so reflective that the modifier you choose can significantly impact the end picture.
STEP 8: Black Card for Edges
Using the strategically placed black card, you may restore blown-out edges while keeping them clean and crisp.
Step 9: Cross Polarization Magic.
You can magically eliminate short highlights from the bottle by using a circular polarizer on your lens and a polarising gel on your light.
So that was all about the step-by-step guide for shooting bottle photographs.
For more such exciting and exclusive content, do visit our website: Ecommerce Product Photography | Product Photography in India | Product Photography in Mumbai (ecommercephotographyindia.com)