Having high-quality, attractive product photographs can help your product stand out from the crowd. But every time, every seller may not be able to afford to invest in professional product photographers or studios.
Especially if you are a newbie, then it may seem a little expensive to you. So, does it mean that you would not be able to promote your products without product photography? Of course, no!
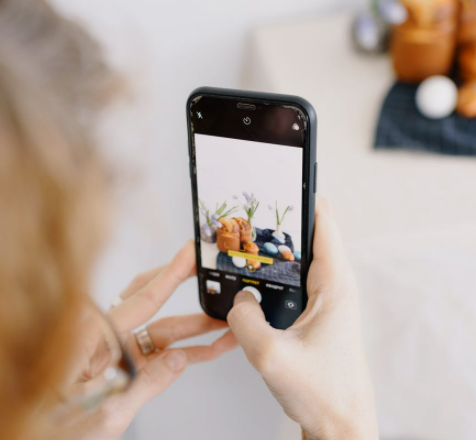
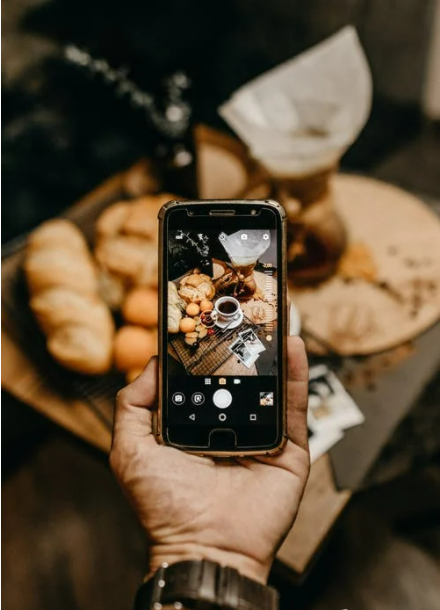
There is no hardcore rule that you need to shoot your products professionally and use DLSR or SLR. You can use your mobile phone or the old digital camera to click the product photographs at home. You need not be a professional to click photographs from your phone, right!
So grab your phone, and we will guide you through the requirements, set up and tips on how to do product photography at home.
Equipment required for doing product photography at home:
Camera- smartphone camera or digital camera
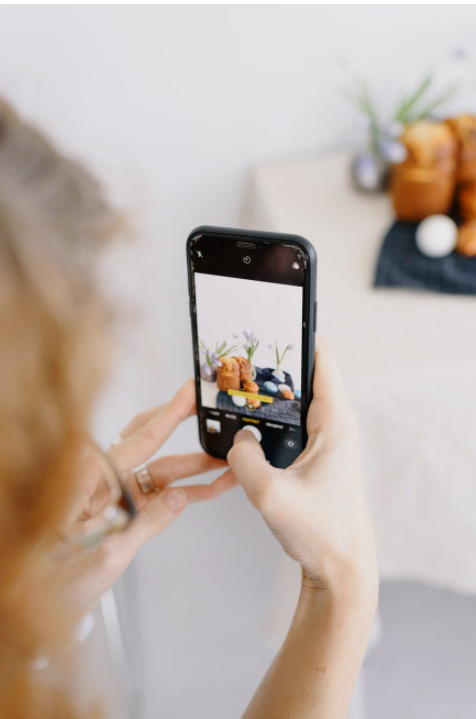
Any smartphone with a good camera (megapixel and aperture) can be used to click product photographers.
If you have an iPhone or Samsung Galaxy flagship model, then there are no worries at all. They can capture fabulous product photographs at your home without any expensive supporting equipment. Features like Auto-focus and LED flashlight serves as an excellent advantage for product photography.
A Tripod
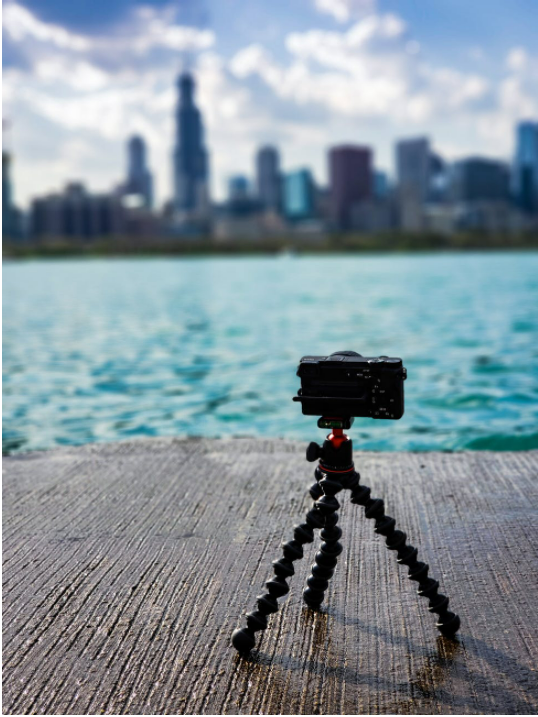
You will need a solid tripod for product photography, whether you are using a DSLR or a smartphone, and they are pretty inexpensive (affordable) for smartphone users.
Using a tripod will help you create clean and crisp photographs for your store by eliminating camera shakes. Furthermore, you will maintain a consistent angle throughout the shoot, giving your images a uniform aesthetic.
A White Background
You can use white walls or white carboards.
Solid Coloured Fall Over.
Going to your local drugstore or art store and purchasing some poster board is a low-cost solution.
A Table

Any standard table would be enough.
Double-sided tapes and cello tapes
Depending on the table you use, you can fix your board with tape or clamps so that it sweeps properly. Double-sided tapes are required if you want to fix some items if they tend to roll down or slip from the table or the arrangements.
Lights
If you’re on a tight budget, natural light is a terrific option because it has an organic appearance and is very easy to use. Plus, it’s completely free!
Tips For Product Photography At Home
Use natural light
Set up the photo session in a location with plenty of natural light near a wide window or door for the best effects. Use a reflector to direct available light onto your subject if you need to fill in any shadows.
Do not zoom while taking photographs.
The image quality suffers as the resolution drops as you zoom in. If you need to fill the frame, instead of using digital zoom, try to approach closer to your subject physically.
Turn- flash off until it is dark.
Using your smartphone’s flash will rarely give you the results you want, mainly because they’re notorious for leaving behind blurry, blown out, and poorly coloured photographs. Instead, try to set up the product in a place where you get adequate lights.
Always clean the product before photography.
If you hold the product with your bare hands, it will cause a fingerprint on the product to be photographed.
Moreover, any dirt on your hands can get deposited on the product. So, it is better to use a glove or clean your hands before touching the product.
And always remember to clear off any fingerprints or dirt using a soft napkin; it will make your product look new and good.
Use an external trigger
In trigger mode, the camera will remain in standby mode until an external trigger pulse is received, at which point it will begin streaming. This ensures there are no shaky images of the product.
Use a gimble
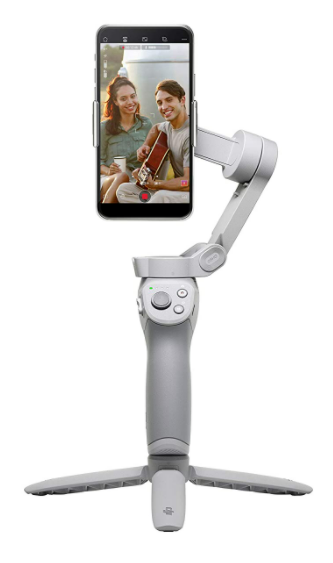
Gimble provides stabilization. Shivering hands would not affect the quality of the product photography by making the photo blurry.
Gimbles are available in a variety of ranges and for both smartphones and cameras.
Take multiple shots and from different angles.
Taking multiple shots has many advantages; you can later choose which angle or which shot justifies the product at its best. It will ensure you do not run out of photographs when it comes to choosing the perfect shot.
Picture quality settings and editing
Edit your photographs but be careful of not over-editing.
Set your image quality to the greatest possible (RAW, if you have it.) The RAW mode isn’t available on most point-and-shoot cameras, but if it is, utilize it. This is the most extensive file the camera can shoot, and it takes advantage of the camera’s full bit depth.
However, you’ll need to edit a programmed that can read RAW images (such as Photoshop, Bridge, Lightroom, or Aperture).
That’s all you need to do for product photography at home. If you have any queries regarding doing product photography at home, you can go through some more articles or contact us for more help.
All The Best!