Product Photography is a method to showcase products with special techniques making them look attractive to attract customers and convince them for purchasing the product. Product Photography is also essential for advertising online or offline business products through catalogues, billboards, websites, and magazine ads.
Covid-19 Pandemic has led many to start their own business at home. Because of a tight budget, one might not afford studio expenses. No Worries! Product Photography at home is a better option than outsourcing to the service provider as anyone can set up their product photography studio at home.
All that is needed is creativity and bringing unique ideas in mind to build a product photography studio. So let us take a look through the tips and tricks to make a product photography studio at your home.
Tools required
To set up a studio some basic tools that are necessary are:-

- DSLR cameras/ Mobile Phones
- Lens
- Tripods
- Strobe Lighting/ Led light panels
- Backdrops
- Stands/ Clamps
- Props
- Reflector
Uses of Tools for the setup
DSLR cameras are primarily used cameras for product photography nowadays with prime features. If a DSLR camera is not within the budget, good quality mobile phones can be a good alternative.
Choose the lens depending on the size of the product. For excellent image quality, EF 50mm f/1.8 STM lens is an ideal lens for product photography. For small products, use a shorter macro lens, and if it is minimal larger macro lens should be used.
Tripods lets to set the camera horizontally or parallel according to required shots and at every possible angle.
Referring to Lightings, Natural light through windows can be a good set-up. Moreover, strobe lighting is required to provide continuous light for the shoot. Led lights can also be used for artificial light other than strobe lighting.
Backdrops such as curtains, scarves, succulents, bedsheets, tables, tools, etc., are readily available and should be used for the background.
Stands or clamps to place your camera, lighting box, backdrops or any flat platform for product photography are suggested.
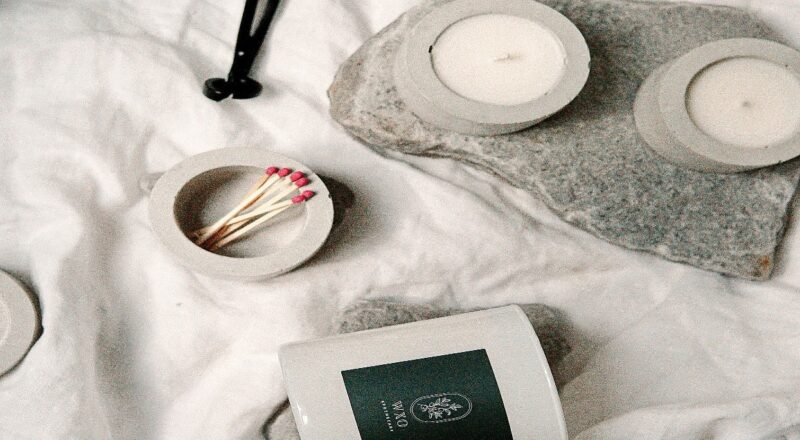
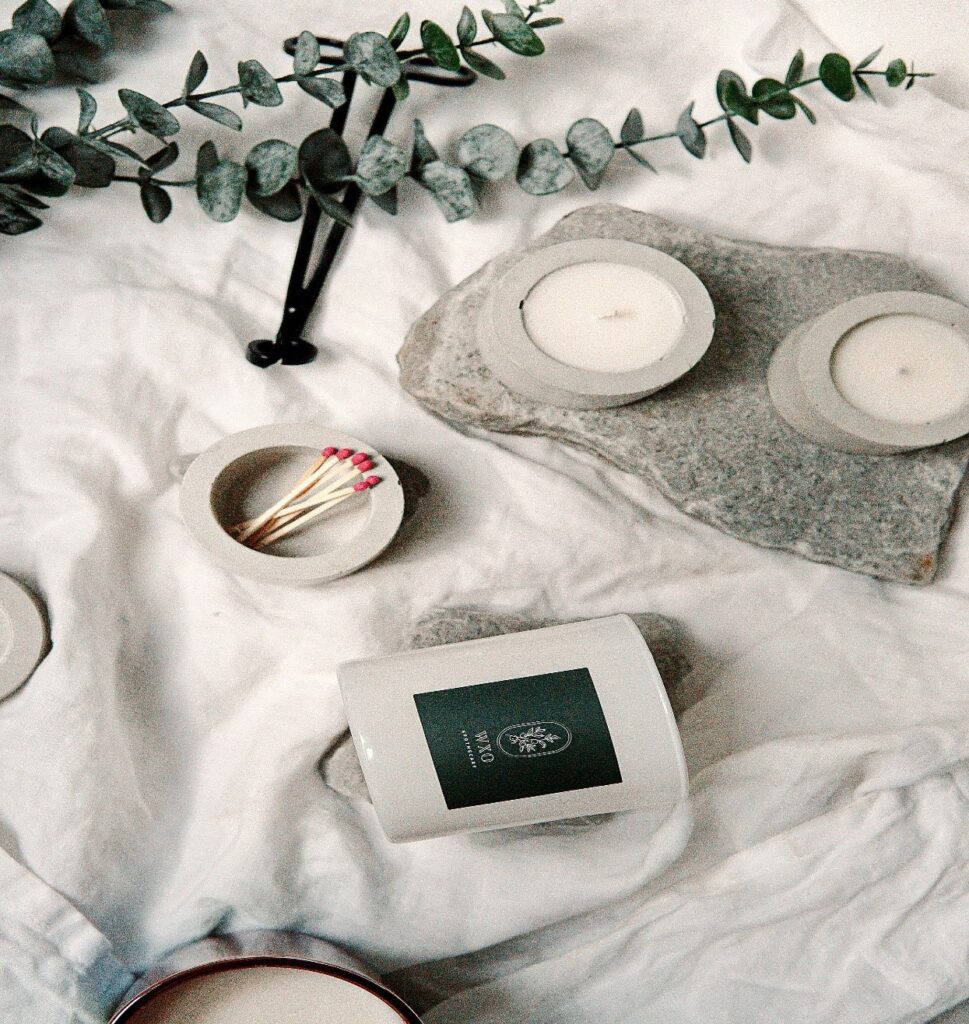
Props are readily available at home like flower vases, mirrors, wooden trays or glass, artificial flowers, candles etc. Use these props to decorate the product for an attractive look.
Set the Reflector opposite to lighting. Reflectors soften the shadows in the background. It comes in different shapes (rectangular, round or flat), sizes (30″ or 50″) and colours (white, black, gold, silver).
The place to create or set up the Studio at Home
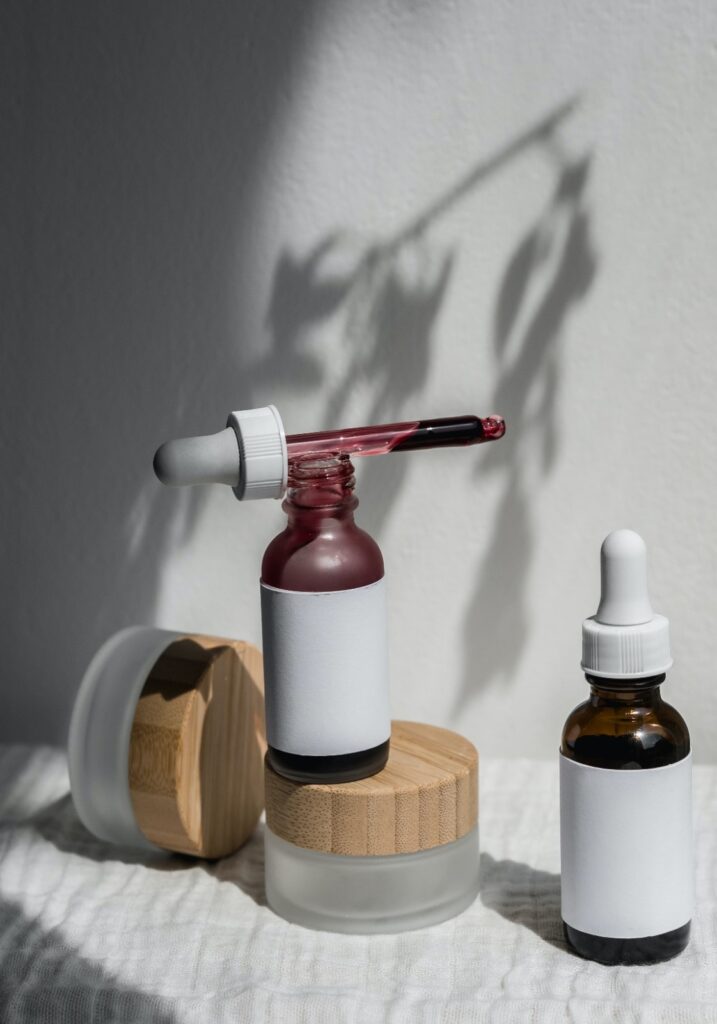
At home, the best choice of place for lit-upshot is where abundant sunlight is coming through. Placing the product on the table near windows, on the floor, the door that opens up to the balcony can be a good source of light. The terrace can also be a good option, but be aware of the weather and shield your tools from direct sunlight to prevent them from damage.
Natural light enhances the product photography and is evenly lit. But in case there’s no window in the house or the source of natural light is not enough, supplement with artificial lights like softbox, strobe lightings or LED light panels.
Any place at home can be ideal to set the photography studio, such as living room, kitchen table, corner of the room or dining table with the natural source of light, wherever or whatever looks and works best for capturing a great shot.
Design the Studio Set
After figuring out the place for the photography studio at home, configure the studio designating the amount of space required for the set-up.
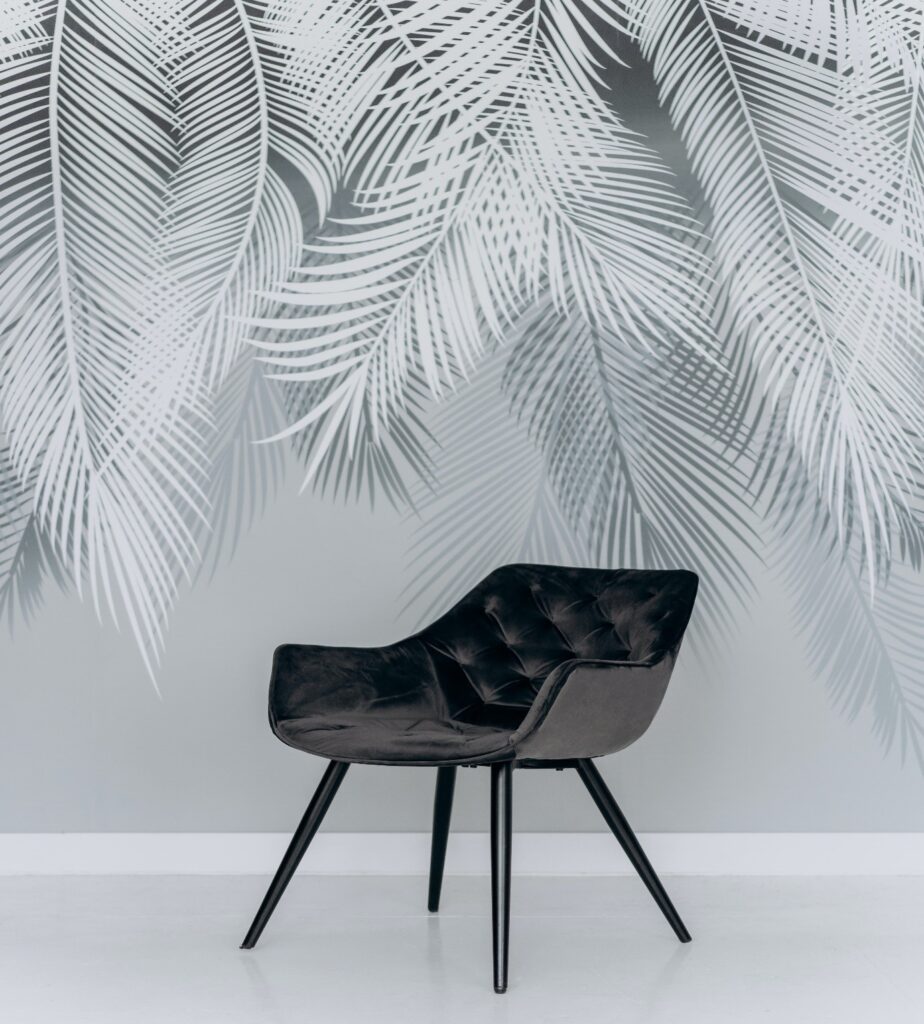
For the backdrops, the wall’s natural colour or a blank wall is a good start. The kitchen counters, the corners of the living room, or any selected place can be used. One should go for a fabric/cloth/muslin backdrop to set the scene cheaper than the seamless paper backdrop. Though the fabric one gets lines and creases, using iron or steamer would help and also it adds quality and shine in the photo.
The paper backdrop is bulkier and challenging to fold and store than others, so choose according to budget. Nowadays, using bedsheets as a backdrop is popular as it’s easy, affordable and adds an extra dimension of intrigue to the photoshoot. Masking tape is used to adhere the sheets to the wall.
Do not forget the props. Flower vases, artificial flowers, mirrors, furniture, household items, small tools etc., are fun to make props for the product photography that looks artistic and creative. But make sure the props that are being used match the product’s theme and fit in its visual identity. In this way, it’s effortless to build a product photography studio at home.
Positioning of Lighting and Tripods
Even though the room with natural light has been found out, adding a little pop-up light can beautifully bring the product details.
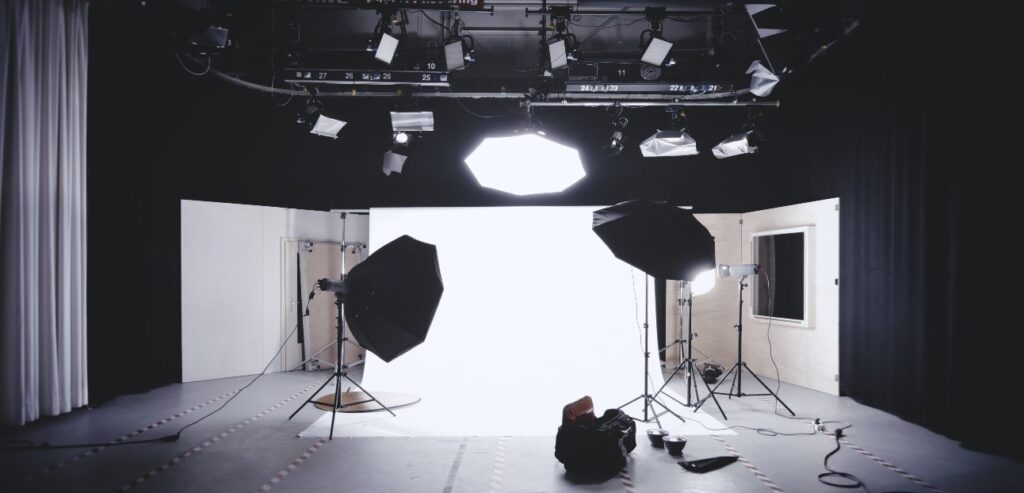
Already strobe lighting and LED light panels are used as artificial light sources, but a softbox set can be a good option for adding up extra light.
Please do not use a flashlight because lighting up the product’s label (which might be plastic or glass) for the shot might be harsh against it and cause glare while capturing. Here, using a softbox can enhance the quality of the photo.
Shortage of props is okay but do not get short on lightings. Use lights as the prop. The photo creates dramatic shadows with leaves, open doors, curtains, teacups, jars, etc.
After creating a scene for the shot:
- Set the tripod framing the angle to shoot.
- If the tripod has a multi-angle Centre column, try using different angles.
- Try eye-level shots, overhead shots and use other lighting effects for a different look.
That’s it—these were the few simple, easy tips to build a product photography studio at home.
It’s tough to be creative, but we are there to help. If you want to learn how to be a professional photographer, visit our blog post, ‘15 Ways To Improve Product Photography In India‘.