Lifestyle product photography is a type of product photography that aims to exhibit your product in a designed scene, with or without models, to emphasize the product’s primary purpose. It all comes down to creating a picture that makes the customer want to hold your goods in their hands.
The stuff of daydreams is great lifestyle product photography concepts. However, they must be done with care to avoid appearing cheesy or overdone. It differs from traditional approaches in that it is more relatable and interactive.
When you view a product in its natural setting, it has a stronger impact than when you see it against a plain white background. Get inspired by these creative lifestyle photography ideas to help you tell your product’s narrative.
Product
Always keep the product in mind first. These questions will assist you in determining what should be included in your photographs. Show a bottle of sunscreen next to a pool or at the beach if you’re shooting it because those are the most visible locations where they are used.
The most obvious method is to shoot a model spreading lotion on their skin while standing alongside a pool.
Create a still-life photograph that reminds your viewers of being outside if that’s too straightforward for you. Try putting the bottle in sand or on top of a brightly colored towel. You can also shoot it protruding from a beach bag. Some product images are so congested that it’s difficult to tell what product is being promoted.
There are too many objects fighting for the clients’ attention when there are too many props. Make the product the focal point of any photos you take to avoid mistakes. A big aperture, such as f/1.4 or f/1.2, will be required.
Shoot
Knowing where to take images is crucial for lifestyle product photography. Wherever possible, use authentic locales. You won’t have to spend money on a convincing backdrop this way. You can always shoot a poolside scene in your room to fool people. Photograph your goods next to some towels or maybe a pina colada, and you’re done.
You can also conceptually show the product if you want to be more creative. The beach is made of brown paper, while the sky is made of a cardboard poster. Even if the props aren’t real, they create a convincing scene. The most excellent part is that this photograph was taken inside.
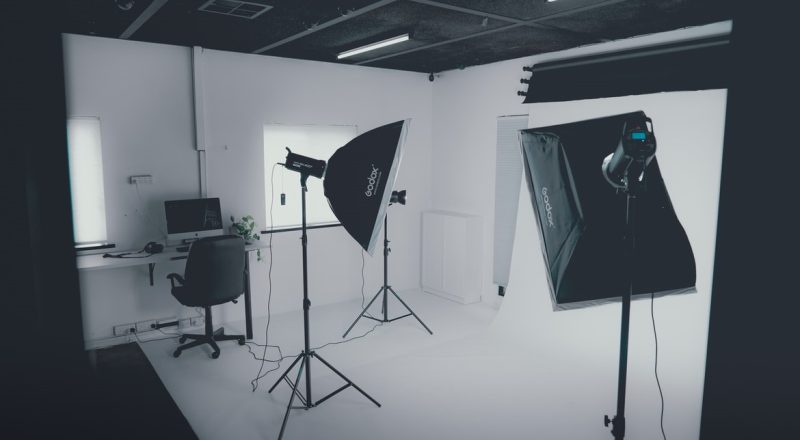
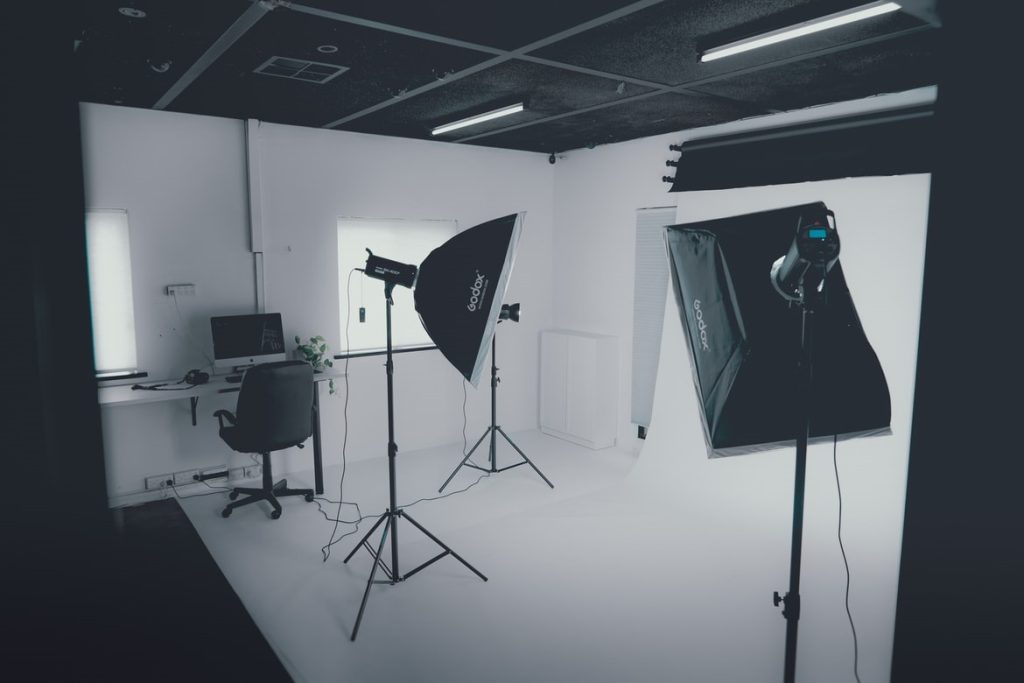
Best Lighting
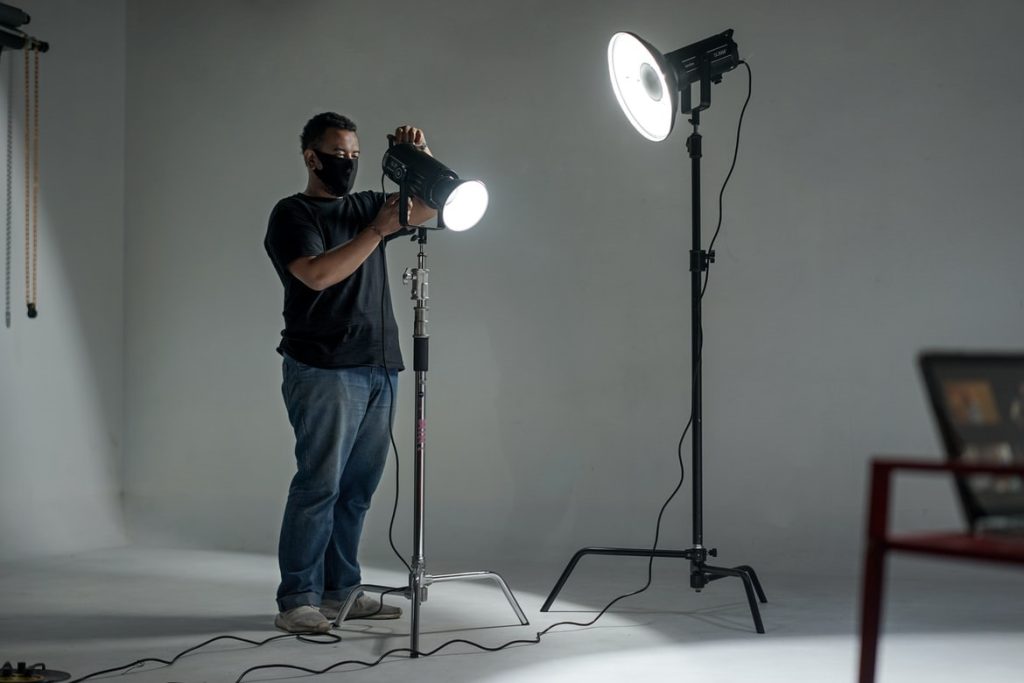
We all know how important lighting is in photography. It’s essential when photographing products. Different types of objects react to light in different ways. To achieve the most outstanding results, you must be precise with your lighting arrangement.
When photographing products, you should avoid direct light as much as possible. Whether you’re photographing with natural or artificial light, this is true. The brightness of direct illumination tends to obliterate the object’s details and cast unsightly shadows. Instead, try shooting in the shade.
You may achieve a gentle and even exposure by doing so. Next to a window is the most acceptable position to photograph your merchandise. This protects you from the sun’s rays. A white blanket or a scrim might help diffuse light when you’re outside and away from any shade. Make sure there are no specular highlights that draw the viewer’s attention away from the product.
Look at where the light hits the thing, in other words. Natural lighting gives the shots’ goods a more accurate and trustworthy appearance. It’s best to photograph objects with reflecting or see-through surfaces in natural daylight, such as sunglasses, jewelry, acrylic organizers, and so on.
Avoid direct sunlight since it can cast dark shadows on your merchandise. Use anything to disperse the light to keep the shadows reduced while maintaining the light’s intensity. A thin piece of white tissue paper, day curtains, or a reflector board could be used.
Props
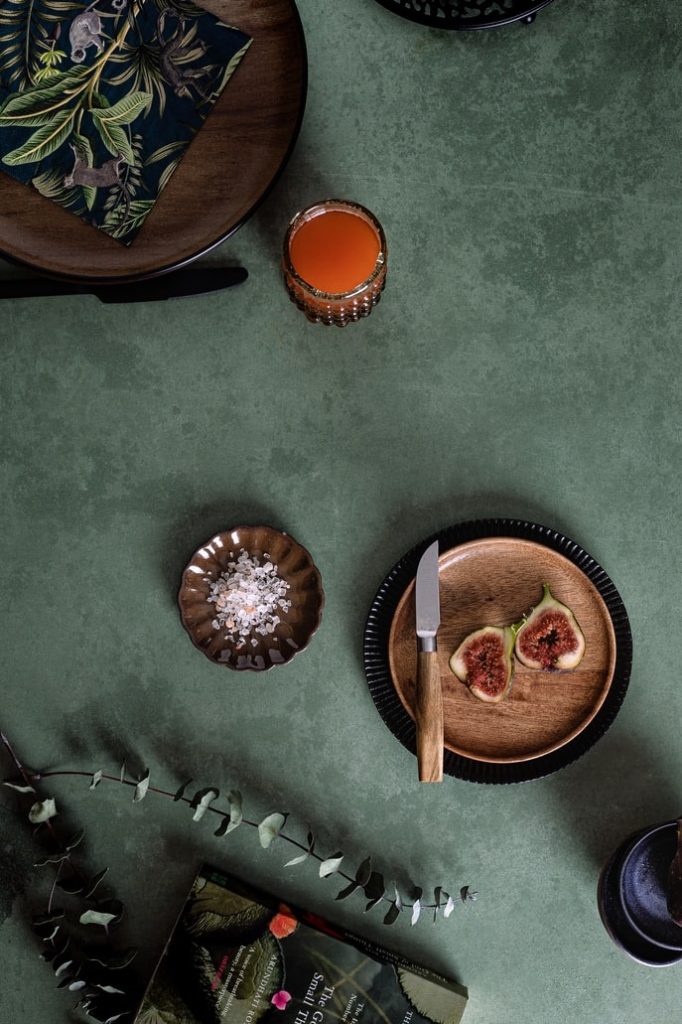
Some photographers believe that using additional objects is unnecessary. Though you must concentrate entirely on the goods, well-chosen props will aid in telling the tale and appealingly presenting the item.
A baby monitor in a photo, for example, is beautifully complemented by children’s toys. Using the right props is the key to a stunning lifestyle product photography setup. Put another way, don’t use random products that have nothing to do with your offering. You should avoid cramming too many objects into your photograph.
Always keep in mind that the product should be the star of the shot. People may not see your content if there are too many distractions around it. Keep your props to a maximum of three items. Anything more than that, and it’ll get a little crowded.
Angles
It can be difficult for a lifestyle photographer to figure out where to put objects in the frame. You may always use the tried-and-true Rule of Thirds as a guide if this happens to you. To begin, activate the gridlines on your camera.
Then, where the lines connect, put your central theme. The good news is that the same approach applies even when the frame contains many objects. After you’ve nailed down your composition, you can start thinking about angles. Eye-level, 45 degrees, and overhead are the most popular angles used by product photographers ( flat lay). When you shoot at eye level, your camera is the same height as the product.
Meanwhile, 45 degrees refers to the angle you should shoot your subject when shooting from above. Finally, the item is shot from above at a 90-degree angle. Feel free to experiment with different perspectives; plenty to choose from. The standard method is to position a camera at eye level with the product so that the final image appears as though we’re looking at it in person.
To stand out from the crowd, it is recommended that you try and explore new angles that the human eye can rarely notice.
Negative Space and Textured
Remember to shoot multiple broad images with space when framing the shots while photographing. This is a crucial piece of advice for images that will be used on major websites in the future. Negative space photography lets you add a logo, advertisement, or company name to the shot and actualize innovative product photography concepts.
If the product fills the entire frame, there will be no room for writing, and the brand will have to cover part of the object to type something. Like incorporating the product’s ingredients in the frame, this idea requires only one main component to cover the background.
Such a textured background will capture the attention right away. It’s even more enticing if the backdrop matches the packaging color.
Focus Stacking
In every shot, double-check that your product is sharp. It would otherwise blend in with the background. And you don’t want that if you want your core subject to stand out. If you’re shooting portraits, don’t open up your aperture to f/1.8 or f/2.
To guarantee you catch all of the details of the object, choose a tight aperture of f/8 to f/22. No matter how small your aperture is, you’ll get a hazy backdrop when photographing small items. To ensure that the item looks sharp from front to back, consider focus stacking.
The first focus stacking occurs in-camera. To begin, secure your camera to your tripod and ensure that it does not move. Adjust the lens so that the front of the product is in focus after everything is ready. Refocus after taking a photo so that the following area of the item seems sharp.
Every studio product photographer understands that the most significant background for Amazon product photography is a completely white background. If you’re shooting lifestyle product photography, though, you’ll want to go with more imaginative product photography backdrops. A colorful backdrop can be a terrific method to improve the product’s aesthetic attractiveness. You can also experiment with different color combinations.
Show Scale and use Color Psychology.
Although a product’s text description may include measurement information, the photograph you snap should accurately depict the product’s dimensions. Consider where a buyer will put this object and what other products will be nearby, and photograph it with these items.
This lifestyle product photography technique will come in helpful when photographing things that come in a variety of sizes. It assists buyers in ensuring that they are ordering the correct size, reducing the likelihood of a return. Digitally, you can create a lifestyle context, but you’ll need some serious editing abilities.
To create alternative angles on your product images, use applications like Photoshop or Illustrator. When shooting product lifestyle photos, don’t forget about color psychology and complementary colors photography.
Customers will be more likely to purchase the product in this manner. Take a peek at the electronic goods photos (desktops, phones, tablets). Because black is a mark of elegance and dependability, these are frequently photographed on a polished black background.
The usual rule is to employ the logo’s colors as primary colors across the background or shot. Coca-Cola is the most well-known and well-known example here. All of their marketing initiatives feature the colors red and white.
Model and Incorporate Live Parts
Models can help you reach a bigger audience by showcasing your items. People can comprehend how to utilize the product and how it may be applied to their lives and the many features. The model can also come up with unique model postures to highlight the goods in the best possible light.
These types of product images, like prior proposals, involve models, but they aren’t fully visible in the frame. Only their bodily parts, such as their hand or leg, are visible in the product image. This is typically seen in advertisements for luxury handbags, where only a model’s hand is seen holding the bag.
The concept can also be applied to product photography for sneakers. This might add a mysterious touch to the image. For example, if you’re photographing a sports water bottle, clicking its photo while it’s on a tabletop may appear to be rather boring.
Making fake-looking lifestyle photos is a common blunder. For your models, it is recommended that you go for genuine feelings and emotions. If your models are posing in a gym, expect them to look sweaty, have messy hair, and breathe through their mouths. On the other hand, you can make you’re setting a beach, where a fit model is drinking from it after a morning run.
The human feelings that lifestyle product photography will elicit are essential to consider. Because individuals make decisions based on their emotional reactions, you should use the brain area that controls emotions when photographing lifestyle products.
Dynamics
High-speed photography conveys emotions, time, speed, and taste, among other things, grabbing the attention of buyers. Consider stopping the action while capturing fast-moving objects. They will skip a standard photo of sneakers and move on if they come across one.
However, if a running athlete is in the photo wearing sneakers, they are more likely to look at the goods for more than a few seconds. Configure proper camera settings for product photography to put this notion into action. Select a fast shutter speed, such as 1/400+, to freeze the action. Use a slow shutter speed, such as 1/30 or lower, to achieve the blur effect.
People can imagine how they will use a product when photographed in a lifestyle setting. As a result, develop scenes that encourage people to do so. Technical knowledge is essential, but you should also consider your visual style. That is what will entice folks to look at your photos.