Preparing for and finishing a good footwear photo session requires far more than simply putting your favourite pair of shoes on a set and snapping some shots. You need great visual content for your shoes, whether you are a footwear firm or a seller, so you can utilize them for marketing, branding, and, most crucially, online selling.
However, due to the competitive nature of the business, you must ensure that you obtain the most significant and most unique shoe photos possible so that all your products on eCommerce sites stand out and receive significantly more attention than the competition.
We have come over certain areas where footwear photographers often face a dilemma. Do they have specific questions like How to make shoes look good in pictures? How to stage pictures for shoes? How to take a picture with a white background on the shoes? And many more.
In this article, we will cover all the details that would answer such questions.
To have a smooth-running operation and acquire the intended results as quickly as possible, here are a few essential tips & tricks for impressive shoe photography you should keep in mind both before and during the shoot to make it creative shoe photography. Now let’s dive in and see the most impressive shoe photography techniques and ideas.
How to make shoes look good in pictures?
It is essential for any product to look good in pictures, as this will help in the marketing of the product and convert viewers into potential buyers. To make it done, you must take care of the camera, lenses, lighting, and the background for shoe photography. Let us see your camera settings and lighting arrangements while you go for footwear photography.
Cameras And Lenses
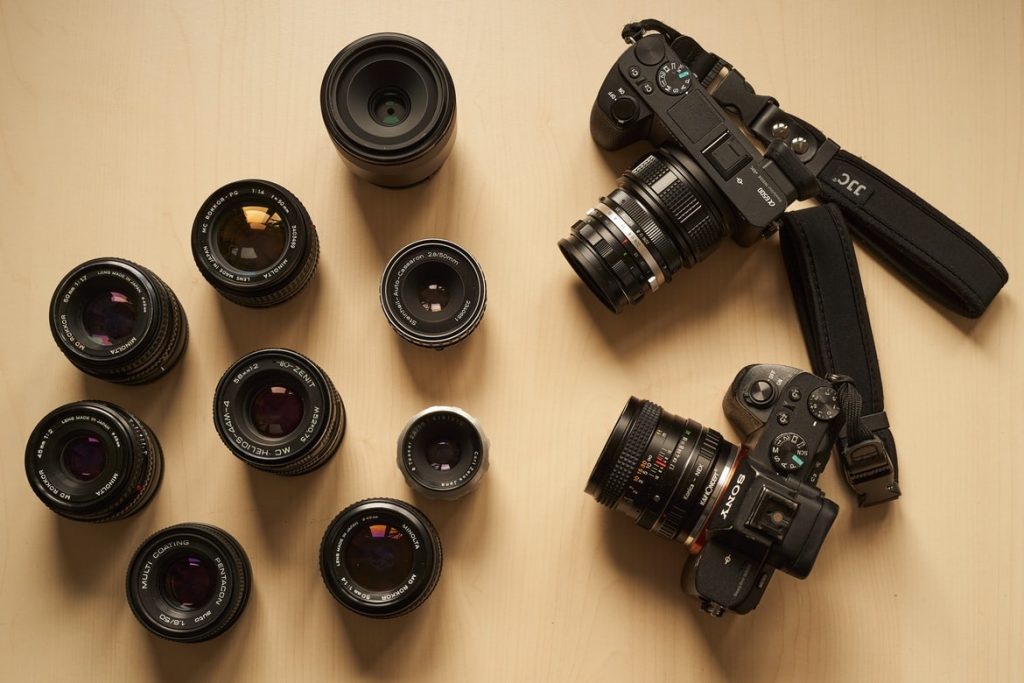
Both the camera and the lenses play an important impact on the outcome of your shoot. And, if you want commercial photographs that thousands will see of people, choose a professional full-frame camera, which can record images at a considerably greater resolution and create excellent results in a variety of shooting situations.
- Again, your shooting conditions will determine the lens you should use. However, because shoe photography does not necessitate such a shallow depth of field, you can use a lens other than a prime lens.
- Your product should not be distorted by the lens you use. To avoid this, make sure you are shooting at a high enough f stop to get everything in focus. Your depth of field will be affected as well.
- Another thing to keep in mind is that you can use any shutter speed you like by mounting your camera on a tripod.
- Mounting your camera on a tripod will help you reduce the ISO, so you do not wind up with a noisy image and instead obtain a wonderful clean image with good overall clarity.
- The shutter speed would not matter because you choose an excellent f stop, and your camera is on a tripod.
Light up your products
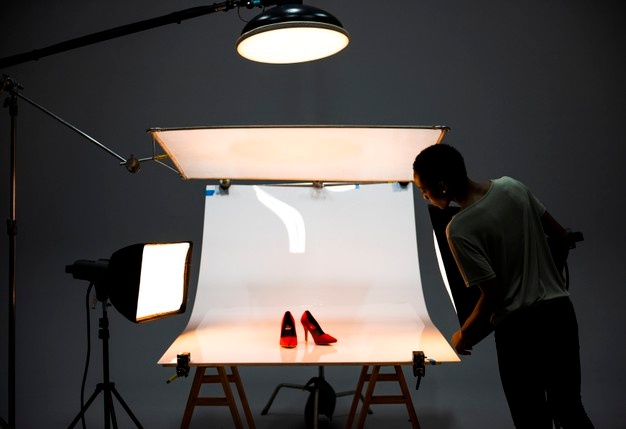
Lighting for shoe photography is as important as any other product photography type. You will need great even light to let the shoes in your images stand out a little more to generate beautiful footwear photographs for creating and applying your creative shoe photography ideas.
- The light should come in from all sides and shine on the shoe.
- Keep the shadow of the contact at the bottom of the shoe.
- Make sure the light is not too harsh or too soft while designing the lighting setup. This is because bright lighting might cause your photographs to be overexposed in certain areas and underexposed in others.
- And, with Soft Lighting, capturing detailed Oriented photos of the shoes will be tough, which leads us to the next point.
- If your shoe has such traits, you might want to get accents like metalwork to stick out in your photos. As a result, you may need to include a white cart or a white reflector.
- Look for a wide reflector when adding the front fill. Make sure it is not excessively bright, and if it is, reduce the exposure.
- Add a little light to the background if you want to illuminate the front area of your shoes without disrupting the image by over-lighting the front of the shoe. Then, after focusing, take the shot. The lighting should be even and pleasant.
- Remember for few qualities of shoes the shine is the key factor. For such materials, you must observe the angle from where you are shooting and how the reflections are working for it. Reflections are made or break for footwear photography.
The camera, lens and lights are not enough to make the shoe look beautiful in pictures. The shoes must be staged properly, looking prettier and shining well. Now let us see:
How do you need to stage your shoes for good shoe photography?
Prepare the shoes
You must organize every shoot component ahead of time not to experience any unforeseen issues during the production. On the other hand, footwear is the most significant aspect to consider in creative shoe photography techniques and ideas.
- Make sure the shoes are spotless and gleaming so they can appear their best in the appropriate lighting.
- Now, getting your shoes in tip-top shape before you start shooting will not only help you generate amazing photographs faster but will also save you time in post-production.
- Make sure you have all the essential equipment for cleaning the shoes and presenting their best shape while shooting to save further unnecessary labour for yourself while you are shooting.
- At the time of a shoe photoshoot, you will require a keen eye for detail. Your photographs will make a stronger impression on the buyer if they are more detailed oriented. As a result, make sure to capture some closeups for your illustrations.
- Avoid touching the shoes with bare hands, as it would leave fingerprints and impressions on the shoe surface, preventing them from shining and not looking pretty in the picture.
Backgrounds
The background you choose has a significant impact on the overall look and feel of the final photos in creative shoe photography. And white backgrounds are advantageous for shoe photography.
- While choosing a background, make sure it is not too distracting to draw the viewer’s focus away from the shoes.
- However, this does not rule out the possibility of using a white background. Other backdrops are also helpful if they complement the shoe.
- For footwear product photography, a white background is considered to be ideal. Backgrounds that are too busy can divert attention away from the actual product, which needs to stand out.
- Choose a neutral background that will allow your goods to take centre stage. The white background will provide a nice contrast between the colour of the shoes and the white background.
- All extraneous items must be removed from the frame. Having a lot of stuff in the frame only confuses the audience. And, because you want the focus to be on the shoes, the frame should be as simple as possible.
- Cropping can assist you in improving the composition and accenting your subject more effectively.
- However, a few props can be placed here and there if appropriate for the situation.
Angles are important
To keep your shoe photographs from becoming monotonous, experiment with different viewpoints and angles, just as you would with any other type of photography.
- It is all about angles when shooting sneakers.
- Aim for effective perspectives that show off all the shoe’s intricacies and sides, so your customers have a solid notion of what they’re buying.
- Of course, the angles you choose are entirely up to you. There are, however, a few essential angles that work well for footwear photoshoots, and you can draw inspiration from them:
- Choosing a few essential perspectives for your footwear photos might be beneficial.
- Could you take a look at it from the side? Only photograph one shoe from the side to create a profile view. Like this, go ahead and add the second shoe to the picture.
- Turn the pair of shoes to the side slightly. Concentrate on the first shoe before taking the shot. This is a closeup view that focuses on the front shoe.
- Take care to clean all shoe elements ahead of time, so they look lovely and sleek. Suppose you are going for a polished look. Similarly, set the pair of shoes in one location and shoot them from the front.
- Pay attention to the first shoe. The shape and size of a product are quite important.
- Show off the shoe to its full potential. If you are going for an off-foot shot, you will need to pack your shoes to keep their shape. It is necessary to fill the shoes with old garments or cotton to reveal the true contour of the shoe. It is also essential to let the shoe stand on its own for developing unique shoe photography ideas.
- A shoe lying on the floor does not appear beautiful in terms of photographing from various angles. So, to make it look professional, you must follow these procedures for creative shoe photography techniques.
Reflection and Focus
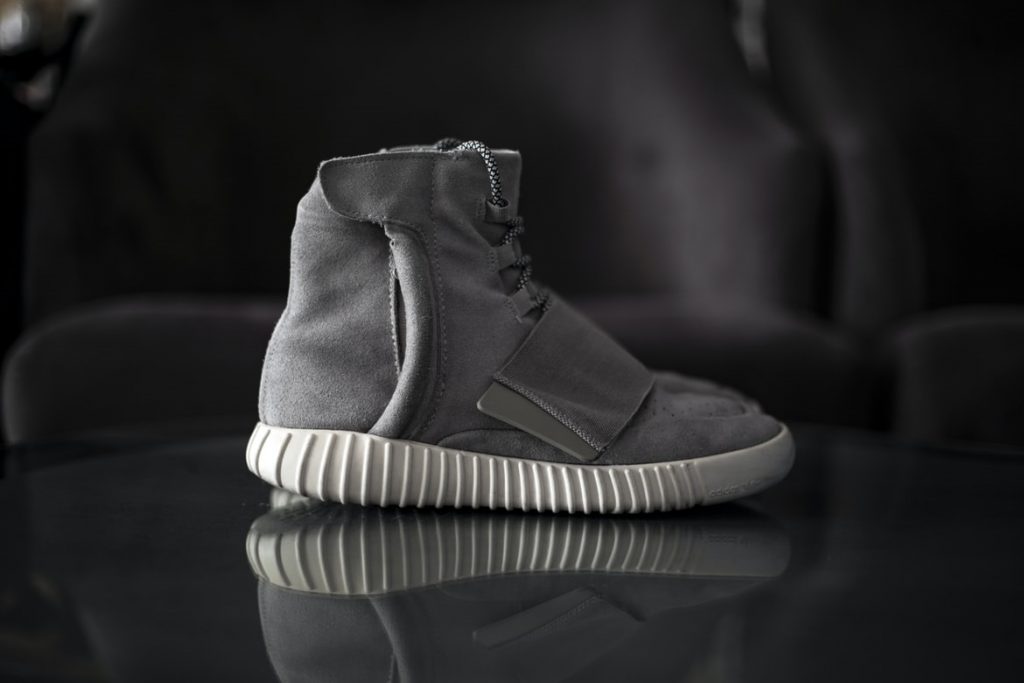
As a product photographer, you must think creatively and outside the box while taking photographs of shoe items. You add shadows or reflections to your images when photographing is one of the most creative photography ideas.
Shadows and reflections give the images a natural touch and make them look classy and exquisite. Not every photographer employs these shoe photography tips and techniques when photographing shoes.
However, if you want to make your shoe photography stand out, consider including reflections in your shots.
- Place the shoe product on the upper side of the product and pour some water down the product. This will result in a mirror image. The shoes should be correctly placed because they will not look good elsewhere. However, it would help if you chose the right shoe positioning.
- Place the shoes on top of a box or a solid colour floor while doing interior photographs.
- Make the shoe model stand in front of the water as well. There will be a reflection because of this.
- When photographing shoes, you must constantly keep in mind that you must concentrate on the shoe. Activate your camera’s autofocus mode and utilize a focal length lens to assist you to concentrate on the shoe specifically. This will enhance your shoe product stand out, and you will be able to take some fantastic shoe photos as a result.
Some ways to style your shoes for photography
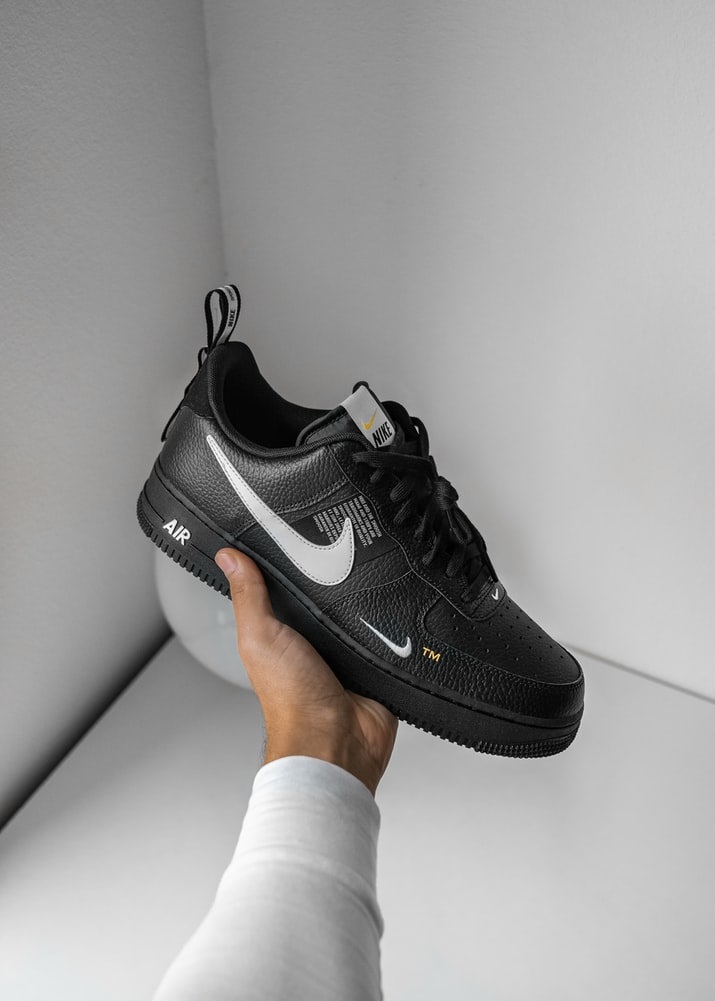
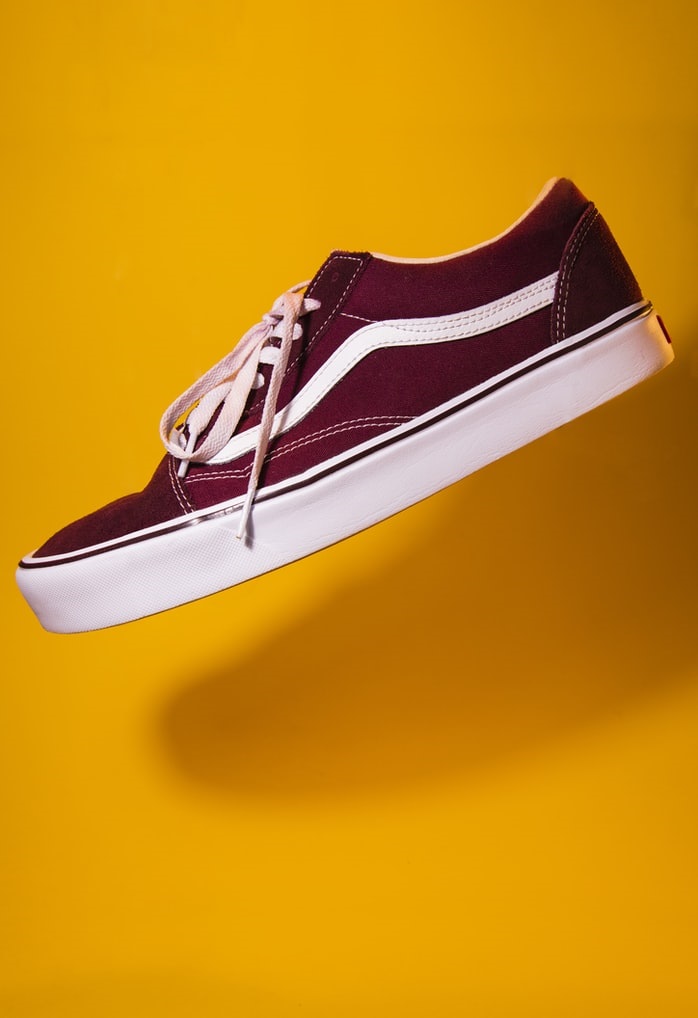
White Backgrounds
White backgrounds are apt for shoe photography. It helps showcase the original colour of the shoe in its best form.
Set your shoes with other complementary items
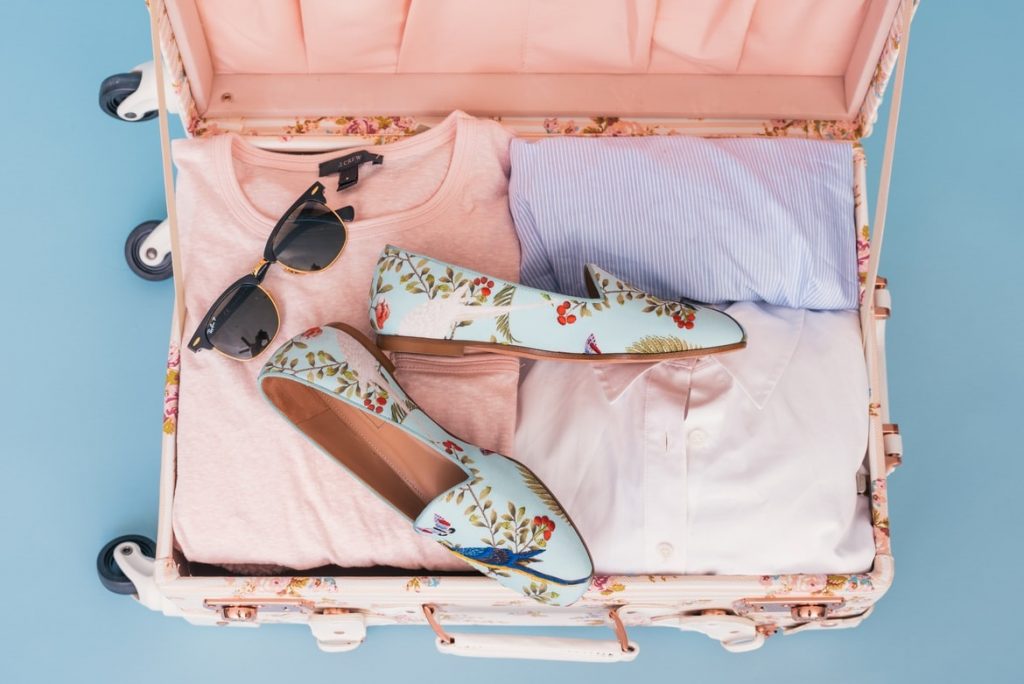
Such shoe photography is famous among Instagram sellers. Keep the shoe colour as the photograph’s theme by keeping the other items matched with the shoe colour.
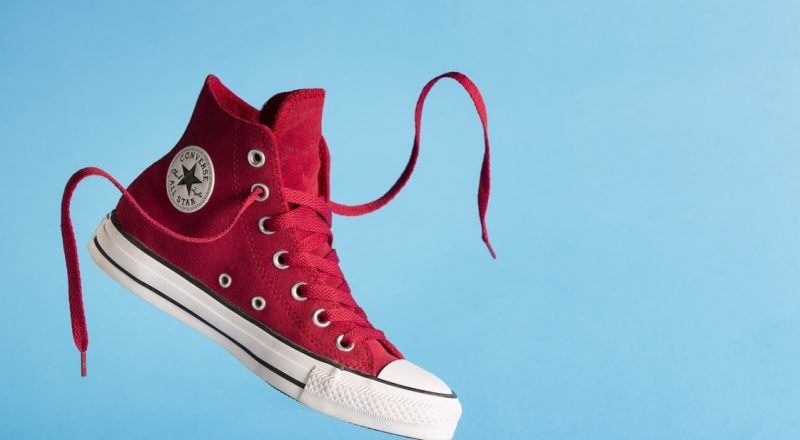
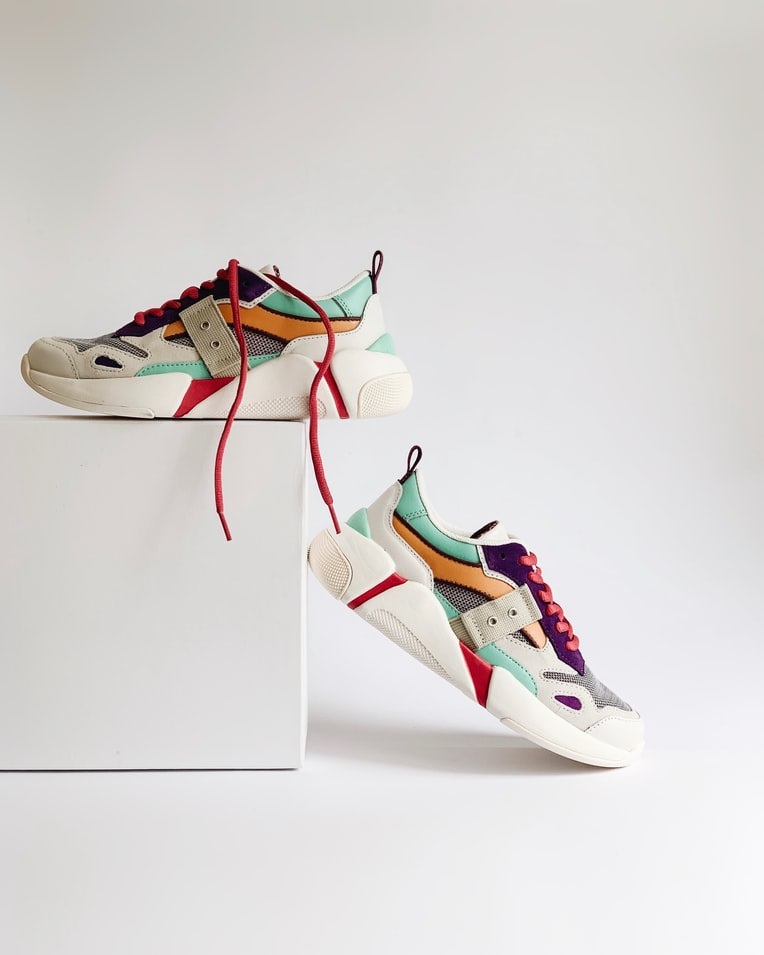
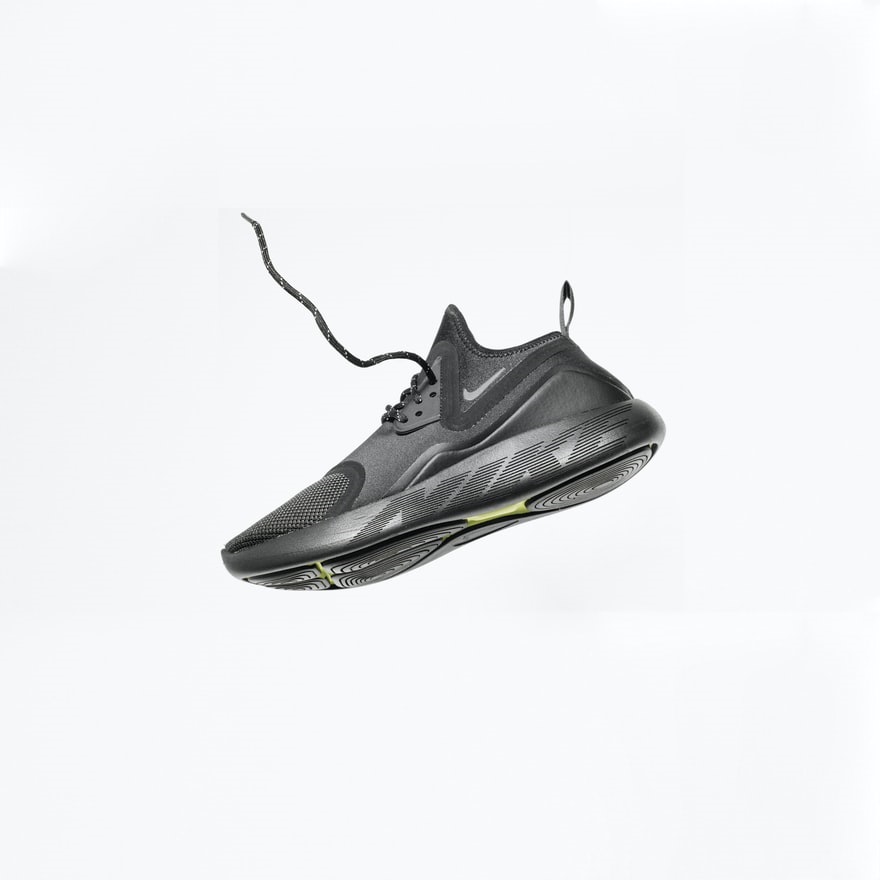
Floating Shoe Photography
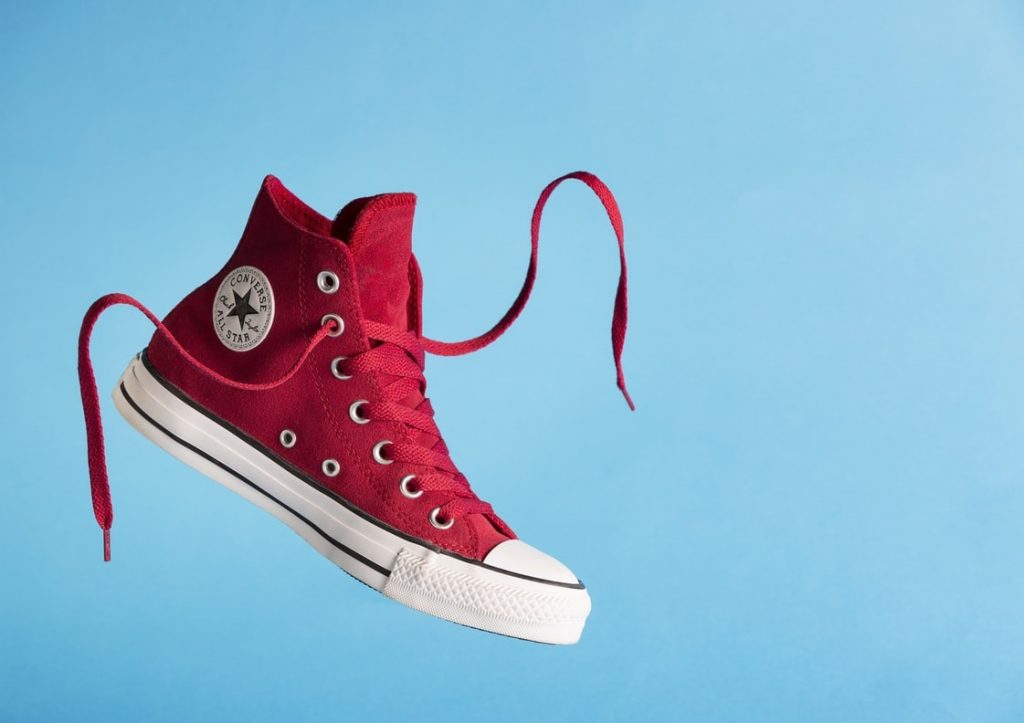
It gives a better angle view of the shoe, especially for sneakers.
Use Models
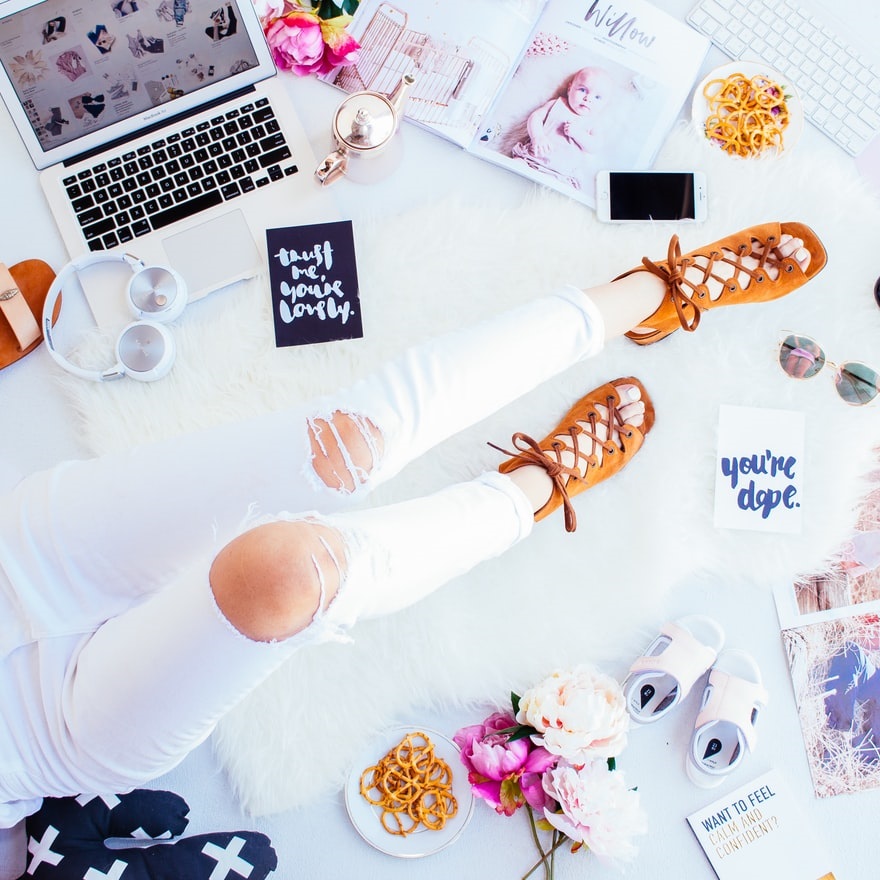
Models may not always be budget-friendly, but they make the shoes look more impressive. The customers always want to see how the footwear fits in and looks on someone’s foot.
Retouching
Every product needs minimal retouching before placing it into the eCommerce sites. But make sure you keep them natural in colour and texture, do not over-edit them, and apply many filters.
These creative shoe photography techniques and ideas will undoubtedly increase the visual appeal of your online brand portfolio if you observe and apply them. If you have the talents, you can become a good photographer.
If you are starting as a shoe or product photographer, you can employ the above tips and then ace as you go hand on. Additionally, it will provide your clients with the best purchasing experiences possible.